Continuing the assembly of 1/100 Gundam Exia after the first part yesterday.
Parts for the feet, which are identical for both legs.
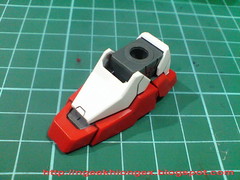
Completed
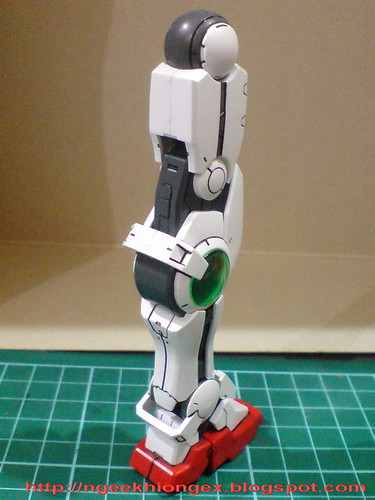
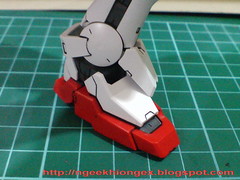
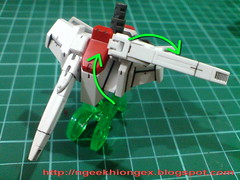
A joint is incorporated for the front section of the foot, allowing it to move like this.
Not many 1/100 scale Gunplas before and even after this kit have this articulation feature.
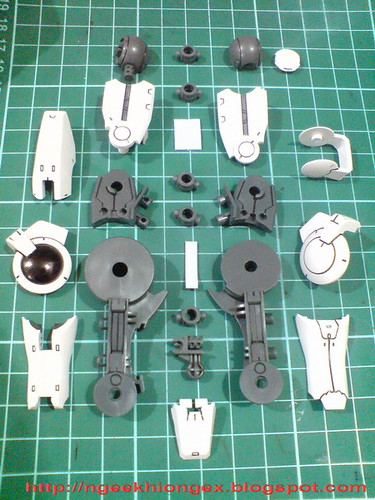
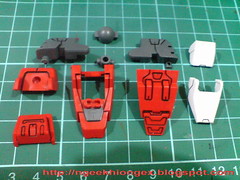
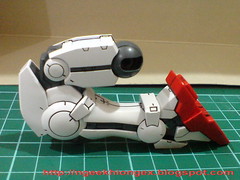
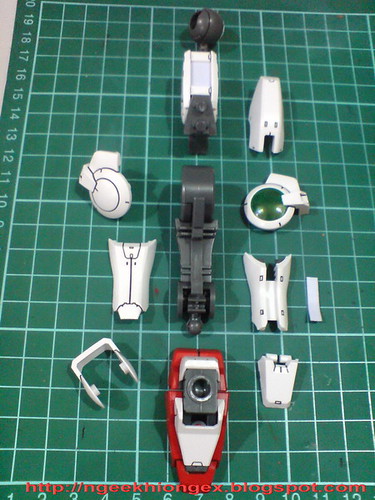
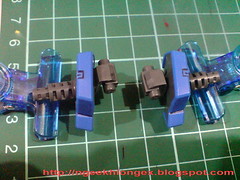
Parts for the right leg.
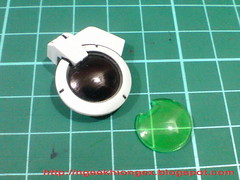
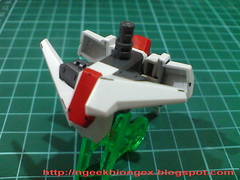
Clear part painted using normal green highlighter, with the base where the black portion is painted using normal black marker in Part 2.

Separable components.
The lower leg is held to the knee joint by 2 parts that must be assembled before the knee and calf armors can be put on. So all the components are not exactly "separable" per se. ^^;

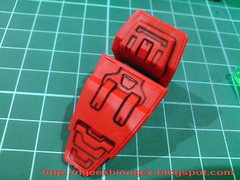
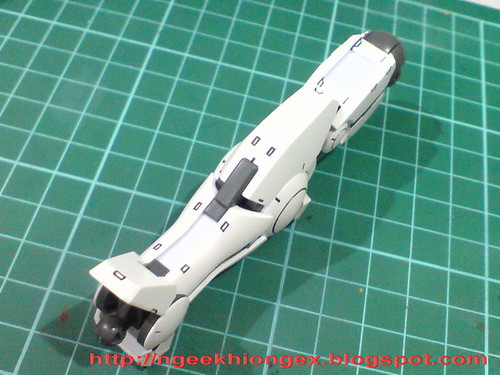
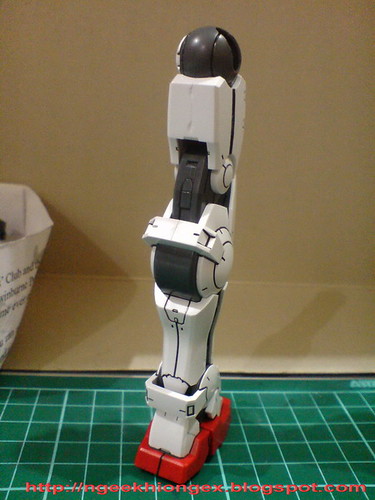
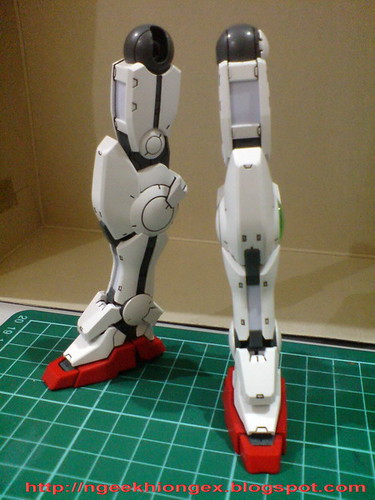
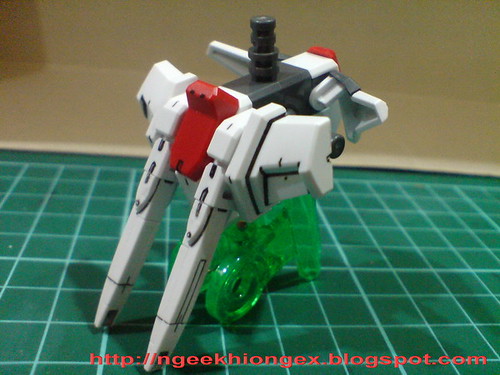
Completing the right leg by adding on the thigh joint and foot.
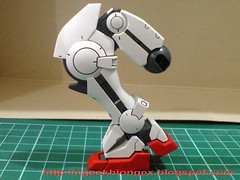
Extremely articulated for a 1/100 scale kit. ^^
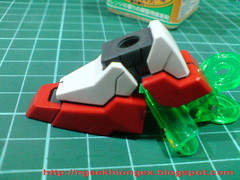
Thigh joint is separated from the upper leg, allowing a lot more flexibility and stability in posing the completed model. Back in 2007 when this kit was released, such joint design is highly unconventional for a 1/100 scale release. ^^
The foot can bend outward for greater posability of the lower leg as well.
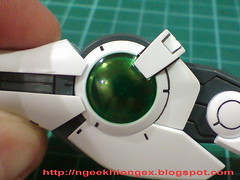
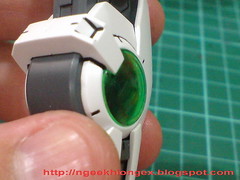
Nice fluorescent effect from the normal highlighter paint on the opposite face of the leg's clear part. ^^

No variation in terms of parts or assembly for the left leg.
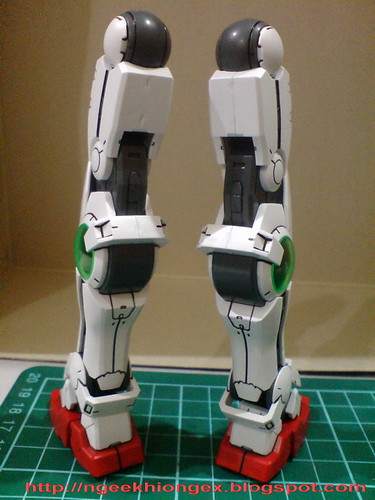
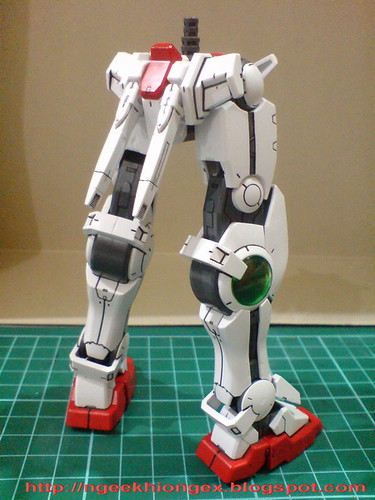
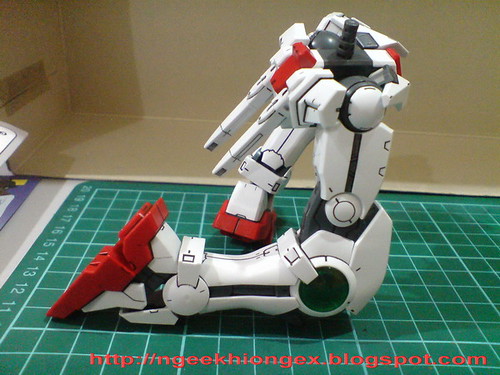
Both legs are completed. ^^
Parts for the waist.
Done for the waist.
The component with the most number of part is actually the beam saber mount piece.
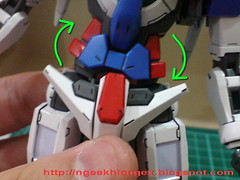
Front skirt armor can flip upward.
Beam saber mount piece can flip upward and then bend to the side, a feature that is loyal to the original design of Gundam Exia. Also, the pieces move independently of each others because I split that part in Part 3.

Done for the lower body.
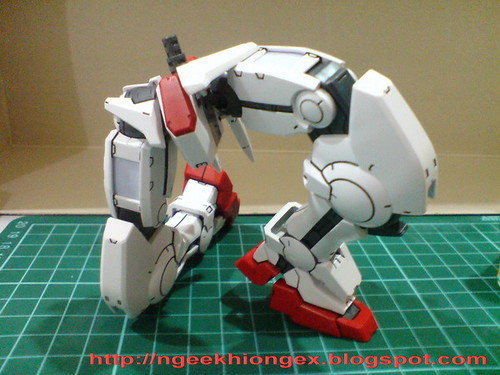
Pretty OK for the kneeling position. Forward positioning of the thigh is limited by the front skirt armor unfortunately.
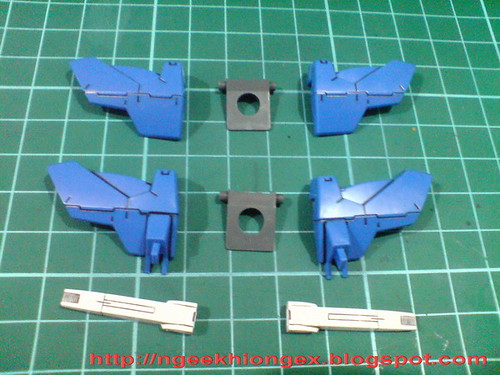
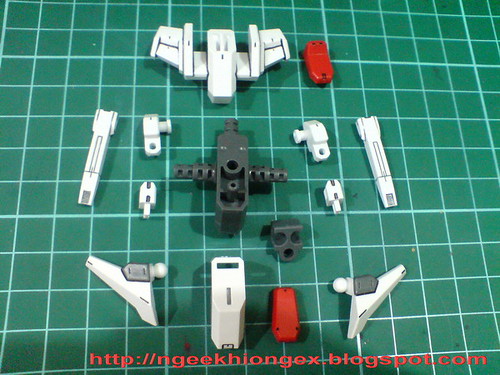
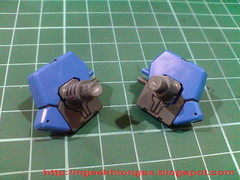
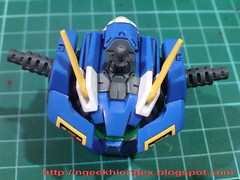
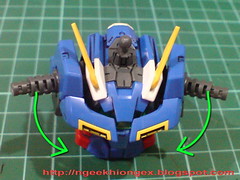
Very simple parts for the shoulder armors.
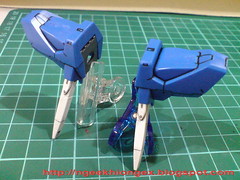
As simple as they are, I'm glad that the designer included a separate base between the shoulder joint and the arm instead of designing the armors to be assembled directly onto the upper arms like most other 1/100 scale Gunplas do.
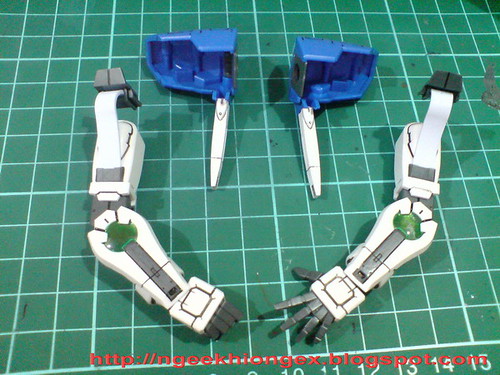
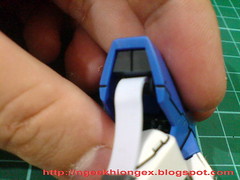
The upper arm is linked to the shoulder armor via the base of the GN Stripes.
The gray part provides more depth to the interior of the armor as part of the mechanical details. ^^
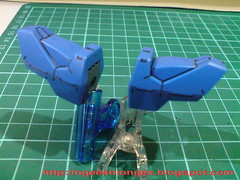
Shoulder blocks, with joints that can move frontward and backward.
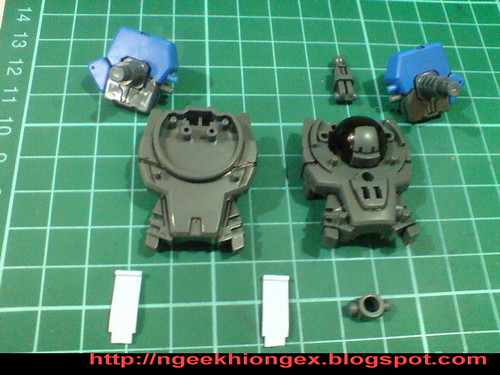
Parts for the body's core.
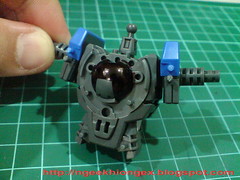
Done.
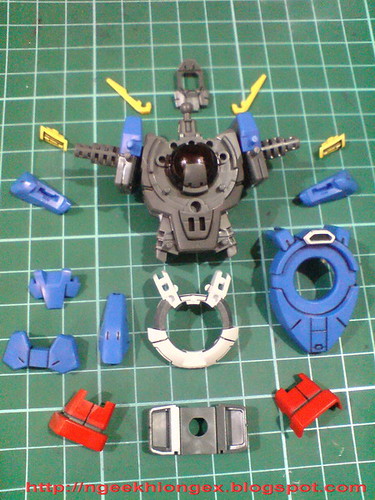
Adding on the armors and other very colorful parts. ^^
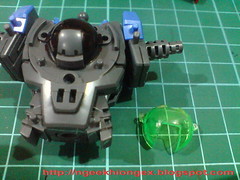
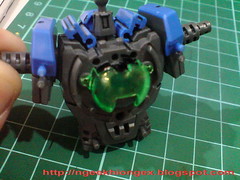
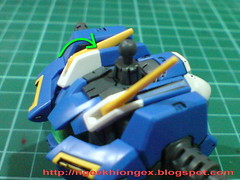
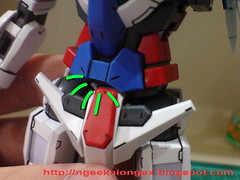
Clear green part painted using normal highlighter strikes again. ^^ This time for the GN Drive on the chest.
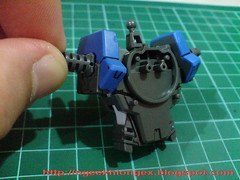
Body unit completed.
The gray part shown at the bottom will fit in between the torso and the waist.
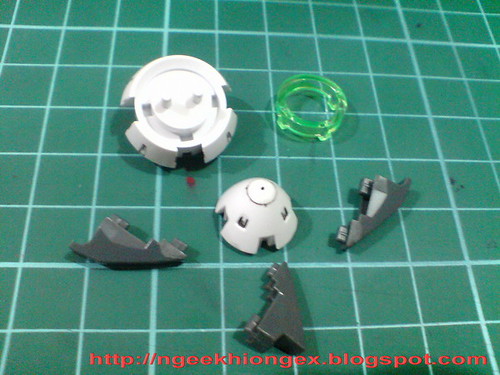
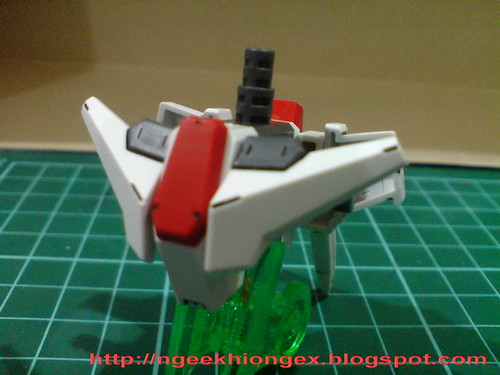
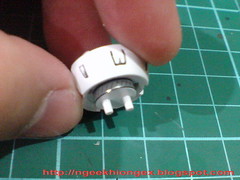
Parts for the GN Drive cone on the back of the body.
Silver foil sticker for the "gear" portion of the white part.
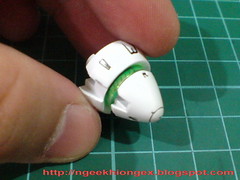

Done for the cone. ^^
Fitting this component onto the back of the model will complete the body unit.
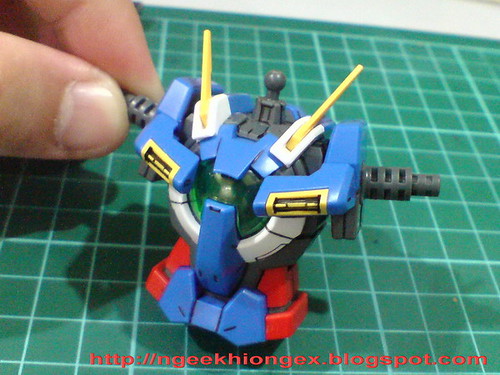
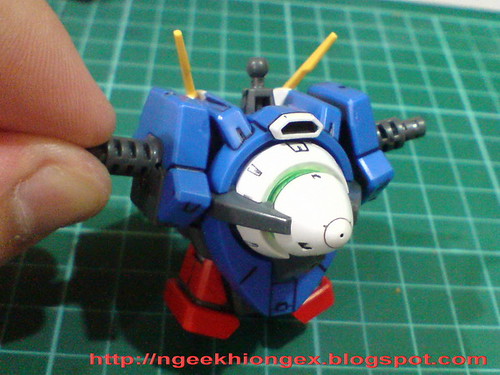
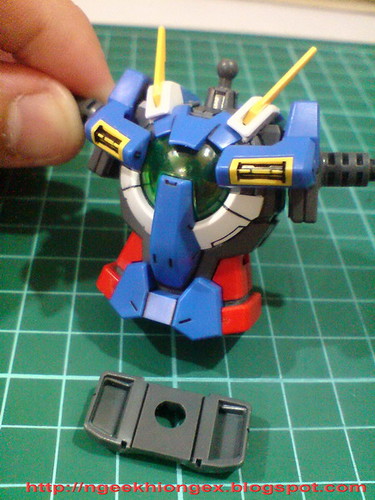
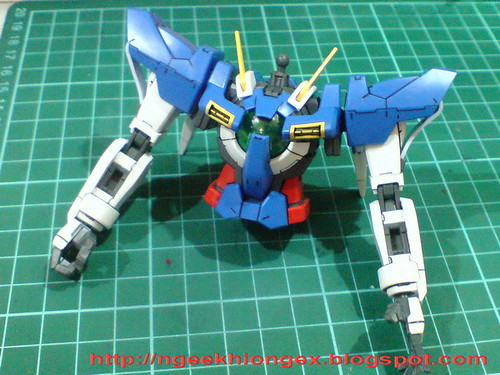
A look at the articulation of the shoulder joint on the completed model.
The chest vents will shift with the shoulder joint, giving the model a much more dynamic look when it's in action. ^^
And of course, the shoulder joint can bend upward as well.
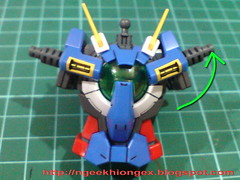
The V-Fin on top of the chest can be lowered.
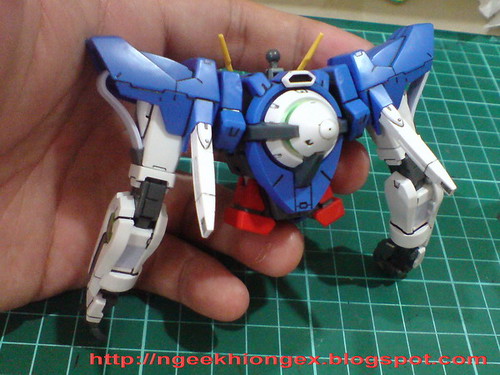
Upper body done.
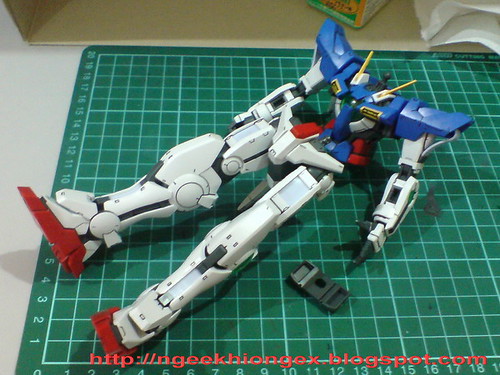
Combining the upper and lower bodies, with the gray waist part sitting in between the two components.
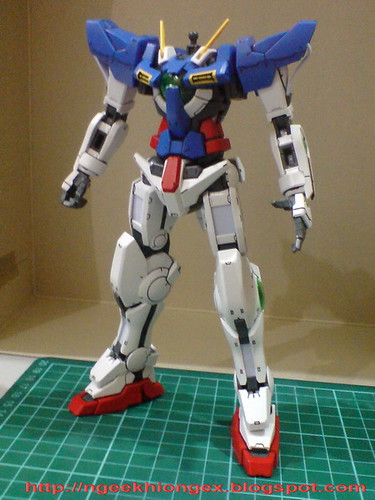
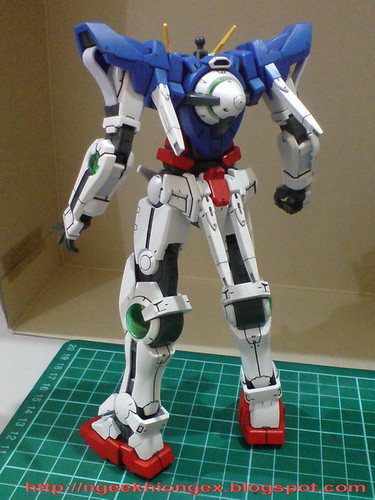
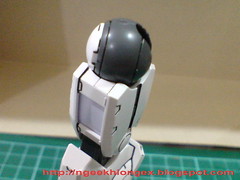
Waiting for the head unit to come in now. ^^
Thanks to the very long joint of the waist, and a little bit of gap between the upper and lower bodies, the waist can bend upwards and downward. ^^
Limited turning to the left and right, as the abdomen part will collide with the middle portion of the waist.
Will be completing the assembly of the entire model in the next posting. ^^


3 comments:
I built the HG 1/144 and made a review of it on my blog, and seriously, to be honest Bandai used a lot of it's HG engineering at their 1/100 no grades...
Still great work as always Ngee ;)
I really admire your attention to the little details. I got a HG version of Exia. Now after reading ur post, now feel like buying a MG version :)
I like how the green colour turns out for the GN condensors. I think I will try that out for my upcoming HQ 00Q ^^
Oh and by the way, the thigh joint can split apart as it's somehow not held together too well. I had to use superglue to hold mine firm and still together :\
Post a Comment