The first part on the assembly of Lego Creator No. 4997 Transport Ferry after the introduction yesterday. ^^
Technically, it's all done by now, but there are too many pictures to be cramped into one posting so I split it into two. This one will cover the main body of the ferry. ^^
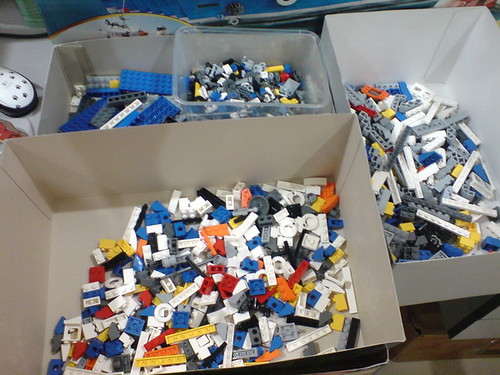
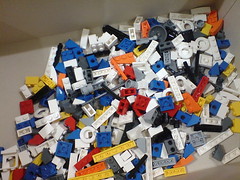
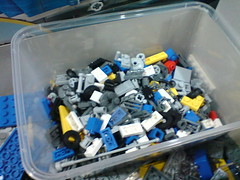
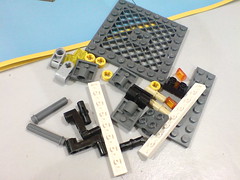
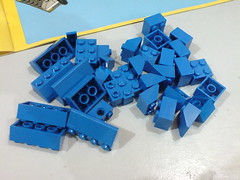
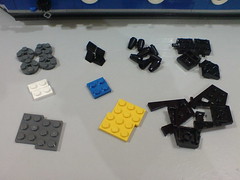
My method of categorizing the many parts: separate boxes for the largest, large, medium-sized and small parts. Empty plamo kit boxes are extremely helpful here. ^^


A large table with white tablecloth would be much easier, as shown in the video in the first posting yesterday where all the parts are grouped nicely according to their shape and size.
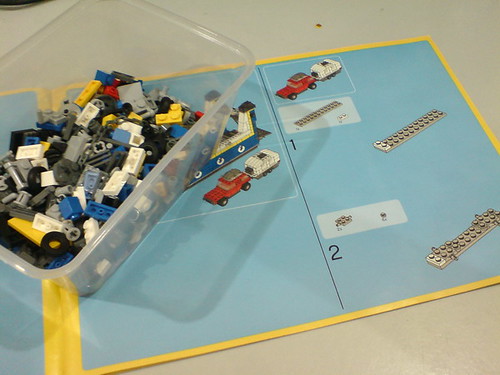
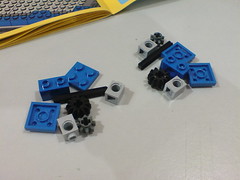
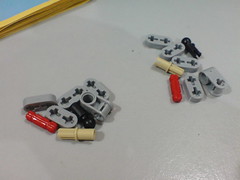
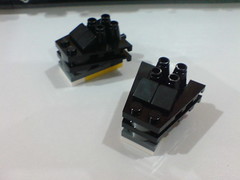
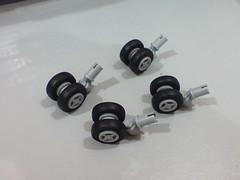
Following the manual very closely, the first thing to build is the SUV and its trailer.

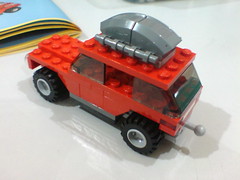
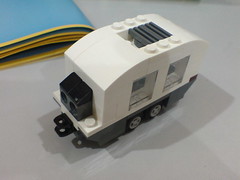
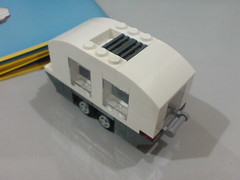
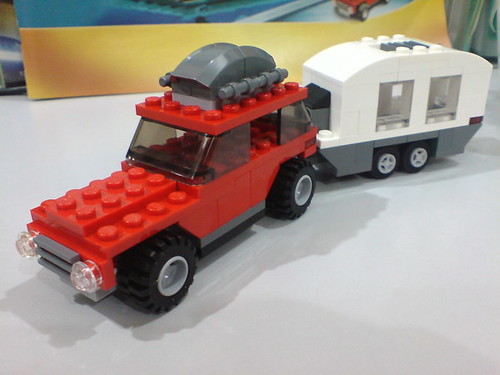
Done. All the wheels are workable of course. ^^
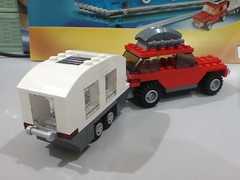
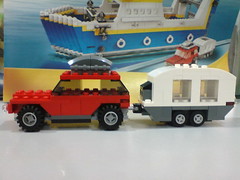
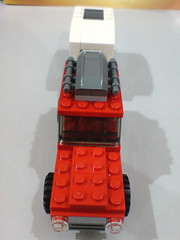
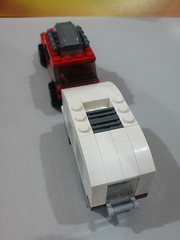
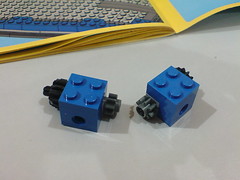
Both components are connected via a part with ball-type joint.
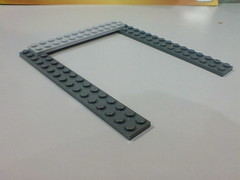
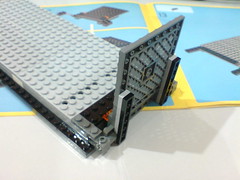
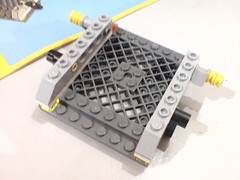
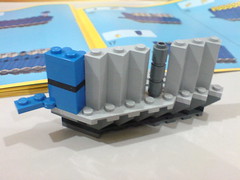
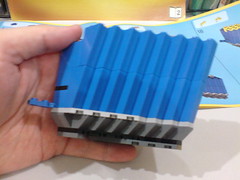
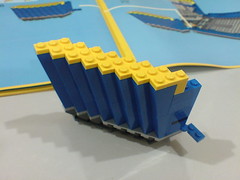
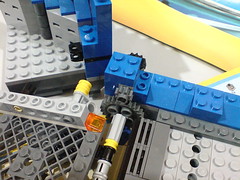
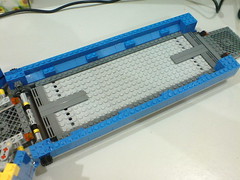
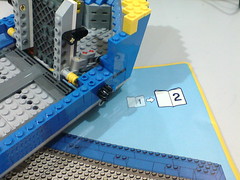
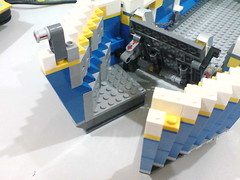
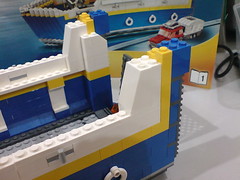
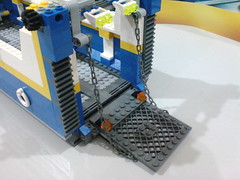
Starting on the base of the ferry.
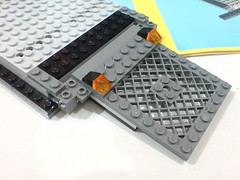
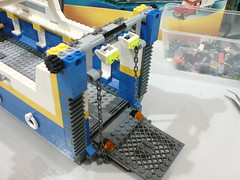
The rear gate that can be raised or lowered freely.
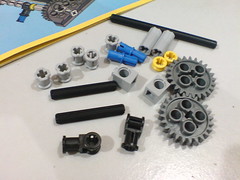
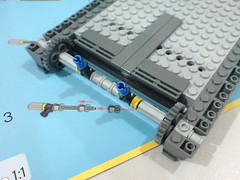
Gear parts for the handle that controls the front gate.
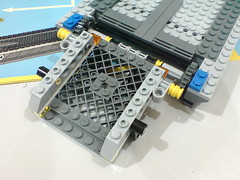
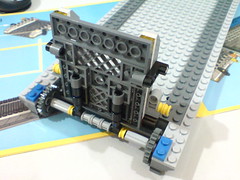
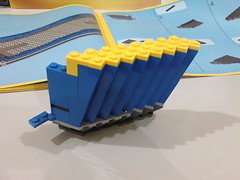
The front gate can be raised or lowered as well.
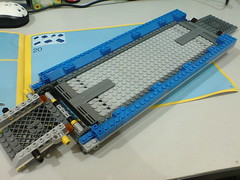
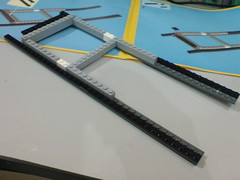
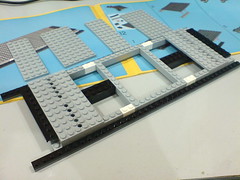
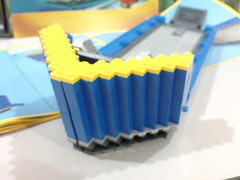
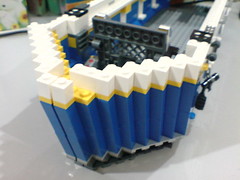
Building up the ferry's wall.
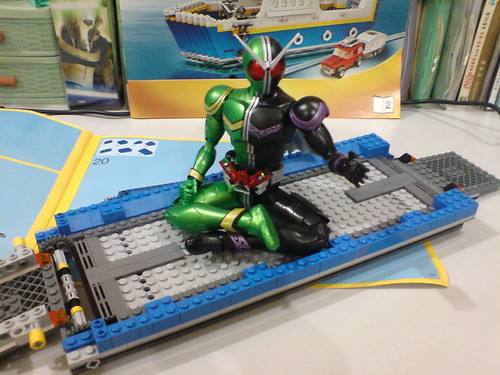
Cameo appearance of MG Figurerise 1/8 Kamen Rider W Cyclone Joker to show you the size of the base XD
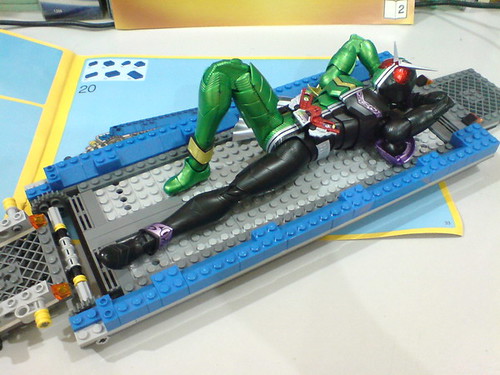
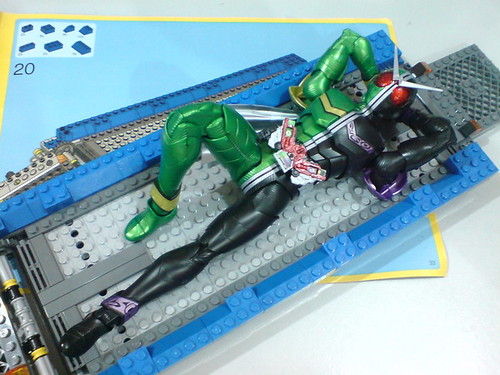
Just the right size for his bed ^^
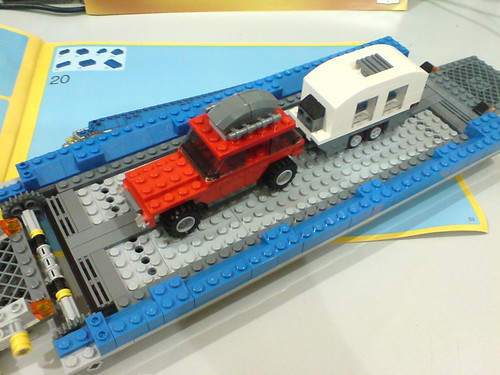
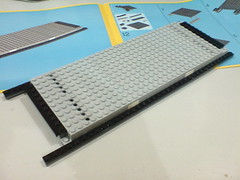
Just the right size for the SUV and its trailer as well.

Assembling one of the front doors.
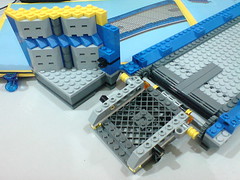

A preview on how the door and the gate work.
The other door.

Another look at how the doors and gate work, with both doors completed now.

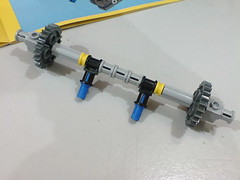
Gear parts that will allow you to control the opening and closing of the doors from the outside.

Linkage parts that will connect the raising/lowering of the gate with the opening/closing of the doors.

Done for the doors and gate. Time to see how they work. ^^
Front door and gate gimmick.
Video clip is from Youtube. Follow this link to the website if you can't see anything.
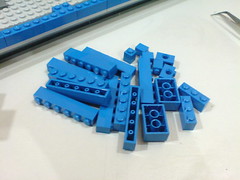
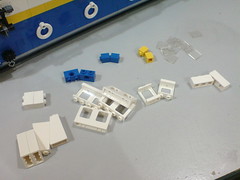
More blue parts to increase the height of the walls. ^^
Going into the second manual. ^^

More parts going in for the wall, including 8 special rescue rings.
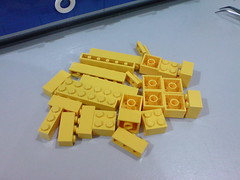
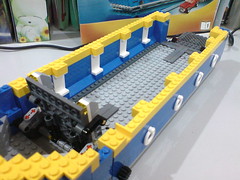
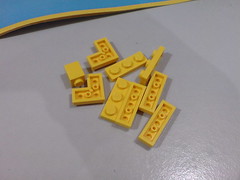
Yellow parts for the wall.
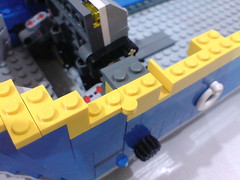
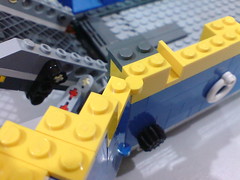
Yellow linked piece to secure the connection of the doors to the ferry.
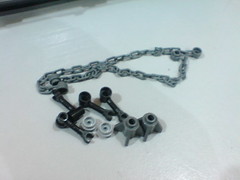
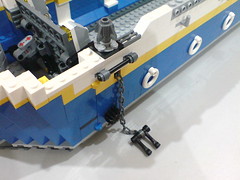
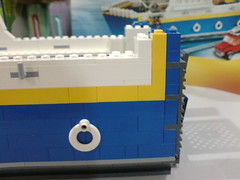
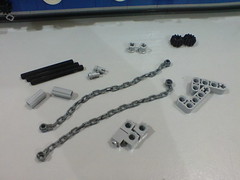
Chains and a few other parts for the anchors.


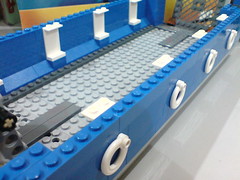
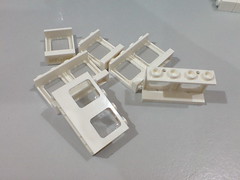
White parts for the wall.

One of the white bricks also covers the top of the opening for the anchor.
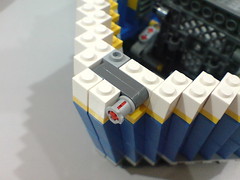
A lock secures the closure of the door.
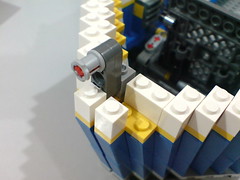
The base of the anchor sits on a brick piece that can turn, allowing the anchor to be released/retracted realistically. ^^
Anchor gimmick.
Video clip is from Youtube. Follow this link to the website if you can't see anything.


The anchor tabs onto the bar above it on the wall to secure its position.
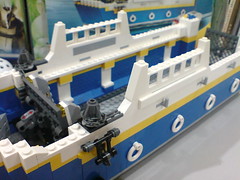
Assembling the windows leading up to the bridge of the ferry.
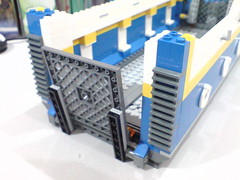
Vents (?) on the tail.
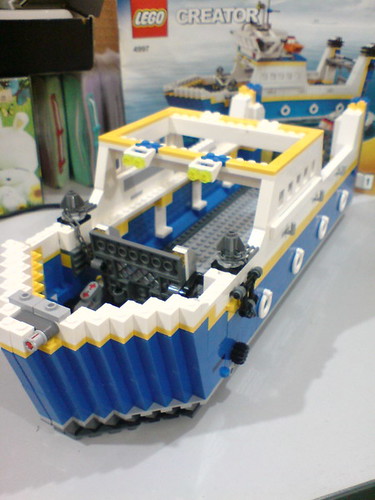
Progress so far. ^^
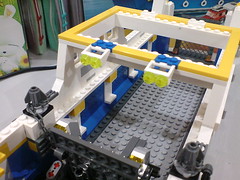
The position of the lights on the top bar can be adjusted.

Sames goes for the lights on the tail of the ferry.
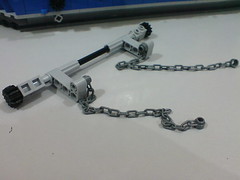
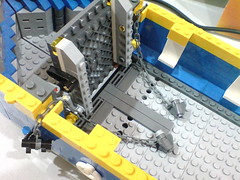
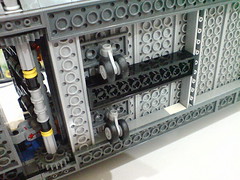
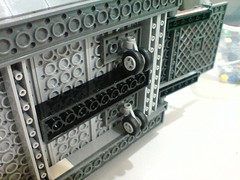
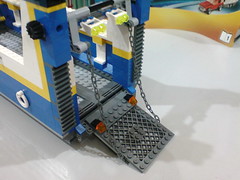
Bar with chains that will control the raising and lowering of the rear gate.
The chains that connect to the rear gate appear rather flimsy at this point, as a few components in another spot have yet to be assembled.
Before realizing that, the chains really had me worried about not assembling certain parts right for a while there ^^;
Engines (?) on the two towers.

The entire rear section of the ferry is done.
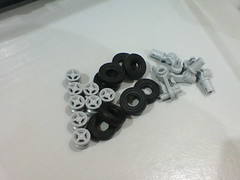
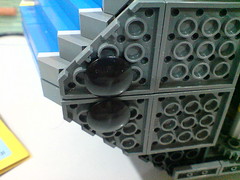
Wheels at the bottom of the ferry control the movement of the entire model.
The two alternate models move using these as well.
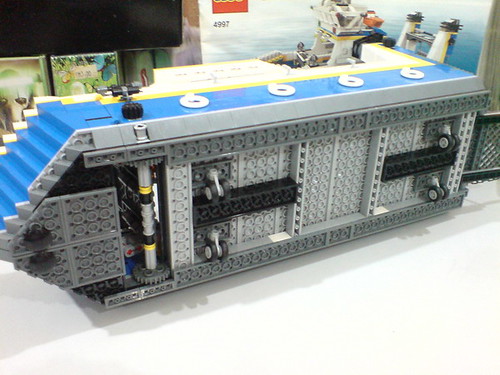
Bottom view.
Two buttons at the bottom of the front doors to enable them to slide smoothly when opened I believe.
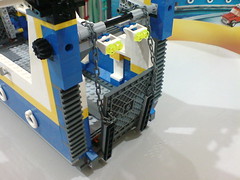
The wheels raise the ferry from the ground for a certain degree, which in turn allows the gate to be lowered just a little bit more. The chains stretch much firmer because of that now. ^^
Rear door and gate gimmick.
Video clip is from Youtube. Follow this link to the website if you can't see anything.
Apart from assembling the bricks to build the model, another fun thing to do in the whole process is just to find the right brick as instructed, and to see which spot it fits onto the model as shown in the manual. Sorting out all the bricks is great training for observation, organization and patience. ^^ I can most certainly see how why people regarded Lego bricks as educational toys all this while. ^^


No comments:
Post a Comment