Back to playing with plastic parts (XD) after the review on HCM-Pro Cherudim Gundam - a completed figure, even though it's also made of plastic, technically (XD). The second Master Grade to be assembled this month, after Gundam Mk. II Ver. 2.0 is going to be the mighty Shin Musha Gundam. ^^

Personally, I have my own expectation for this kit. The armors are going to be awesome, I have no doubt about that, mainly because the parts look so unique and fun when I was applying all the panel lines and some paint work on them previously. I'm more interested in its inner frame actually.
I worked on the same frame for MG Gundam RX-78-2 Ver. OYW, and while the outcome was pretty good, I just knew some of the paint work could have been better. So for Shin Musha Gundam, I did it more carefully, especially the pre-assembled frame, so in turn, I'm expecting the work to yield a much better result as compared to MG Gundam RX-78-2 Ver. OYW. Furthermore, this will not be my last experience with this leg frame. I still have that limited MG G-3 Gundam Ver. OYW - a kit I like very, very much on my shelves. If the effort on Shin Musha Gundam proves to be successful, I can just reuse the technique for G-3 Gundam and cruise through the work while really enjoying it. ^^
So I'm all excited about how the leg frame will turn out. ^^
In before the leg frame, "warming up" with the arms first: XD
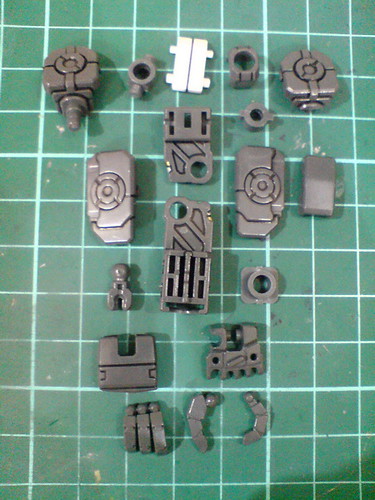
Inner frame parts for the right arm.

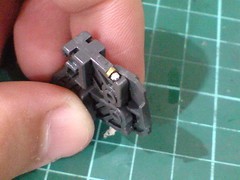
Pretty standard articulation design for the elbow.
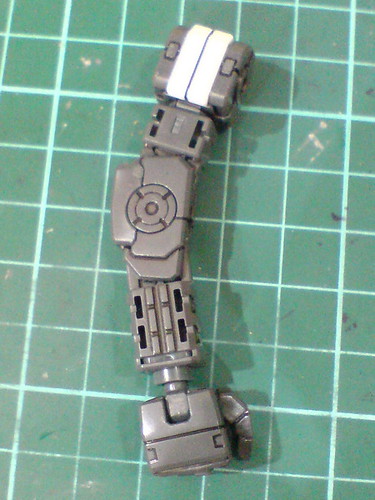
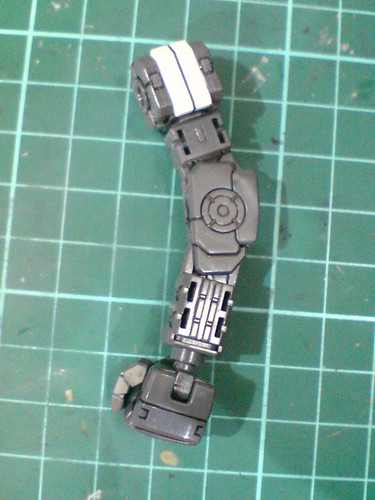
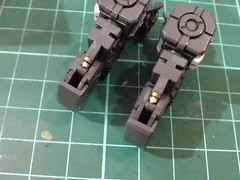
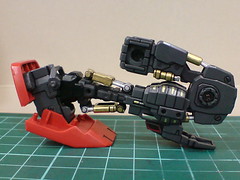
Right arm completed.
Very wide bending range for the elbow.
Parts for the left arm.
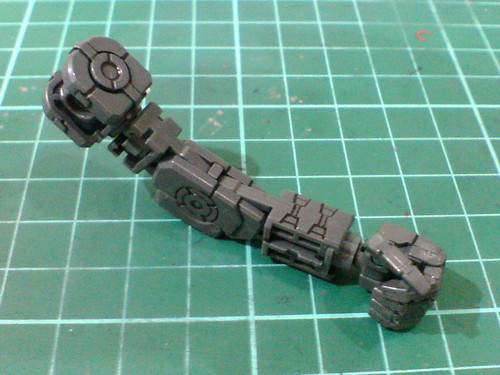
Just a repeat of all the parts and assembly method from the right arm.
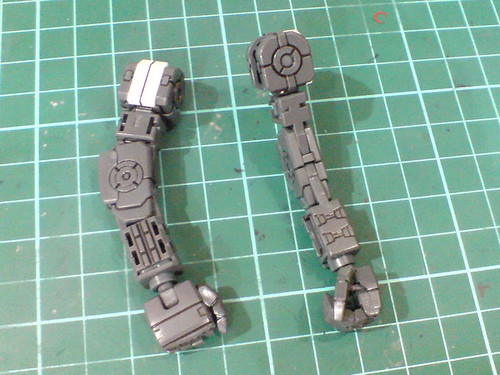
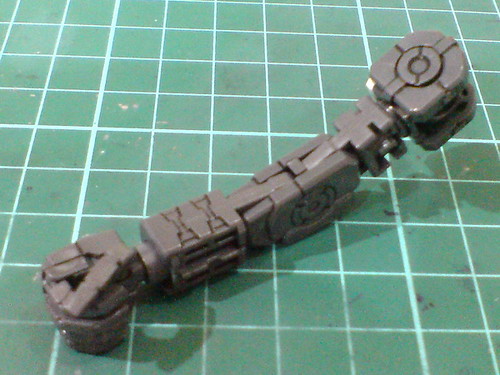
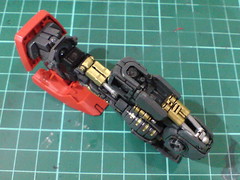
Both arms are done.

Those tiny fixed hydraulic pipes behind the elbows will be exposed when they are bent. ^^
The start of the "main course":

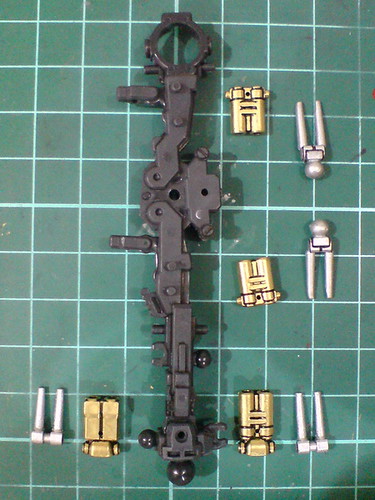
Parts of the pre-assembled frame for the right leg.
Supposedly all fixed on the leg frame, I separated the hydraulic pipe sets to paint them in Part 6.
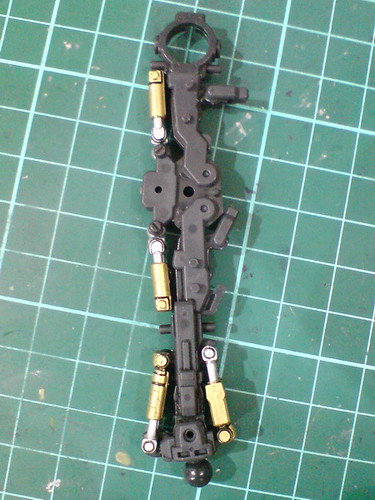
Reassembled all the hydraulic pipe sets onto the frame.
Looking pretty good so far, but I'll save the final remark till the test on its articulation. ^^
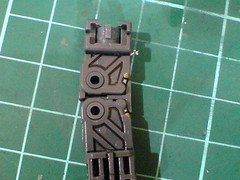
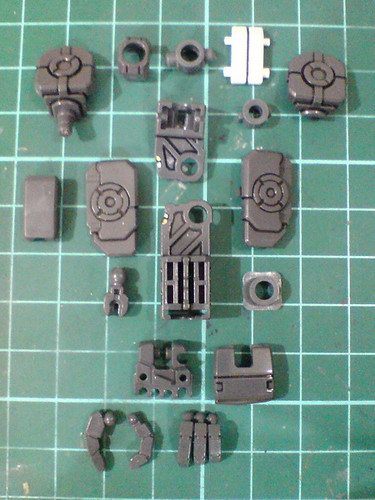
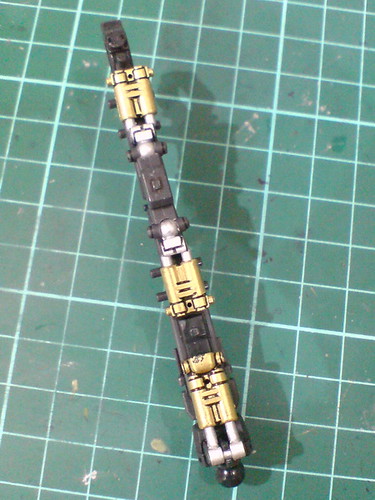
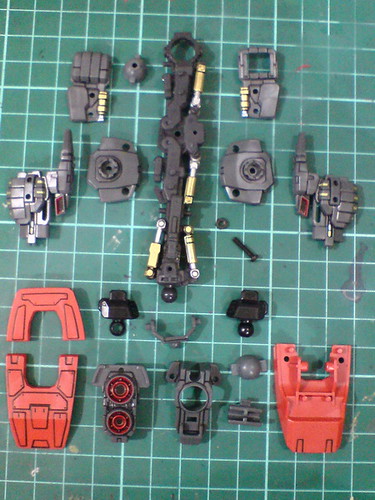
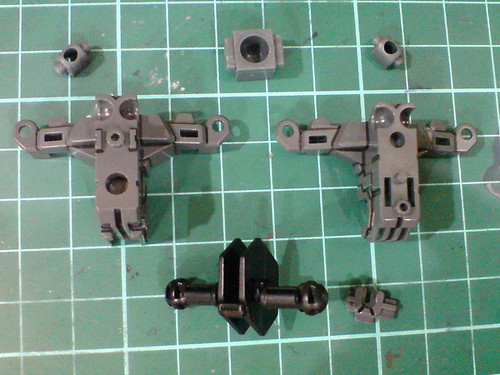
Inner frame parts for the right leg.
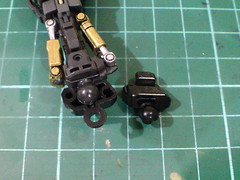
Two extra parts that extend the ankle joint for just a little bit.
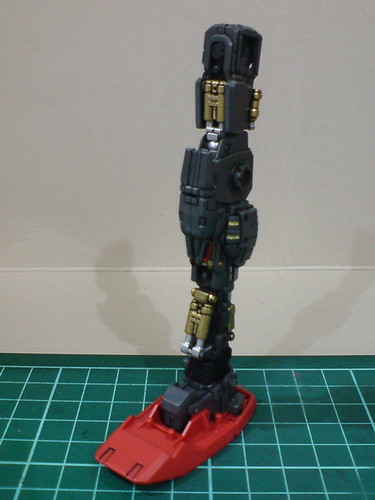

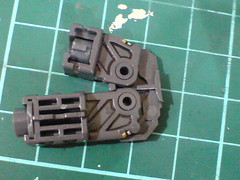
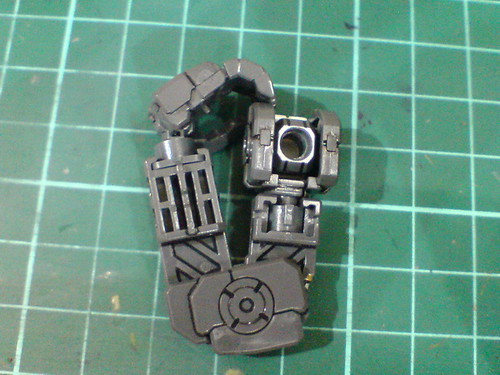
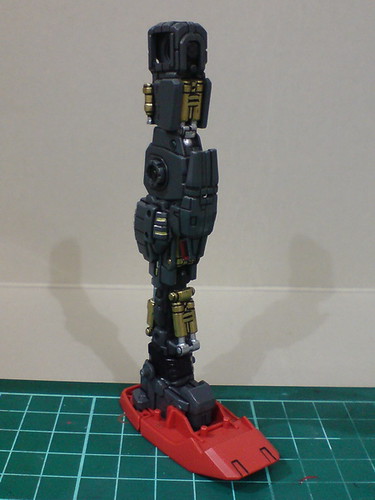
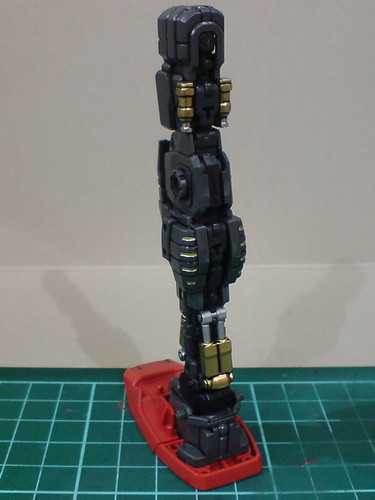
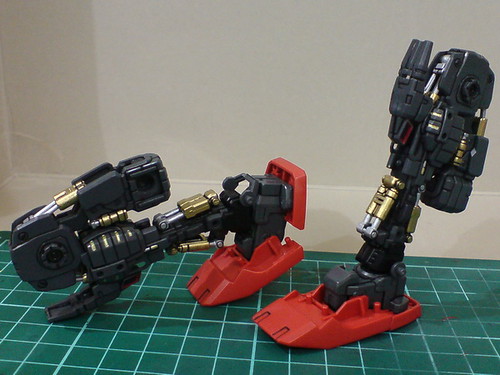
Done for the right leg.
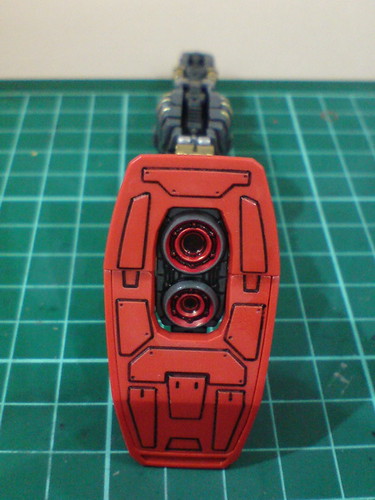
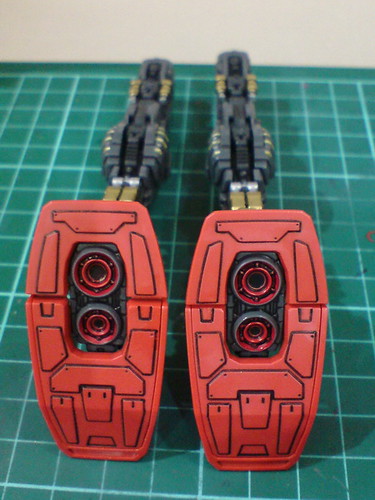
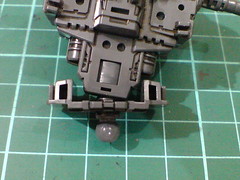
A look at the details beneath the foot.
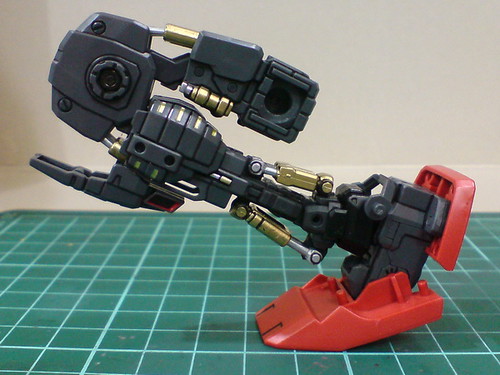


All the bling-bling are nice, and the paint work doesn't hinder the movement of those pipes as well. Everything is working very nicely. ^^
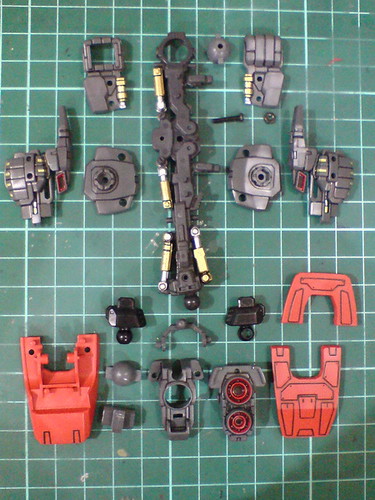
Parts of the pre-assembled frame for the left leg.


Reassembled all the hydraulic pipe sets onto the frame.
Inner frame parts for the left leg.
Done for the left leg.
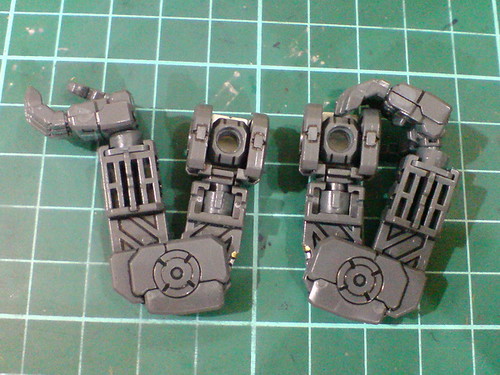
Like the arm unit, everything is just a repetition of the other side, ...
... but it's definitely an add-on to the excitement to see all the parts working for the second leg. ^^
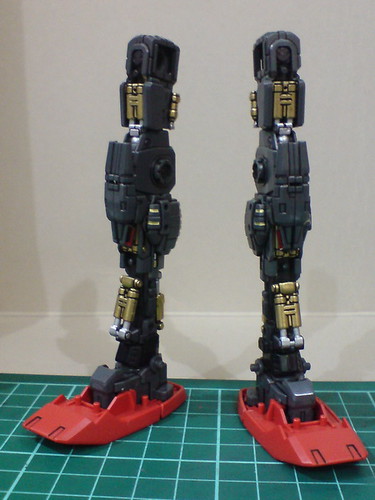
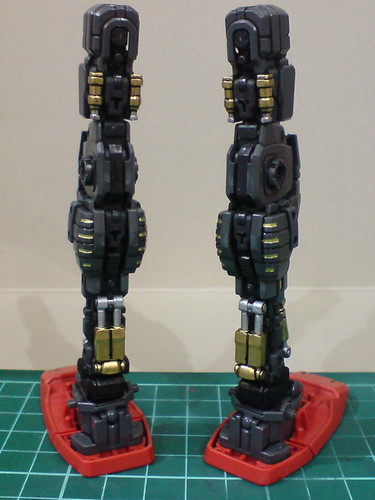
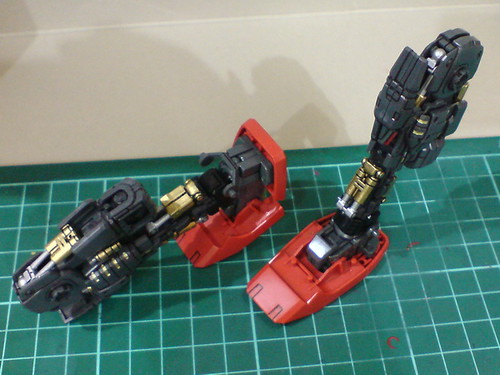
Parts that are supposed to be shiny are shining and parts that are supposed to move are moving. Very good, very good.

Continuing with the body module:
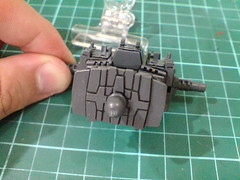
Parts for the waist
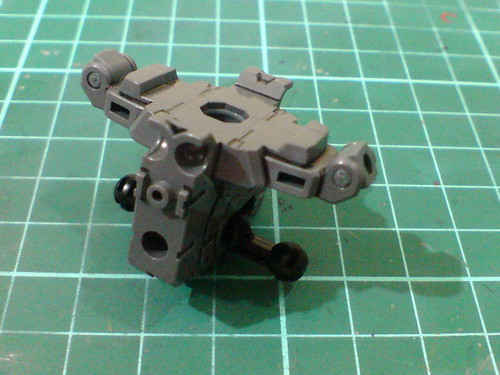
Very simple assembly for the waist.
Somewhat the same case with MG Infinite Justice Gundam I would say, the skirt armors and add-on for the waist have far more parts and are a lot more complicated than the inner frame unit.
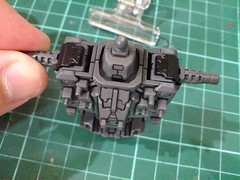
Sliding the level beneath the waist unit will swing the hip joint to the front/back.
A pretty simple gimmick by today's standard, but it was a huge selling point for MG Gundam RX-78-2 Ver. OYW, back when it was out in 2005.
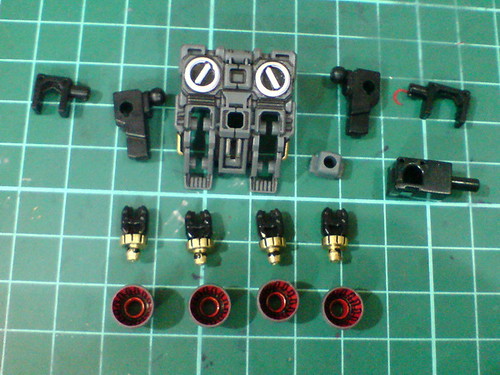
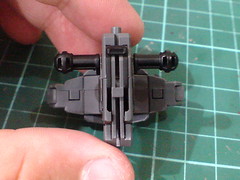
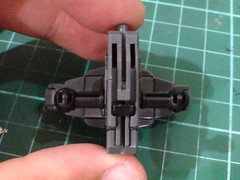
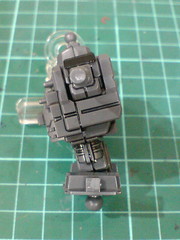
Inner frame parts for the backpack.
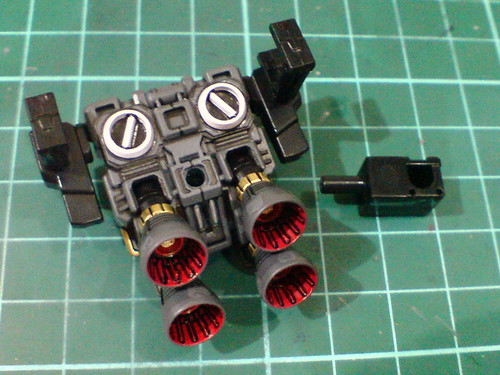
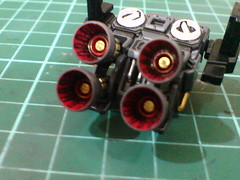
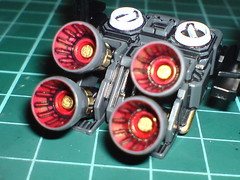
The painted red and gold interior of the thrusters is working well. ^^
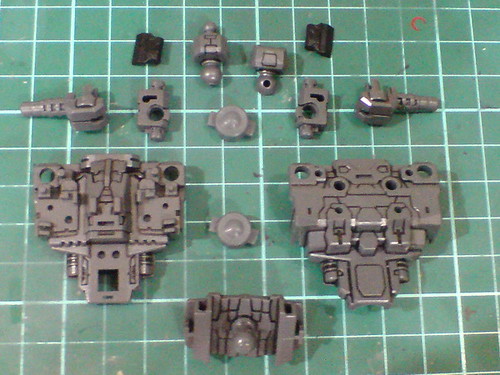
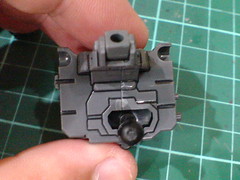
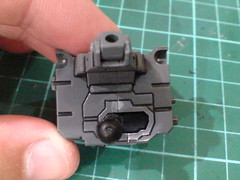
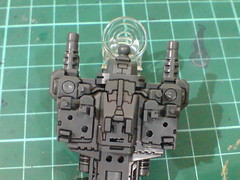
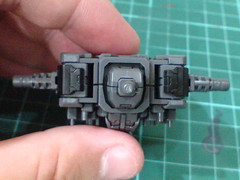
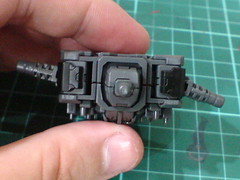
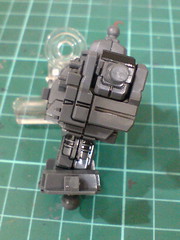
Inner frame parts for the body unit.
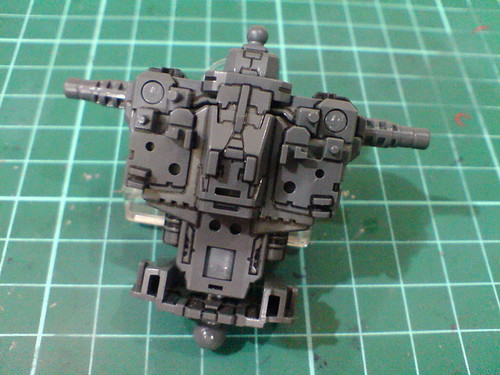
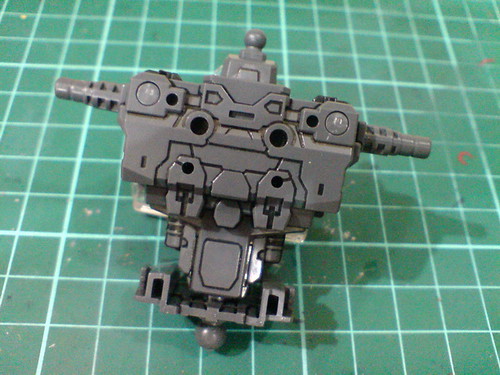
Completed. ^^
Quite an "alien" among the legs, arms and even the backpack, for having no bling-bling parts on such a big component.
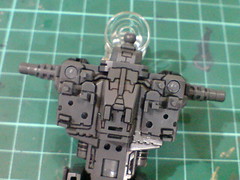
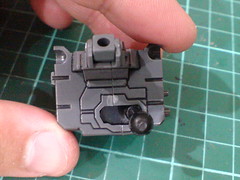
Articulation design of the shoulder joints.
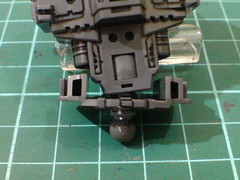
A huge ball-type joint on a large ploycap allows such flexible articulation for the abdomen, but I wonder how well it will do when the armors come on later. ^^;
Will be continuing the assembly of this kit in the next posting. ^^


No comments:
Post a Comment