Moving on with more work on 1/1 scale HoiHoi-san after the previous posting. ^^
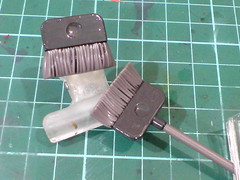
First item on the detailing list is the third "weapon unit" left out from the previous posting: the broom XD
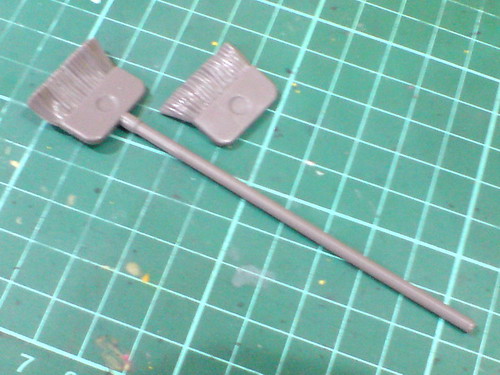
Colors needed for the broom: bristles - purple, body - flesh and stick - brown. Like the pistol painted in the previous posting, the molded color of the entire broom is going to be covered up if the paint scheme is to be adhered. ^^;
I'm not a big fan of flesh-colored broom body, so I'm not going to follow all the colors shown.
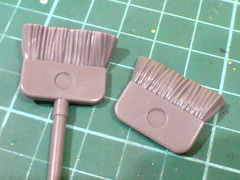
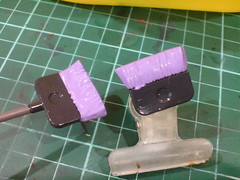
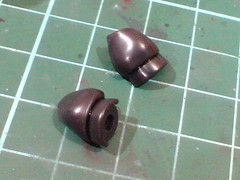
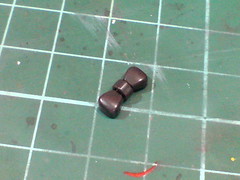
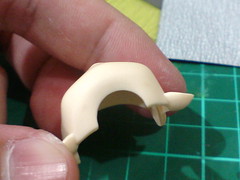
(Left) The edge between the bristles and body is panel lined first.
(Right) The body is painted gray using Gaia Color 074 Neutral Gray IV.
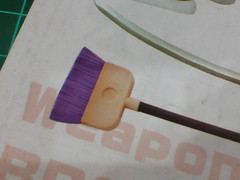
I like the purple-colored bristles shown on the manual, so I suppose I'll follow that color scheme.
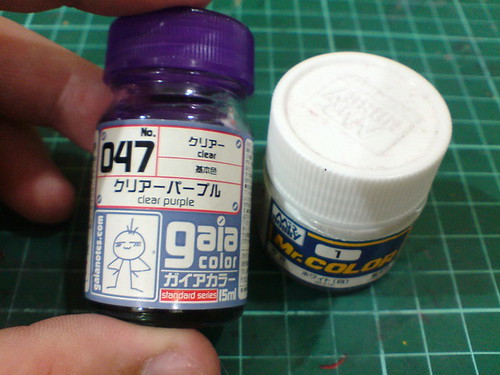
Using Gundam Marker GM19 Metallic Violet for such a wide area isn't exactly economical per se, so I mixed my own purple from Gaia Color 047 Clear Purple and Mr. Color No. 1 White Gloss. ^^
Gaia Color 047 Clear Purple was originally bought to paint the cockpit canopy of 1-72 Transformable VF-25S Super Messiah Valkyrie Ozma Lee's Unit. ^^
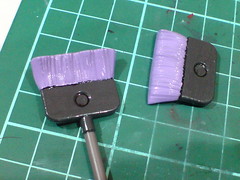
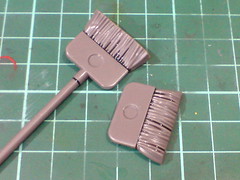
(Left) With the bristles painted.
(Right) The parts are re-panel lined when the paint has dried.
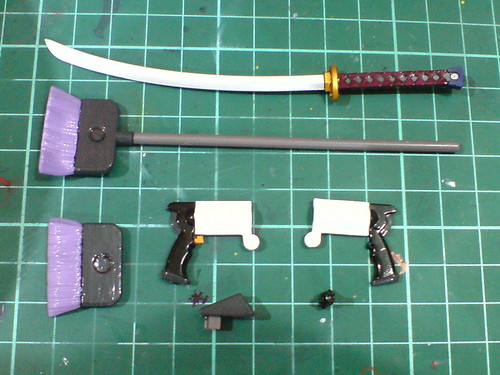
All seven "heavily" painted weapon parts. ^^;
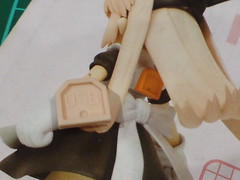
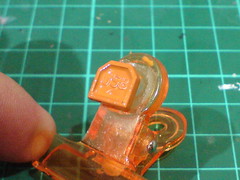
The USB port cover on the back of HoiHoi-san is molded in flesh color, so I painted it orange (mixed from Mr. Color 109 Character Yellow, Gundam Markers Gray and Red this time) to realize its actual color as shown in the manual.
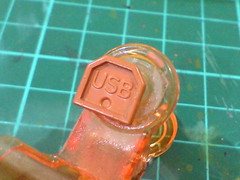
The result when the paint has dried.
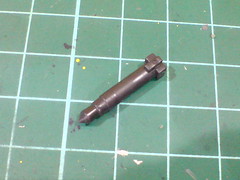
The head jack of HoiHoi-san's rabbit ears headband must be painted as well.
A look at the color of an actual headphone jack. ^^

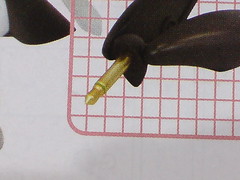
A duller and lighter shade of gold is preferred, but unfortunately I don't have a color like that. ^^; Instead, I just used Gaia Color 124 Star Bright Brass to mimic that color. ^^
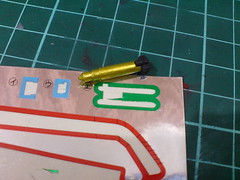
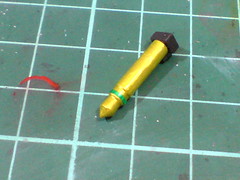
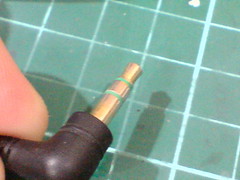
The metallic green ring around the jack is from spare Gunpla foil sticker sheet.
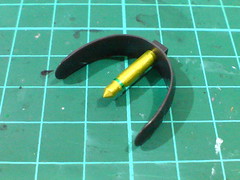
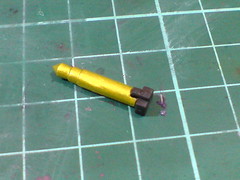
A preview of how the headphone jack is going to look like when assembled. ^^

In terms of panel lining on the actual model of HoiHoi-san, the work is actually very minimal. These are the only parts on the list I think.
While there's a line detail on the face part to show HoiHoi-san's lips, it's simply too thin to be seen clearly. ^^;
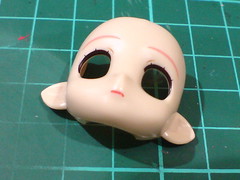

(Left) A slight cut using pen knife is made on the original line details of HoiHoi-san's lips before it's painted using normal red marker.
(Right) Excess red marker paint is wiped away using cotton swab soaked with thinner to leave a thin red line that would make HoiHoi-san's lips more noticeable. ^^
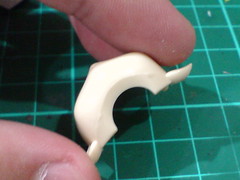
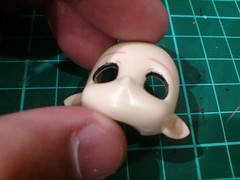
To improve the look of HoiHoi-san's head, the parting line beneath the face part is cleaned off using paper files 800, then 600 and finally 400.
And all is done for HoiHoi-san. ^^ Minus the lace pattern for her dress shown in Part 1, he detailing work for HoiHoi-san herself is actually very easy - just 2/3 of this last posting before final assembly and it's done. Majority of the paint work is actually on the three weapon components, which can be considered optional as you can pose HoiHoi-san without using any of her weapons. ^^
So, I think it's fair to say that this kit can be very polarizing when it comes to painting and detailing. For HoiHoi-san alone, the work is a lot simpler than many other model kits, but if extra details are also on the list of the work, it can be very tough, with many different paints needed, often light colors on parts with dark base color to add insult to injury. ^^; Nonetheless, working on this non-mecha plamo kit is a very unique and fun experience. ^^
As usual, there'll be a bit of offset time between now and when I revisit all the parts again for the final assembly. ^^


No comments:
Post a Comment