Car-to-robot mode transformation for Transformers Prime's Deluxe Class Cliffjumper after focusing on its vehicle mode in the previous posting. ^^
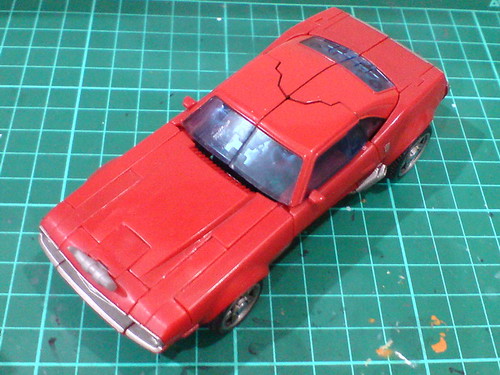
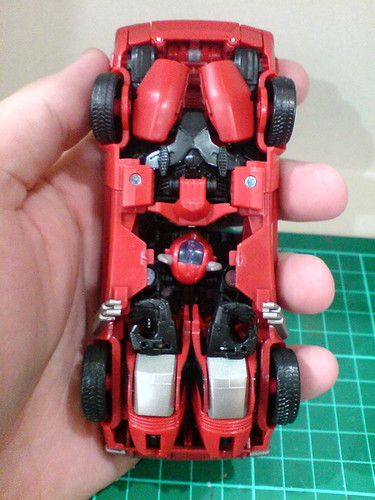
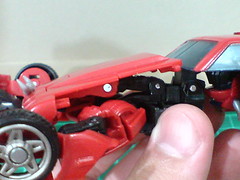
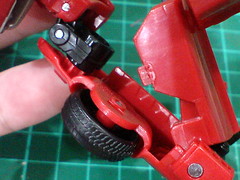
Showing off the transformation with the bottom view would give a better idea of how some of the parts are moved for a few initial steps.
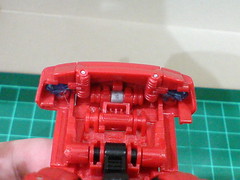
The car's side panels, which consist of the wheel, door and a tiny bot of the sindow are pulled outward to form the legs.
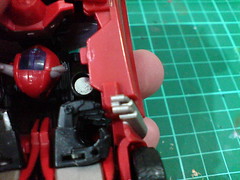
A tab beneath the door, ...
... and another one inside the bumper that secure each side panel on the vehicle mode are released.
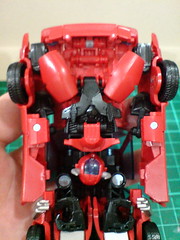
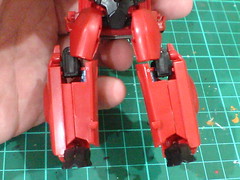
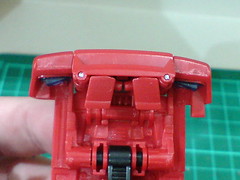
Using the joints in front (knee joints in robot mode), the side panels are swung forward for 180 degrees.
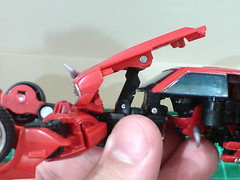
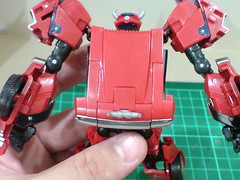
The hood is lifted upward to get it out of the legs' way for the time being.
The waist piece is flipped to front.
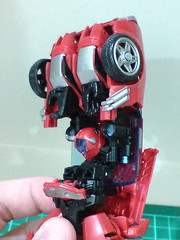
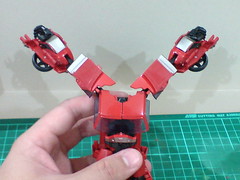
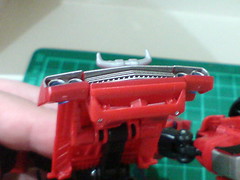
180-degree turn for the entire back portion of the car to form the upper body.
Current progress in the entire transformation sequence. ^^
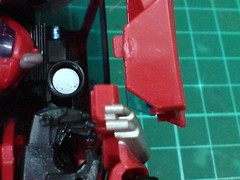
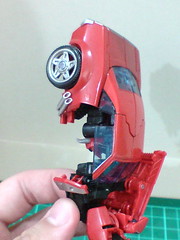
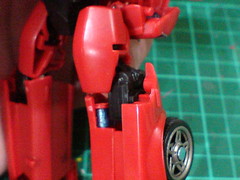
The tiny window piece on each side panel is flipped downward and tucked behind the car doors.
Using its ball-type joint, a black part is wiggled outward from behind the side panel and then bent downward to form the foot.
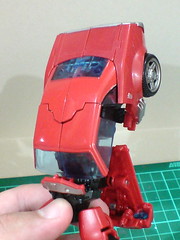
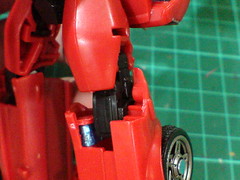
The bottom half of the side panels (the car doors) are bent inward.
A tab that pegs into its corresponding rectangular slot behind the wheel secure the leg parts' connection.
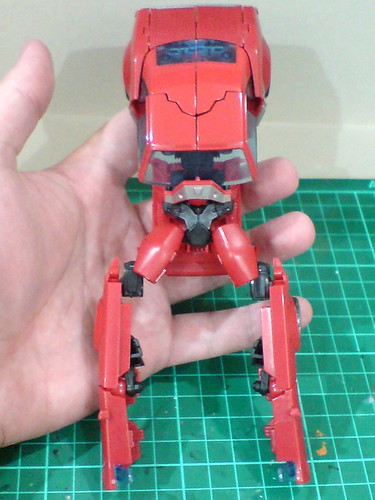
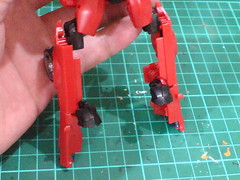
The knee joint is straightened by bending it downward.
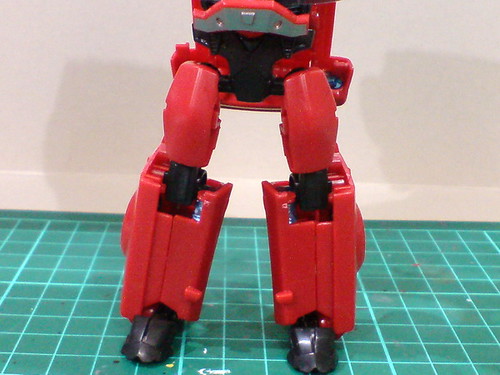
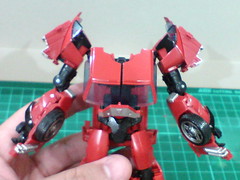
The lower body's transformation is done. ^^
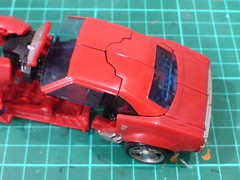
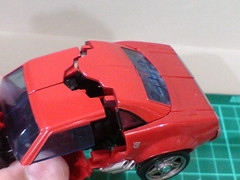
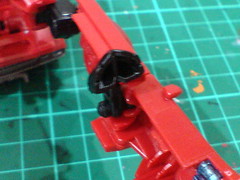
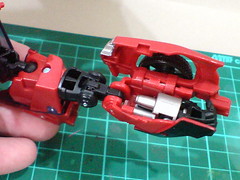
To form the arms, the car roof is "broken" in half first. ^^
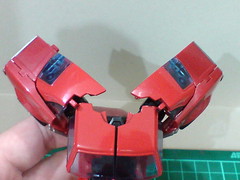
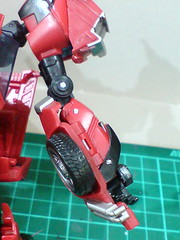
The trunk and rear screen blocks are split in half as well.
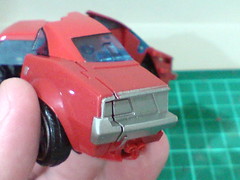
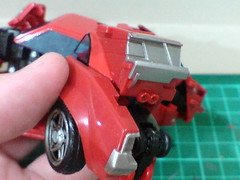
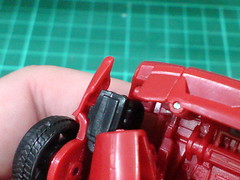
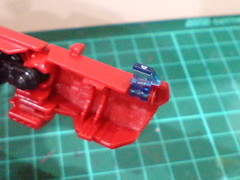
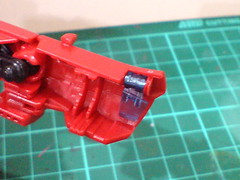
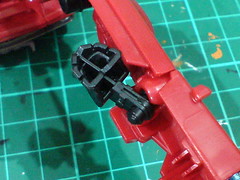
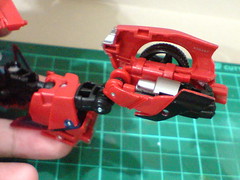
The rear bumper is rotated upward until it sits right on top the rear screen.
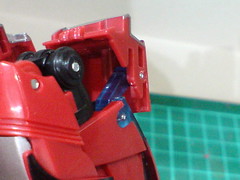
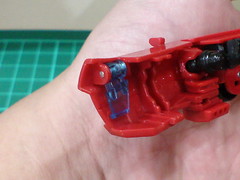
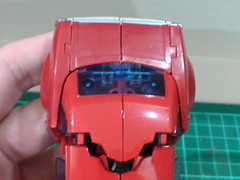
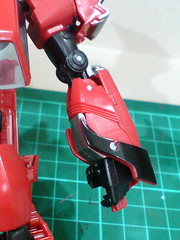
A look at the clear blue joint inside the part that enables the rear bumper's movement.

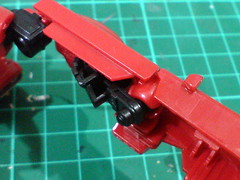
Not a transformation step, I'm just flipping the figure over as the next few steps can be explained better with the figure shown in a different position. ^^
The elbow joint is straightened by bending it downward.
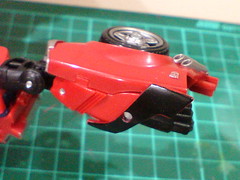
The rear side panel is flipped downward to complete the forearm's transformation.
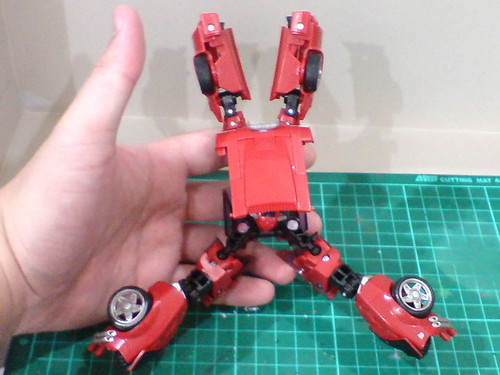
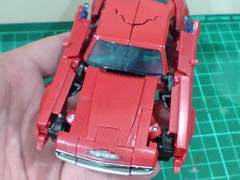
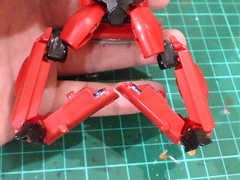
Another pit stop to check on the current overall progress of the transformation sequence. ^^
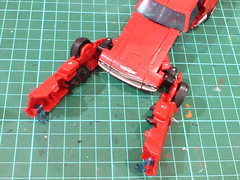
The arms are bent downward.
Turn the upper arm for about 90 degrees to get the arm in its right position.
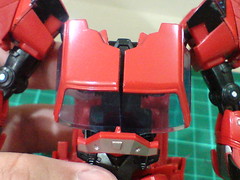
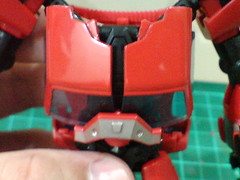
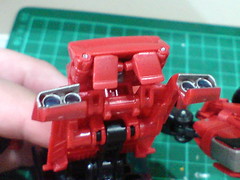
The chest panels (front half of the roof in vehicle mode) are split apart further.
A tab behind the waist piece flipped outward from the bottom of the car in a earlier step should be able to sit right between the panels.
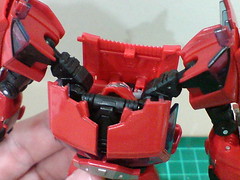
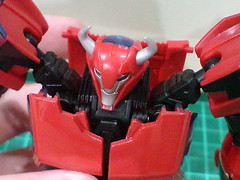
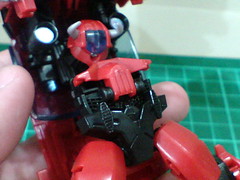
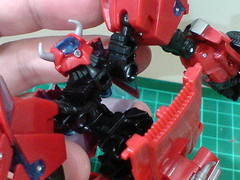
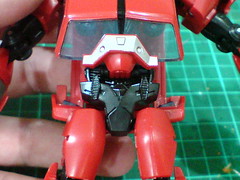
The head is flipped upward.
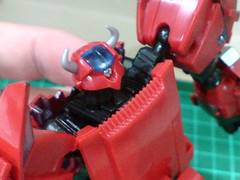
Cliffjumper's hood has a few very nifty transformation tricks. ^^
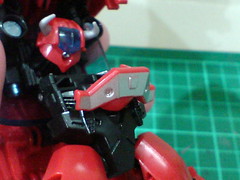
Two tabs beneath the headlights are rotated inward vertically until they sit right beneath the middle section.
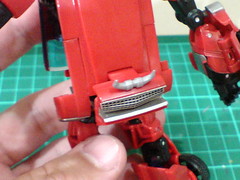
The tabs shown earlier on locks the headlights on the hood part. With them out of the way, the headlights can be separated from the hood.
The hood is secured to the back of the neck via a small square tab.
The grille section with the bull horns on the hood is lifted for about 90 degrees.
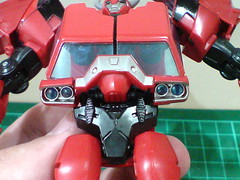
The headlights are tilted to the front of the body and somewhat hooked onto the bottom of the chest panels.
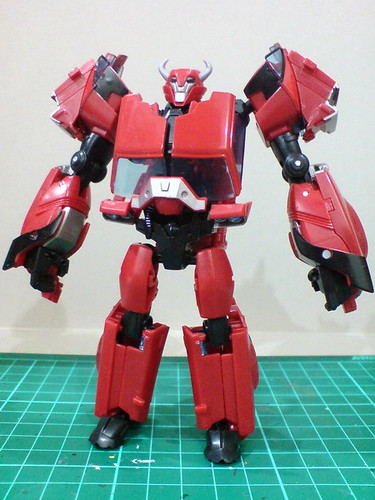
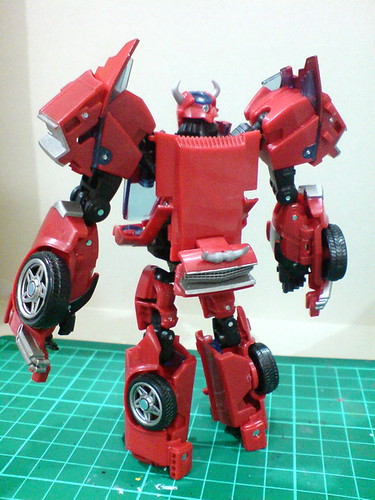
All done for Cliffjumper's transformation. ^^
More images of Cliffjumper in robot mode coming up in the next posting. ^^


No comments:
Post a Comment