After three painting intensive batches of work on Master Grade Sinanju Ver. Ka since the restart of this Gunpla project on Monday, the focus now shifts to adding details that are absent on some of the inner frame parts. ^^
Despite having a complete inner frame, the distribution of details is imbalance to say the least. There are definitely molded details on the inner frame, but only where the designers want you to see. ^^; Components like the top of the head, wing binders, forearm, chest area, and legs do feature simple details, which are pretty nice-looking nonetheless. However, without their armors, the exposed frame areas of the face, shoulder and skirt armors, abdomen, thighs, and feet almost look completely out of place when compared to nearly components with molded details. ^^; The front, and rear skirt armor parts are perhaps the main "victims" of the lack of details, especially with their large size helping to amplify the empty look on top of them. ^^;
Even with the part connection pegs, and slots all panel lined, the blank look on some of the parts can still be very obvious. While their look can be enhanced via paint work alone, for example the rear skirt armors' frame parts which now have areas painted in gold, silver, gun metal, and red after Parts 9, and 10, there are parts which feature too few molded details to be painted in different colors for similar effect to be realized so easily. For these parts, new details must be created using extra tools. ^^
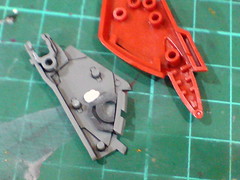
Three pairs of parts identified for this round of work:
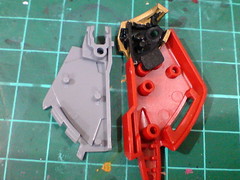

The front skirt armors, side binder of the legs, and calf thrusters.
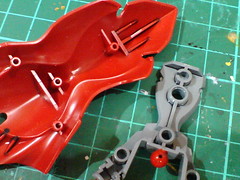
The parts are compared, and test fitted with their respective armors to find out the tolerable space for additional details to be added.
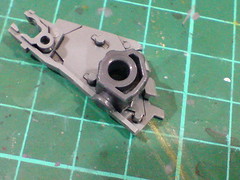
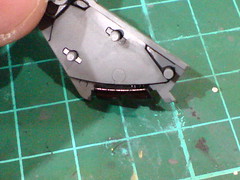
For the front skirt armor frame parts, the tolerable space is between the top of the vents and the pair of peg connectors to hold the armor part.
A polycap part from Keropla God Keron looks just about right as an additional part that would give the blank area additional details to look at, despite being completely void of any actual purpose. XD
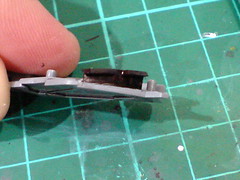
The polycap part is sliced up, and cut into a pair of smaller pieces for the two front skirt armor frame parts.

With the polycap part held in place using a little bit of "Tack-It" adhesive, the frame part is test fitted with its armor to find out if the added details would obstruct their assembly.
There's no connection problem spotted. ^^
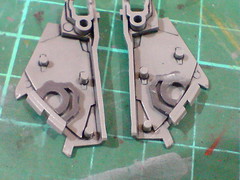
(Left) The vent area is painted black using normal marker.
(Right) Since the frame is going to be showcased, the vent area is painted very carefully - with clear, accurately separated border between the black and gray portion to keep the part as clean as possible. ^^
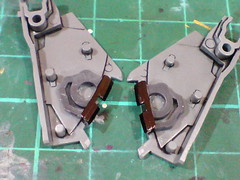
The polycap pieces are secured to the frame parts using superglue.
Just one additional part on each front skirt armor frame part is not sufficient to create a good look for the component I think.
More parts can be appended, taking advantage of the polycap pieces' hollow spots, and curved outer edge for more details to be seen on the frame parts.
Add-on parts from Modelling Support Goods (M.S.G.) Pla Unit P-101 Minus Mold, and P-106 Round Nozzle (S) can be used for the enhancement. ^^ The latter was first used to enhance the appearance of BB Senshi Nu Gundam's Hyper Bazooka, and High-Mega Shield in May last year. This MG kit marks the debut of P-101 Minus Mold though. ^^
A look at M.S.G. Pla Unit P-101 Minus Mold since this is the first time it's being called into action. ^^

Front view of the small package.
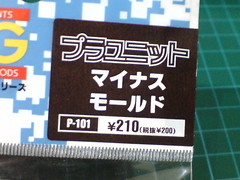
P-101 Minus Mold
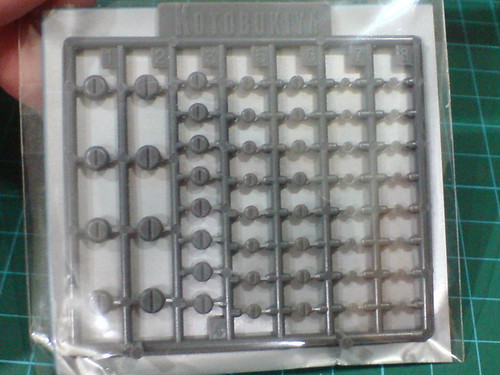
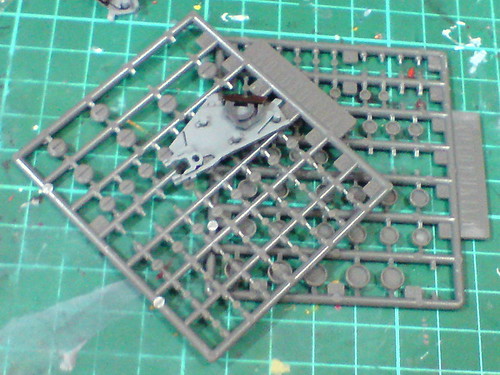
Closeup on the runner.
A single runner containing parts of the same design but in different sizes.
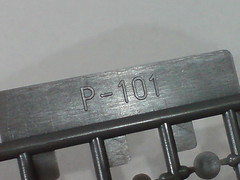
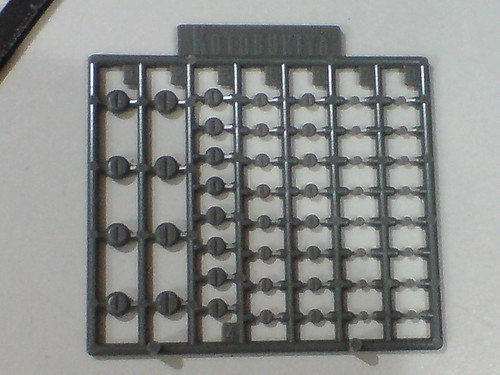
The label molded behind the runner.
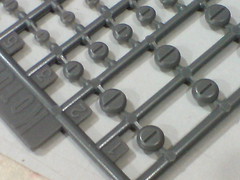
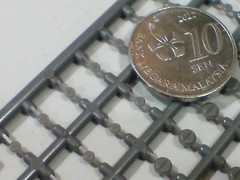
Besides the more regular-sized ones, there are also parts which are smaller than the gates they are connected to. ^^
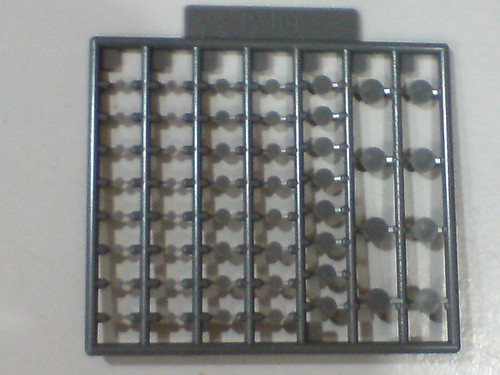
Rear view of the runner.
Test fitting one of the round nozzles from M.S.G. Pla Unit P-106 on the front skirt armor to find the right spot for the extra part to sit on. ^^
Two small minus molds from M.S.G. Pla Unit P-101 are going to be used to fit both the hollow points on the polycap piece, and the added round nozzle.
The pair of minus molds for each front skirt armor are painted in red, and gold (both from Gundam Markers) just to give them a bit of variation in terms of their look. ^^
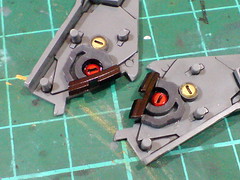
The painted add-ons are attached to the part using superglue.
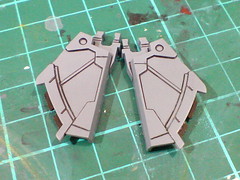
Simple panel lining for the details beneath the front skirt armor parts.
Adding similar details on the frame parts of the legs' side binder, and calf thruster is somewhat more challenging, as there are little tolerable spaces for extra parts to be added onto them. ^^; Add-ons from M.S.G. Pla Units P-101, and P-106 would still be very useful, but I'm aware that using them excessively on the same part is just going to make it look awkward, and impractical. In that sense, additional details to be given to the parts must come from another source. ^^
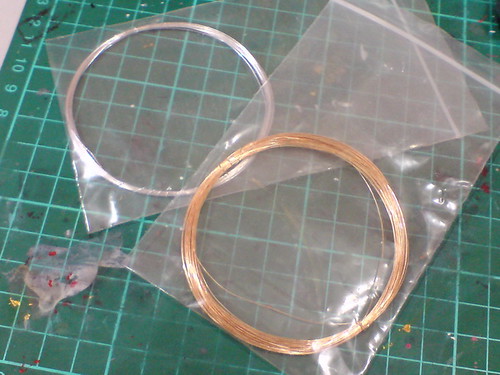
Tool to be used: brass string. ^^
I also have the silver type, which won't be used for the parts in this batch of work.
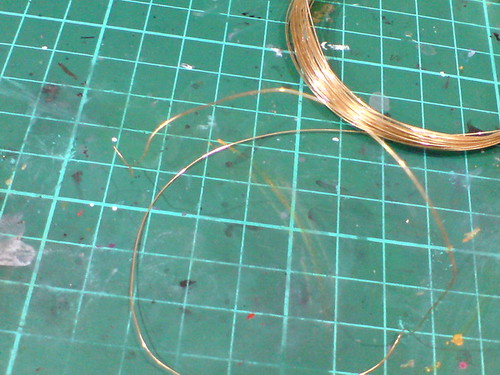
The flexibility of the string that allows it to be shaped with little effort is the main benefit of using it for the targeted parts.
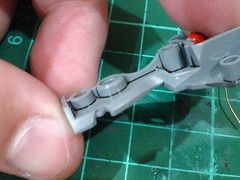
Tiny holes are made near the bottom edge of the middle bar on the legs' side binder frame part using pin vise with 0.2mm drill bit. The holes are for the brass string to go through later.
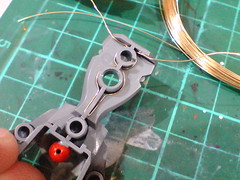
The string is curved around the part connection slots, and middle bar on the part.

The string is cut with its end point inside the tight corner on top of the part to minimize its exposure.

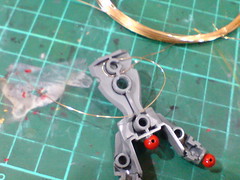
Done for both of the legs' side binder frame part.
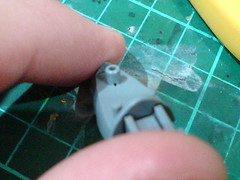
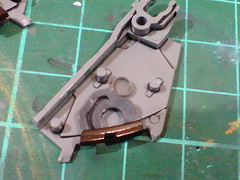
(Left) For the calf thruster's frame part, two holes are made on top of the bottom part connection peg to create the insertion point for the string add-on.
(Right) A segment of the string is bent to form the add-on.
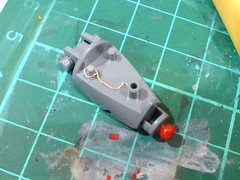
Done for one part.
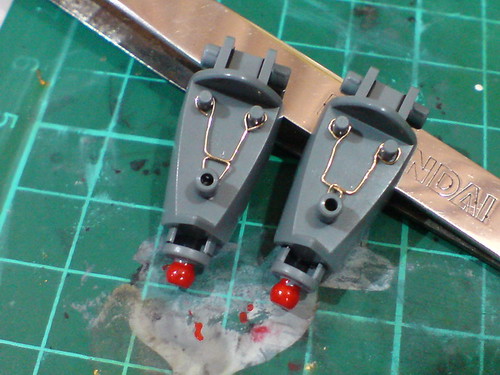
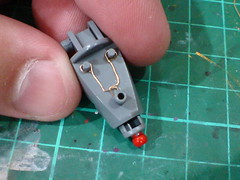
After much work, both parts now have the added string details. ^^
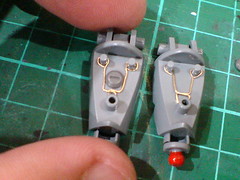
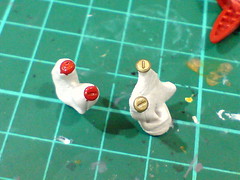
One minus mold from M.S.G. Pla Unit P-101 can be added to the blank spot to fill in the gap between the strings.

Once their position is confirmed, the minus molds are secured to the two parts using superglue.
Not shown in the image above, the small slits on the parts are later panel lined.
Much like the tagline of this particular posting, despite having completed the additional details on the six parts, I have no idea what kind of practical function (in a fictitious sense) they could contribute to Sinanju. XD
Going back to detailing the painted parts from Parts 9, and 10 next. ^^


No comments:
Post a Comment