The more intensive round of painting and detailing on BB Senshi Sangokuden Shin Koshin Gyan begins after the previous posting. ^^
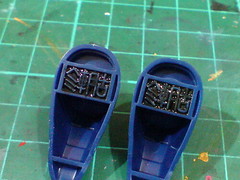
Something simple first: Detailing of the character name molded beneath the heels. ^^ Tamiya's Panel Line Accent Color (Black) is used to paint all the tight corners and slits of the molded parts easily. ^^
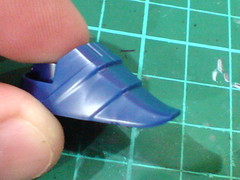
Spotted a bit of inconsistency between the molded part of the foot and its detailing as represented by the completed model shown on the side of the box.

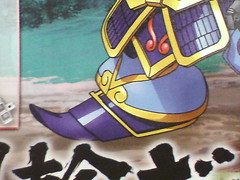
The box art, and the front cover of the instruction manual (which is just a repetition of the box image) shows no golden stripe on the second segment of Koshin Gyan's foot.

On the completed model however, said stripe can be seen painted on both feet parts.
So, should I follow the box art, or the box side image? ^^
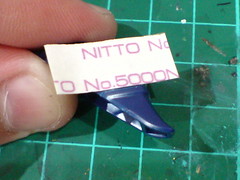

In the end, I decided to add the stripes into the to-paint list for Koshin Gyan. ^^ However, before the actual paint work, I need to create the stripes myself. ^^;
A slice of double-sided tape serves as the "ruler" to guide the pen knife to make the cut. This is not an entirely new or complicated step for me, since it was previously done on BB Senshi Sangokuden Syukuyuu Gundam's chest armor, and Master Grade Gundam AGE-1 Normal's thigh frame. ^^
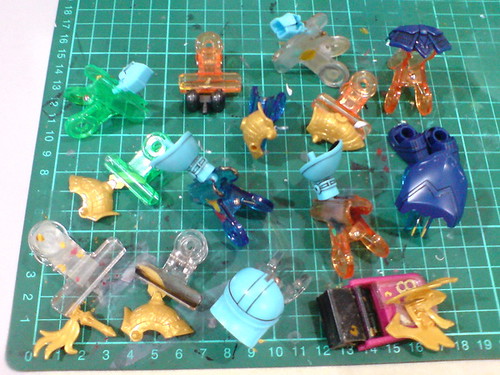
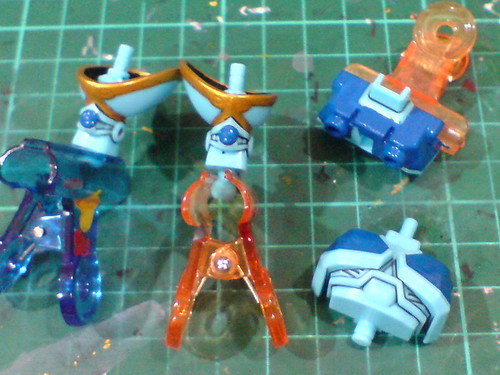
All the selected parts (including those listed the previous posting) are panel lined first before the paint work.

Not shown in the image above, the backpack, or rather the two stripes on the part to be exact are also targeted for the paint work. ^^
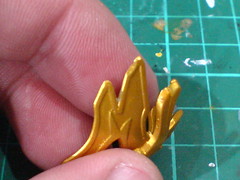
Painted all the parts using Gaia Metallic Color No. 122 Star Bright Gold.
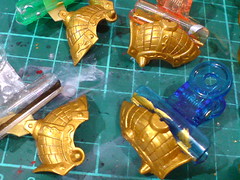
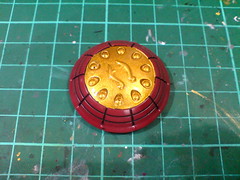
Bling-bling... I like. ^^
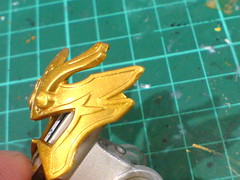
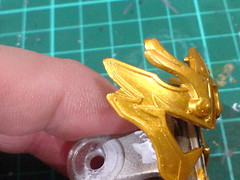
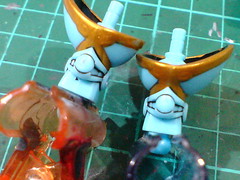
While inspecting the paint result on the individual parts, I notice the tiny plastic bit that exists between the spikes on either side of the headgear. The mold design for the entire headgear to be made as a single-piece part is probably the reason why the extra bit remained untrimmed on the curved side of the part. Whatever the reason may be, the extra bit is not welcomed on my model. XD
The extra bit is cut away using a knife. The cut surface is smoothed using paper file.

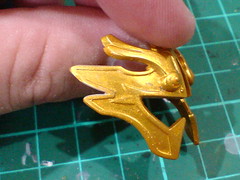
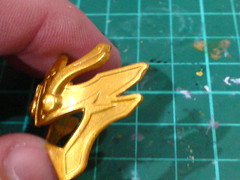
The headgear is repainted using the same bottle paint.
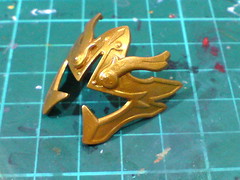
The part is left to dry further before the molded details are panel lined.
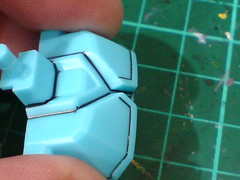
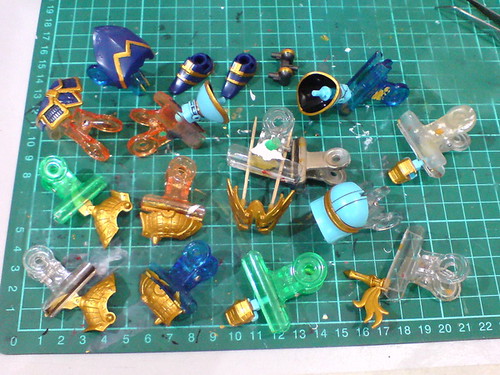
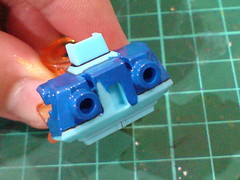
Blue is the next paint on the list, and as shown in the previous posting, the front and rear body parts need quite a bit of blue paint to realize their designated color scheme. Then again, almost like the foot parts shown at the beginning, the lines that separates between the upper blue areas and lower golden stripes in front of the chest aren't molded at all. ^^;
For such a tight corner, using double-sided tape and knife to make the line is very troublesome, and doing it freehand is very risky, for the lines might come out distorted. That's certainly a risk I'm not willing to take, given the poor result would be mighty obvious as it's right in front of the chest. ^^;
Fortunately, I have just the right tool for the job. ^^
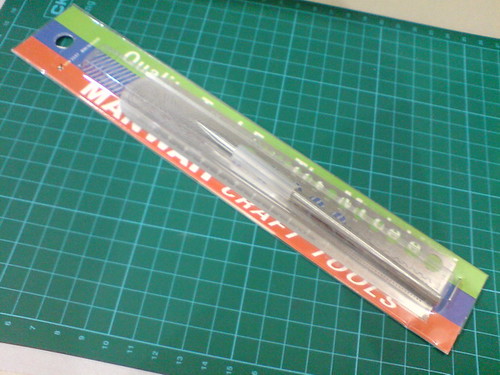
Man Wah MW-2157 Stainless Steel Modeling Scriber and Template Set.
Man Wah, or formally Man Wah Model Company (广州文华模型店) is a model kit and hobby tool manufacturer from the Guangdong province of China. This scriber set can be found listed on many websites selling hobby tools, so I suppose it's a very common tool among modelers. ^^
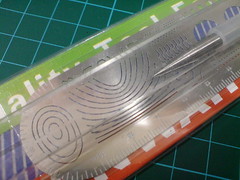
The template included for the scriber, which won't be necessary for the simple task on Koshin Gyan.
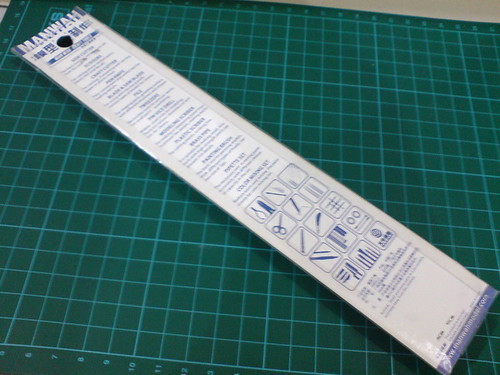
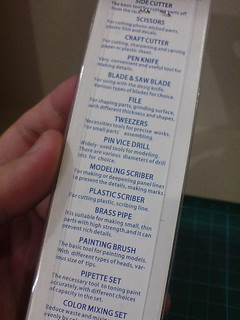
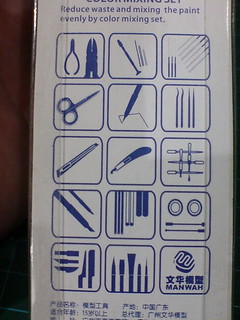
List of hobby tools produced by the company shown on back of the container.
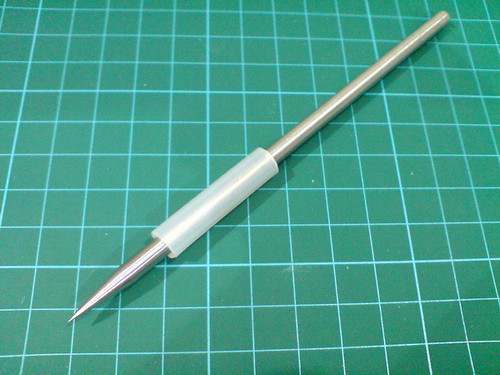
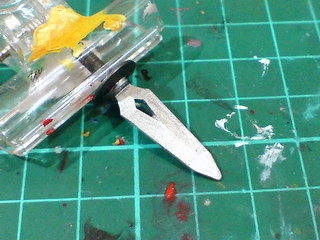
Pretty much a pen with sharp, solid metallic tip, a scriber is used to mark lines on a part. Since the entire "pen" is one solid stainless steel piece, it's pretty heavy, and the balance from the tool's weight is just what I need to make the line on the Koshin Gyan without any additional guide. ^^
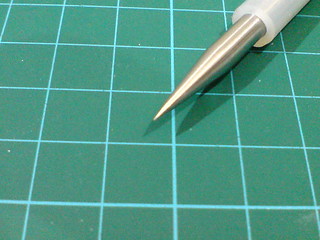
Closeup on the sharp tip of the scriber. ^^

Sure enough, the additional lines on the chest are done quickly, and accurately using the scriber, ^^ which are then panel lined.
Not mentioned in the previous posting, the round knee caps are going to painted blue as well.
The four parts are painted using Gaia Color 004 Ultra Blue Gloss. The paint debuted in February last year, and was used for BB Senshi Sangokuden Syukuyuu Gundam's body parts, and Moukaku Gundam's front skirt armor.
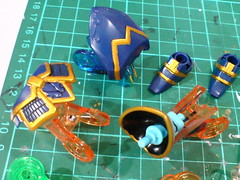
I nearly painted the entire back blue, when I realized the middle section should be in gold as it's an extension from the golden stripe beneath it. ^^;
The whole middle section is going to repainted after this.
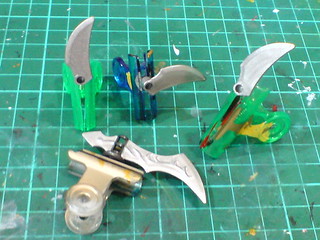
All the blade parts are painted using Gaia Metallic Color No. 121 Star Bright Silver.
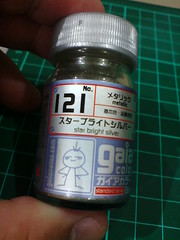
This is a new bottle paint that just made its first appearance on this blog I suppose. XD
Surprisingly, its paint result is not as outstanding as that of Gaia Metallic Color No. 9 Bright Silver in my opinion. While the glittering, glossy effect is there, it actually has a darker tone than the former.


Painting the interior of the shoulder armors black is up next, but before that, I had the connector pins inside the parts chipped so that their connection to the shoulders won't be overly tight when the model is assembled. ^^
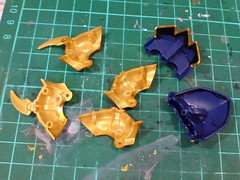
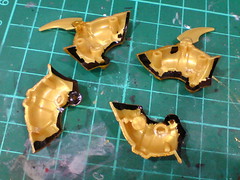
The edges of all the targeted areas are painted using panel liner and normal marker first to reduce the risk of spilling black paint over the edges later on.
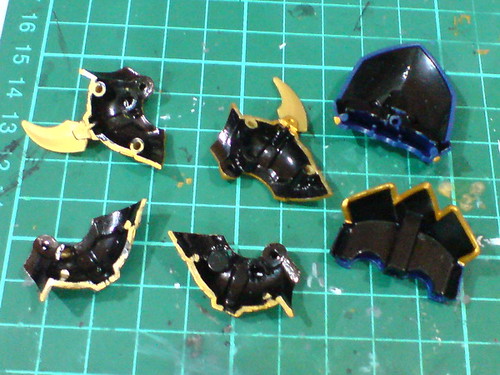
The rest of the targeted areas are "filled in" using Gaia Color 022 Semi Gloss Black.
Uncertainty over certain details, missing details, repaint, extra work, and painting error, as messy as they may sound, it's all in a good day's work. XD Koshin Gyan isn't the first kit in my experience that gave me these issues, and it most certainly won't be the last either. ^^
Will move on to detailing of some of the painted parts next. ^^


No comments:
Post a Comment