A brand new review at the beginning of a brand new month is actually on a model kit left untouched since early December 2012: 1/1 scale HoiHoi-san from Kotobukiya. ^^;

My penchant of saving good stuff for last has really gone too far with this model kit. ^^; For not wanting to assemble her too soon after all the detailing was done, I ended up keeping her sealed away in my cabinet for more than a year. ^^; In between then and now, there were always great stuff to review, and interesting model kits to work with, so I didn't really notice the massive delay. ^^;
There's no pest issue in my room as well, so I was never desperate enough to consider needing HoiHoi-san's service. XD
Interestingly, since I have yet to assemble my D-Style Patlabor Ingram 1, HoiHoi-san is still, as I put it in the introduction of this kit back in late November, the first "full" Kotobukiya model kit to be rolled out in my collection. ^^ Given I have been getting Kotobukiya-produced model kits every now and then since 2008, I'll have to remember said special status of HoiHoi-san as a testament of my slowness in model building for the last few years. ^^;
Anyway, back to HoiHoi-san: ^^
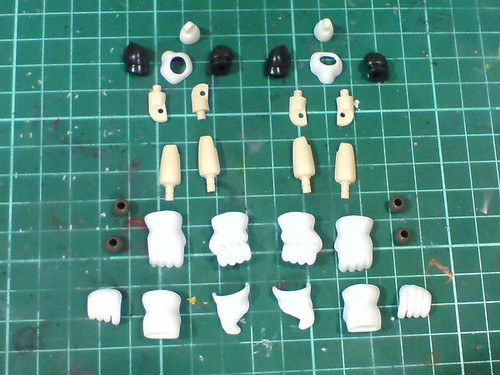
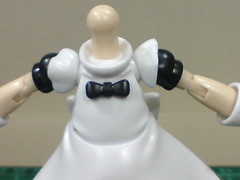
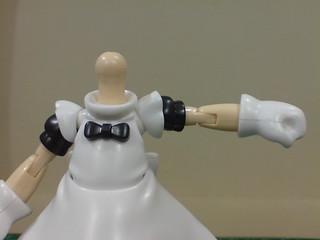
Parts of the arms.
Getting the upper arm parts to snap together beneath the frill sleeve is quite a challenge for my fingers. ^^;

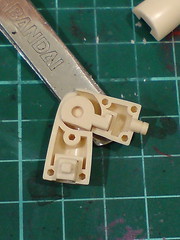
The pinpoint tolerance between the elbow hinge and its designated slot inside the joint cavity, which allows the joint to be bent with no trouble at all is quite impressive.
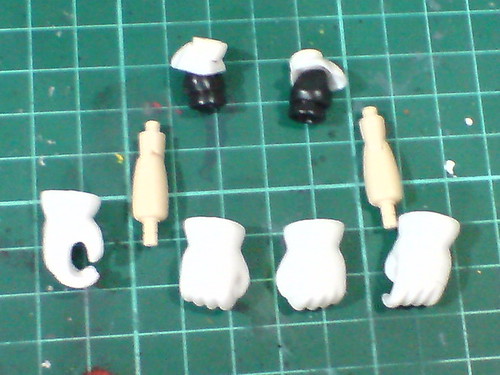
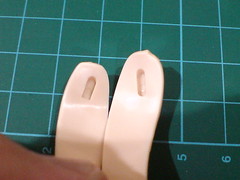
Separable components of the arms before the final assembly.
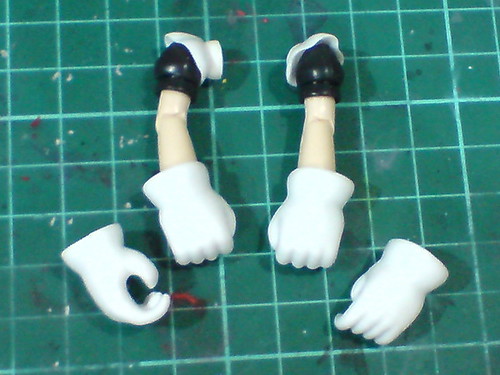
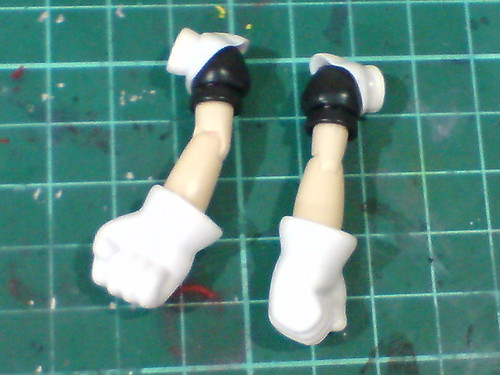
The two arms are done.

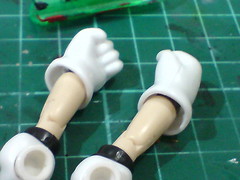
Slightly over 90 degrees for the elbow bend.
The curved design behind the elbow hinges give the joints a nice rounded, natural look. ^^

Ball-type swivel for the wrist joints via polycaps inside the hand units.
Even though the polycaps are gray in color, they are situated deep inside the hand units for the color to be noticed. ^^
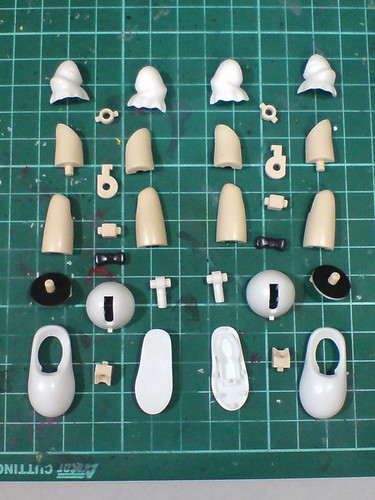
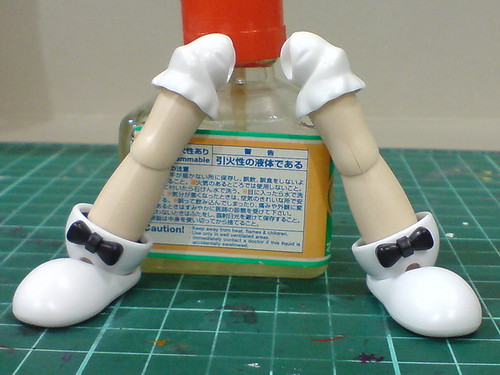
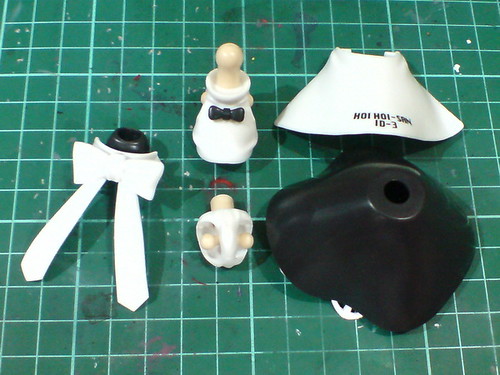
Parts of the legs.
The knee segment of the lower leg is actually hidden inside the upper leg when the whole component is straight, and will be revealed when the leg is bent. It's a good design to fill in the gap between the two leg segments in all of the model's poses I think. ^^
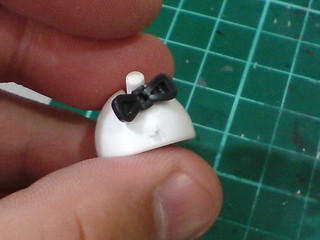
The shape of the tiny bow tie's pin and slot, a "fat" 'L' (XD), is very specific to prevent the part from being assembled in an upside-down position on the ankle area, even though it would look just the same anyway. ^^
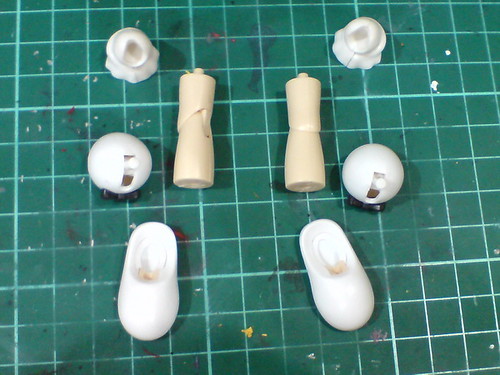
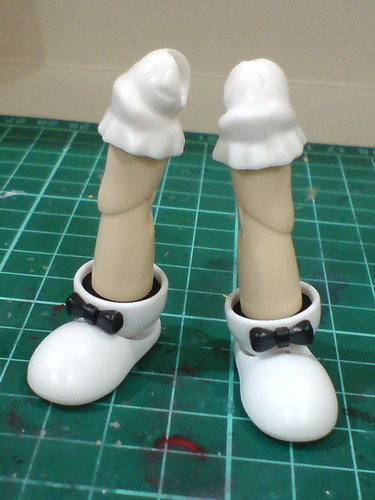
Separable components of the legs before the final assembly.
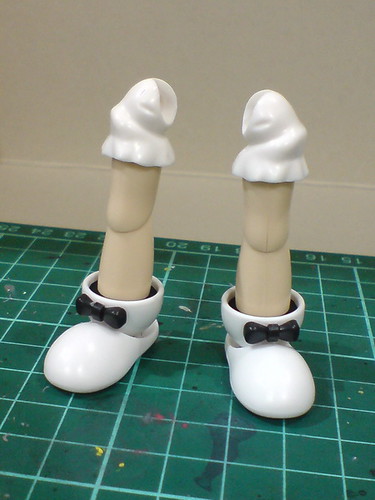
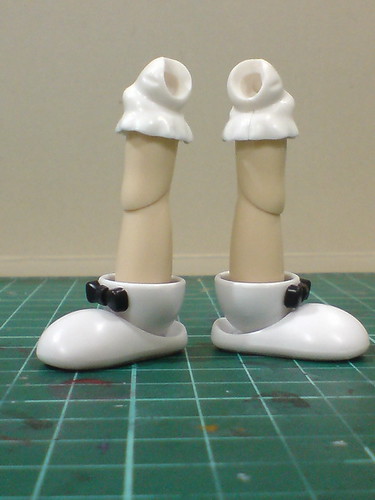
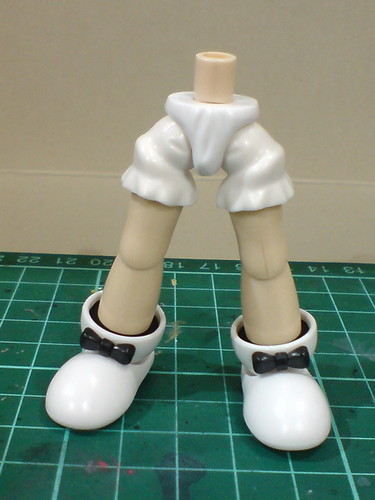
Done for the legs.
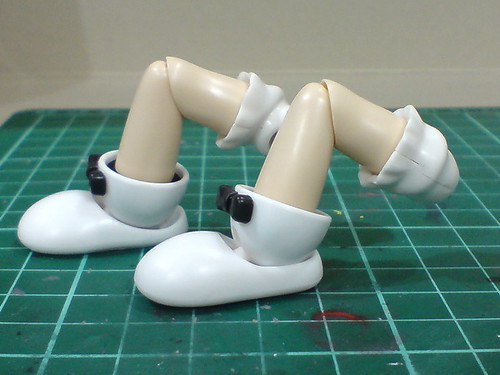
Pretty standard hinge design for the knees, and hinge-swivel combination for the ankle.
The legs themselves can be swiveled around the black flat area above the ankles.

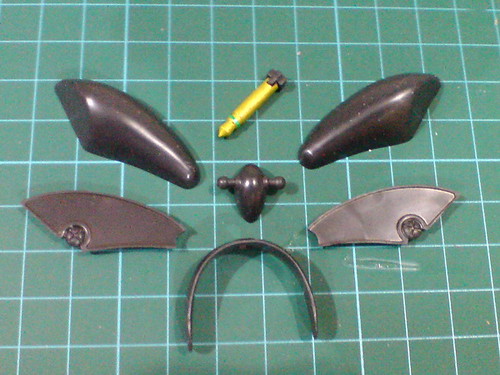
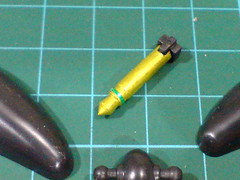
Parts of HoiHoi-san's weapons.
No assembly required for Izayoi (十六夜, the katana) as it's a one-piece part, the broom has two parts, while the handgun is made up of four parts.
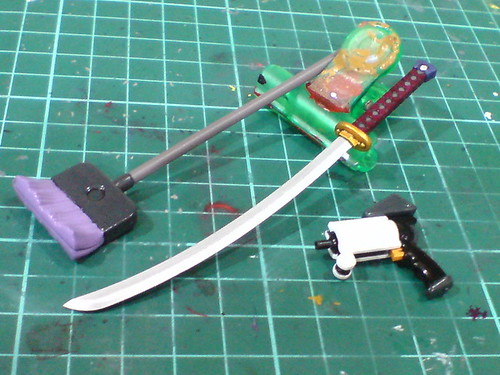
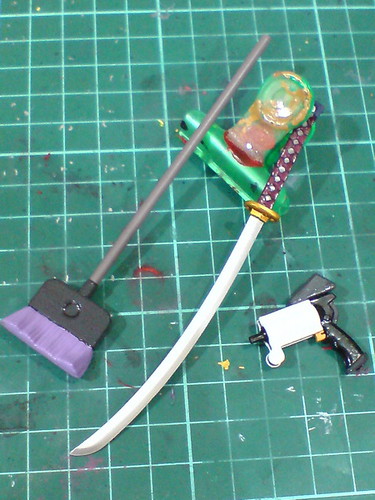
Done for the three weapons.
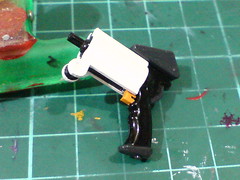

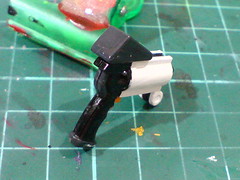

The colors on entire handgun, as with Izayoi, and the broom's bristles, were realized through heavy paint work (see Parts 3 and 4).
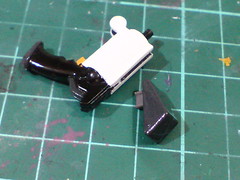
The magazine behind the handgun is detachable.
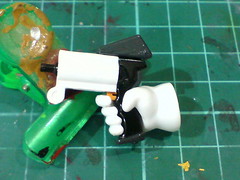
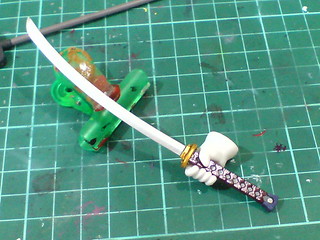
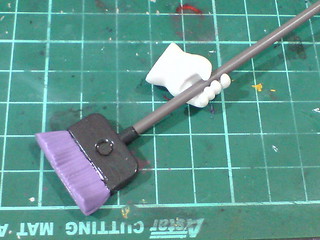
Just one type of hand unit included for HoiHoi-san to hold the three weapons. The grip is firm for the handgun, slightly loose for Izayoi, and "grip-less" for the broom. ^^;
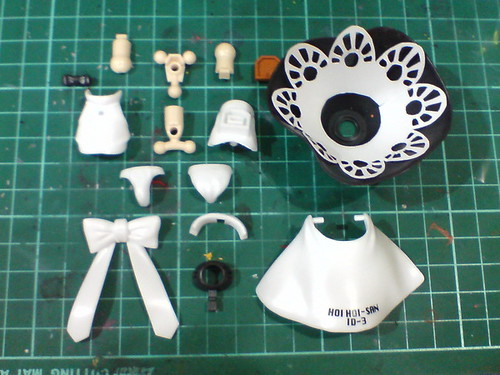
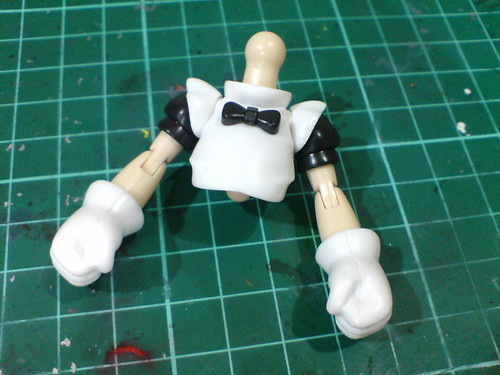
Parts of the body, apron, and skirt.
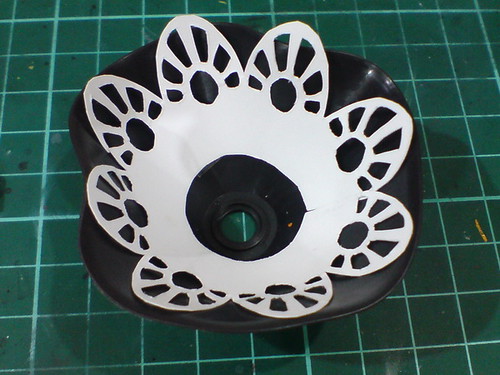
The lace pattern beneath the skirt was done in Part 2.
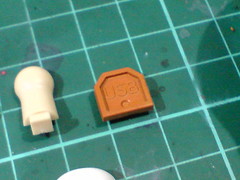
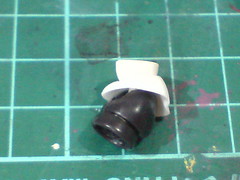
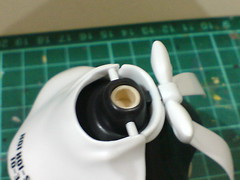
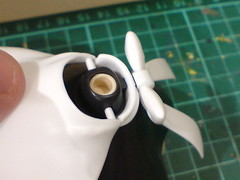
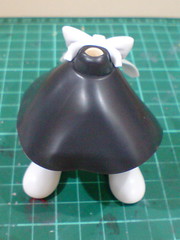
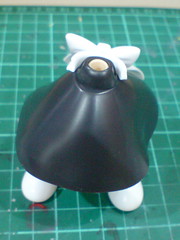
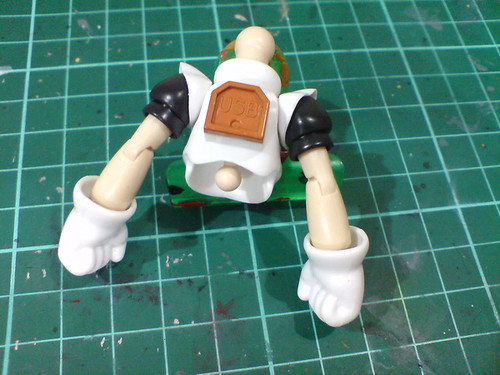
The unique USB cap to be assembled on HoiHoi-san's back.
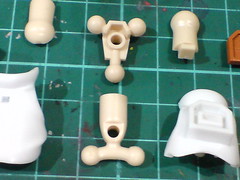
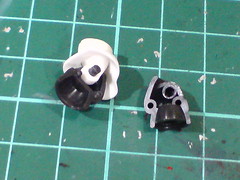
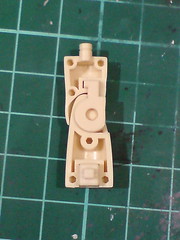
Three parts with five ball-type joints in total for the waist, shoulders, and hips. ^^
Separable components of the body before the final assembly.
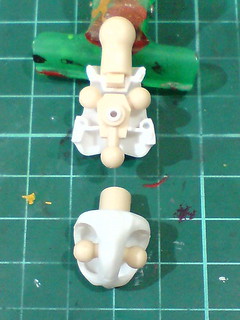
Done for the lower body.
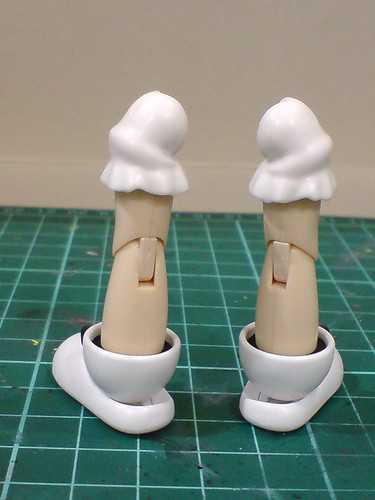
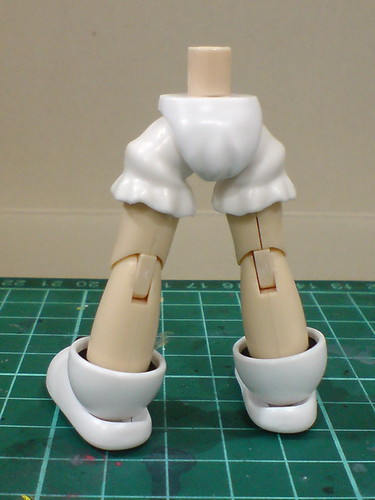
The leg parts, as with all the other PS parts on HoiHoi-san don't seem to take plastic cement very well (I'm using Mr. Hobby's Mr. Cement Limonene Type). ^^ The thighs have the tendency to split apart when the knees are bent, as evidenced in the lower image above. They can be snapped back together easily, but it's still a troublesome flaw. ^^;
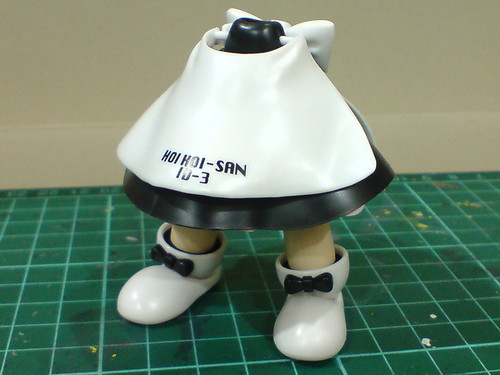
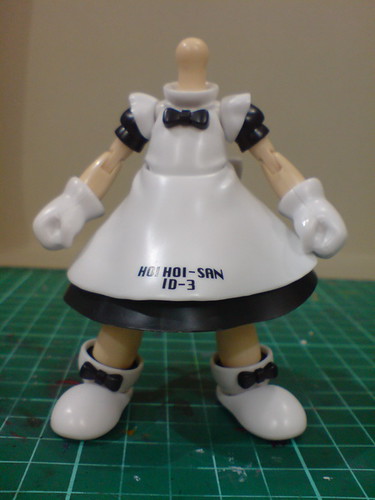
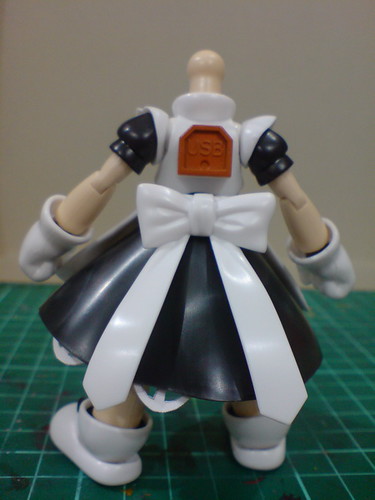
With the dress and apron attached to the lower body.
The apron has a pair of hinges on top of the skirt that allows it to be lifted slightly.
While the sash (the black piece with a giant white tied ribbons behind it) is fixed to HoiHoi-san's waist, the skirt is not. It can be swiveled around the waist to change the skirt's view. ^^
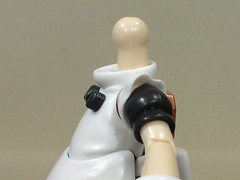
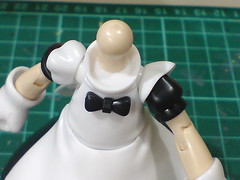
With the arms connected to the body unit, the upper body is done. ^^
Only the head remains now for the entire model to be completed. ^^
Despite having a pretty large ball-type joint inside, I find the waist's side-to-side rotation to be close to impossible. ^^;
There's no problem in bending the body forward/backward though. ^^
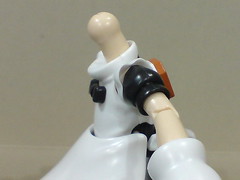
90-degree lift for the arm on the side of the body.
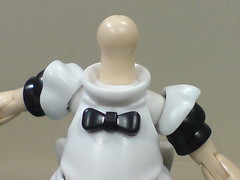
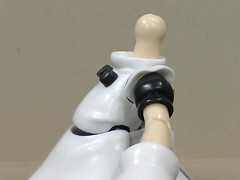
Using their ball-type joints, the shoulders can be tilted forward/backward.

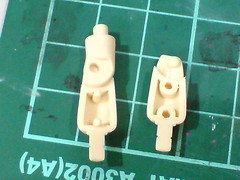
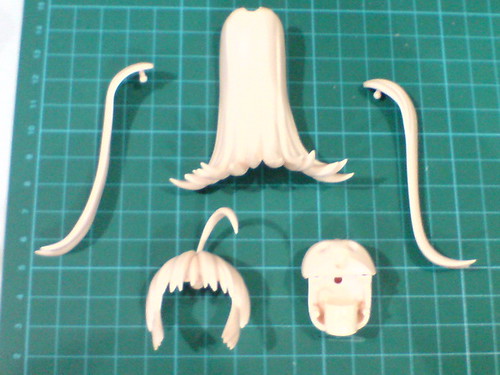
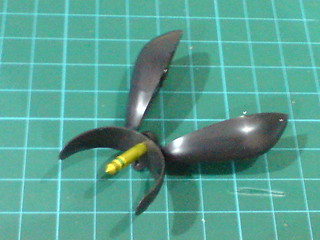
Parts of HoiHoi-san's hair.

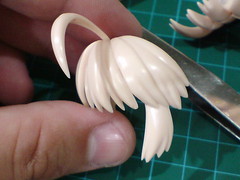
A bit of plastic cement is required to snap the joint pieces into the base of the two movable rear hair parts. As you can see, the slots are shaped specifically to avoid having the wrong connectors snapped into them.
Oddly enough, unlike the thighs mentioned earlier on, the cement works well on these two parts. ^^
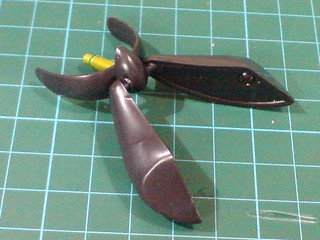
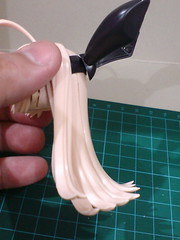
Separable components of the hair before the final assembly.
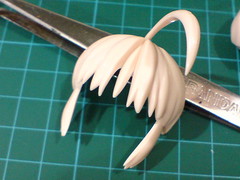
Very nice seamless connection between the three fringe parts. ^^

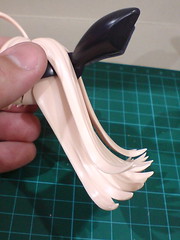
(Left) Sharp tips as the edges of the hair parts. ^^
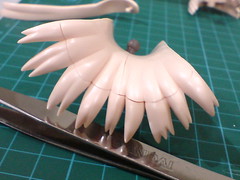
(Right) Very obvious seam lines between the parts that form the large rear hair "block", but since the lines are going to be hidden behind HoiHoi-san's skirt, their look doesn't bother me at all. ^^
Parts of the rabbit ears headband.
The head jack was painted in Part 4.
Done for the headband.
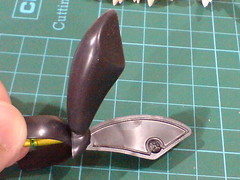
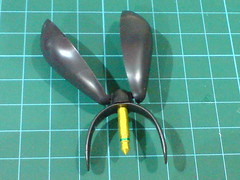
Ball-type swivel for the rabbit ears.
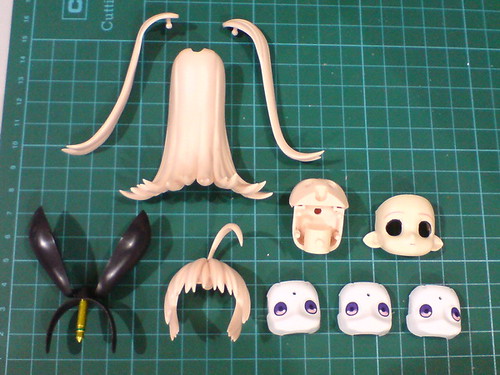
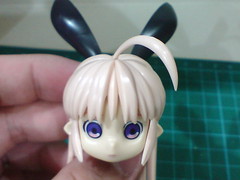
All the components for the head.
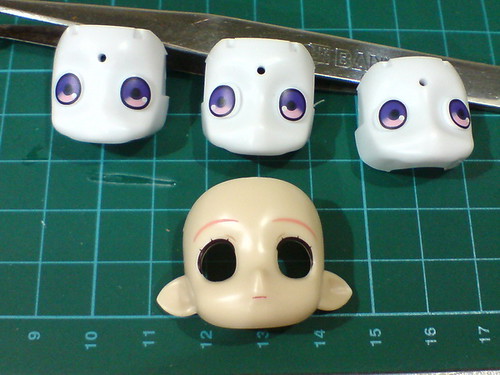
The face "plate" (^^) with three eye expression parts.
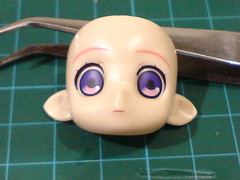
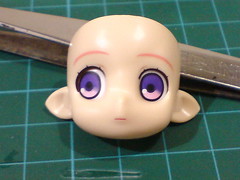
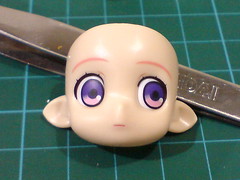
Three separate parts to achieve a subtle but visible change of eye expressions on the model. ^^

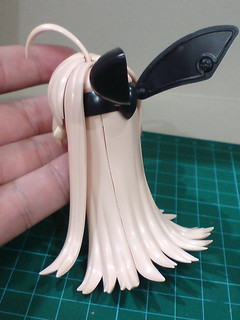

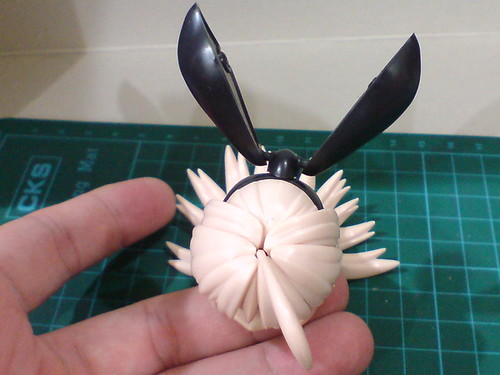
Done for the humongous head of HoiHoi-san.
The hair alone consist of more parts than any other single component on the model.
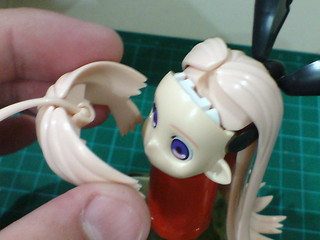
The fringe can be removed easily to facilitate the change of eye expression.
By using a double ball-type polycap that connects it to the back of the head, the rear hair block can be tilted upward for a slight degree.
The rear hair pieces shown earlier on are of course movable as well, but their movement is going to be limited by the entire block of hair, and the main body of the model itself. ^^;

The position of the stray hair piece, which is actually HoiHoi-san's antenna, can be adjusted freely using its ball-type joint.

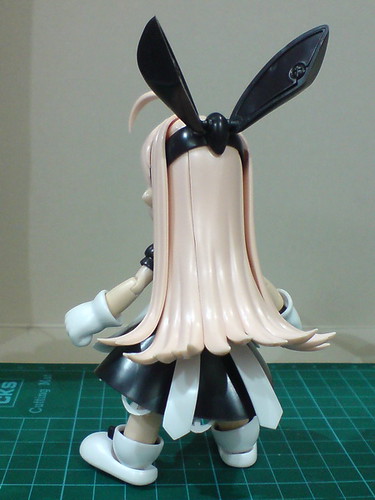
All done for HoiHoi-san. ^^
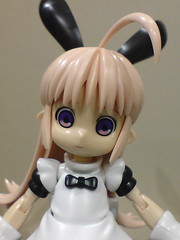
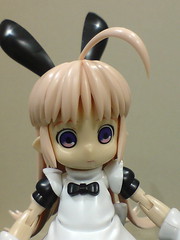
Despite having a large ball-type neck joint, tilting the head is not easy at all. ^^;
The overall assembly isn't hard per se. In terms of part count, I would say HoiHoi-san is more or less equivalent to a simple High Grade kit from the Gunpla universe. It's on the same level as HGUC Black Tri Star's Customized Zaku I in my opinion. ^^ Then again, there are a few unique issues with it that are new to me, and they prove to be challenges I didn't expect to face before starting the assembly:
(1) The hardness of the plastic material - While the instruction manual indicated that they are made of PS (polystyrene), they certainly feel a lot tougher than Gunpla parts that are made of the same material. Perhaps Kotobukiya has its own PS formula for model kit production that is different from Bandai's. XD The really tough material is certainly not very friendly during the assembly process. My fingers actually felt painful trying to snap some of the parts together, and that's certainly something thing to me, a pretty unpleasant one at that. ^^;
(2) Stiff joints - Pretty much the same as the first issue highlighted above, all the joints that aren't enabled by polycaps on HoiHoi-san feels really stiff. The knee joint that would cause the thigh to split when it's bent, and the near-unmovable neck joint are two which I have a lot of problems with. They are so stiff they actually squeak when moved, which is another really refreshing experience for me. ^^; I recognize the benefit of how secure the joints are with such tight connection between parts, but the worry that the parts may break because of their stiffness is definitely in my mind too, when I was trying out the movable components. Despite having many ball-type joints on various parts of the body, the "theoretically" excellent articulation may not be possible for HoiHoi-san. ^^;
(3) Sharp tips - Those pointy edges on the hair parts are enough to elaborate on this point (pun intended XD).
Despite the listed issues above, the completed model kit certainly looks nice, and I can finally understand, through my own experience, the huge sensation this kit caused when it first came out in September 2009. ^^ More of that is coming up in the next posting. ^^


No comments:
Post a Comment