Continuing with the assembly of Mechanic Collection Mazinger Z with God Scrander after the previous posting. ^^
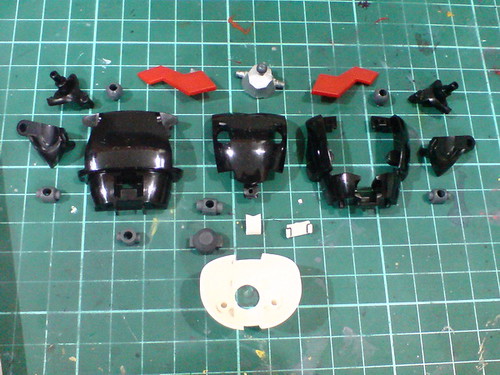
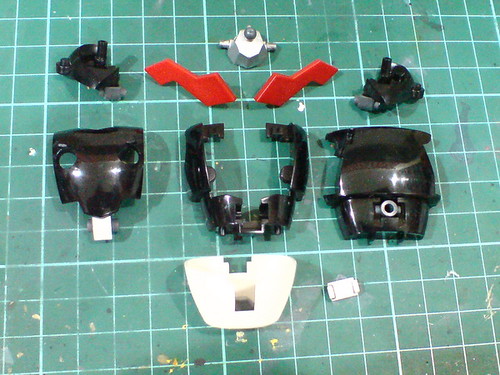
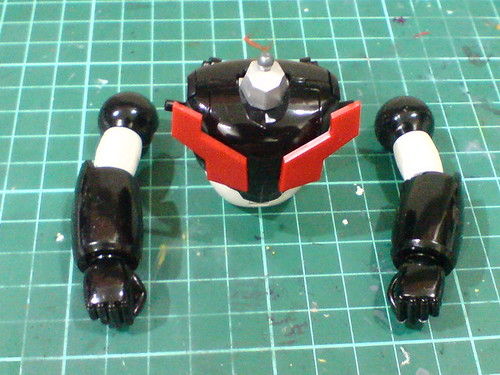
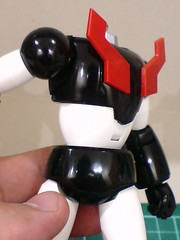
Parts of the body.
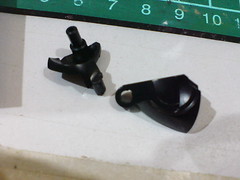
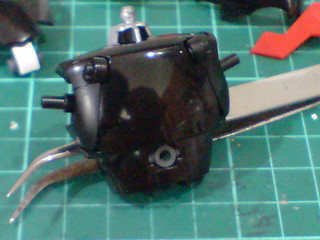
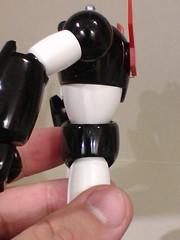
Exclusively for the model's transformation design, shoulder block has a very simple but interesting swing gimmick, not unlike the hips shown in the previous posting, but there's no polycap part involved.
Using just a straight peg, the front shoulder block part is swung in place for robot mode.
It's quite amazing how the split between the parts is so accurately designed the shoulder block would still retain that curvy and smooth look to its exterior when the parts are in place. ^^
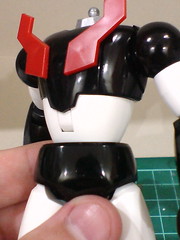
Major components of the body before the final assembly.
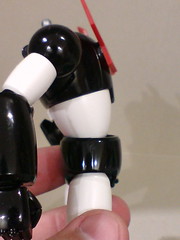
Even when the parts are all connected, the smooth split between the shoulder blocks and the back part doesn't look too obtrusive. ^^ The black color on all the parts certainly helps in that aspect too. ^^
Also, just by their level of shininess, you can tell which component is made of ABS, and which is PS with gloss finish. XD
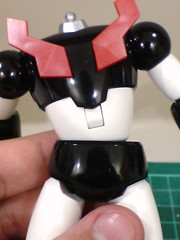
Done for the body.
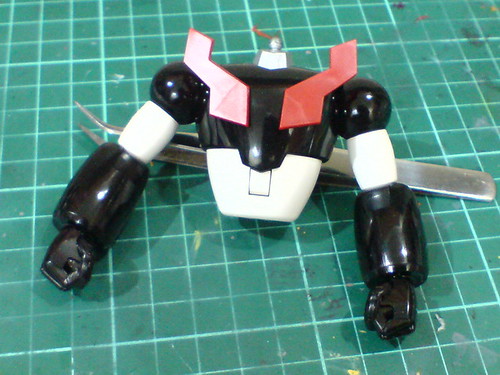
The chest plates are evidently assembled to the wrong sides but would be corrected by the end of the posting - just a notice here before someone makes a comment about it right now. ^^;

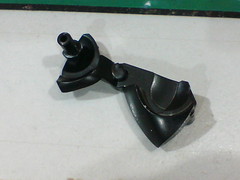
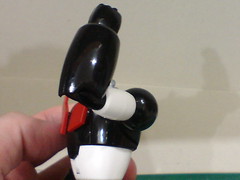
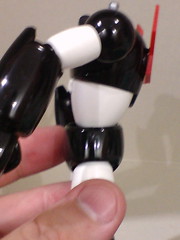
To expand the shoulder block, it must be bent downward for a slight degree first (right image).
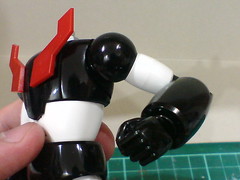
With the shoulder block swung to the top.
As mentioned earlier on, this gimmick is meant for the transformation only, as the model's arm would look really strange hanging so far away from the body via an odd joint that seems to be split in half. ^^;
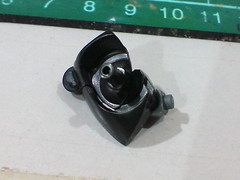
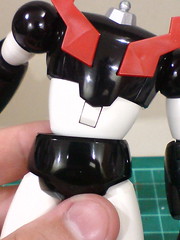
The two chest plates are movable via ball-type polycaps beneath them.
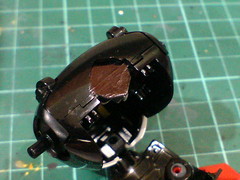
The entire chest panel can be opened.
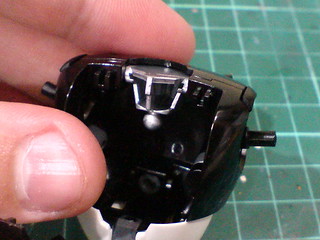
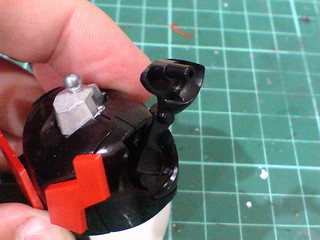
The neck joint, alongside the head can be rotated downward and into the chest cavity for the transformation.
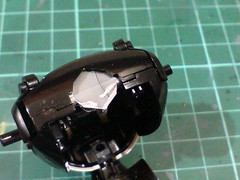
I forgot about that neck joint's movement when working on the parts and completely missed painting the bottom side. ^^;
Since the parts are already sealed in place, I don't want to crack everything apart to get the neck joint out from the body just to paint it.
Last-minute paint work using a normal black marker would have to do. ^^
With the arms assembled in the previous posting.
All done for the upper body.
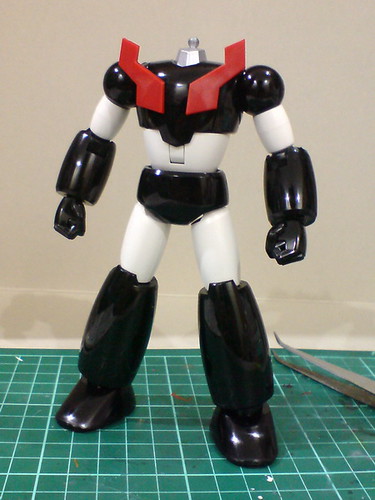
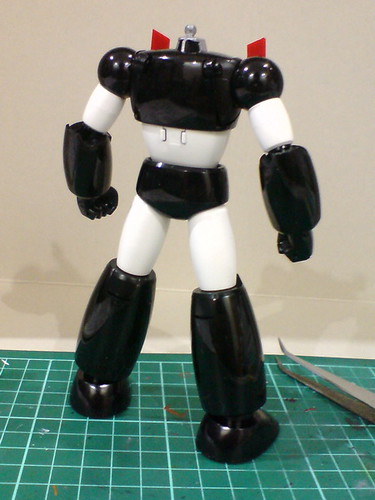
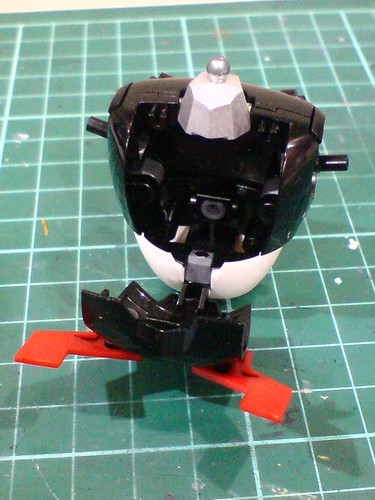
With the lower body from the previous posting attached to the model, only the head remains now.
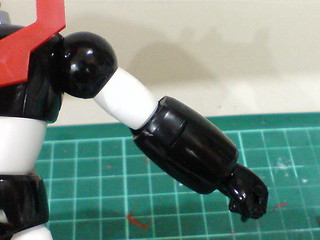
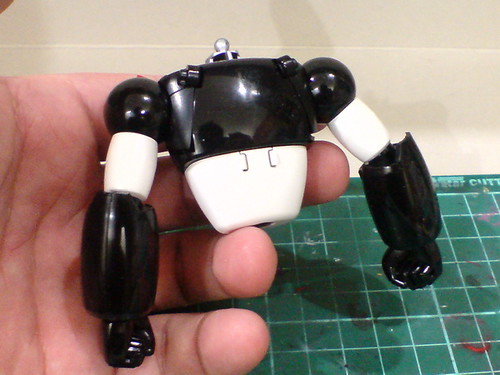
Very limited upward lift for the arm from the side of the body.
The arms can be bent forward/backward very flexibly.
Plenty of articulation possibilities for the waist with its ball-type joint.
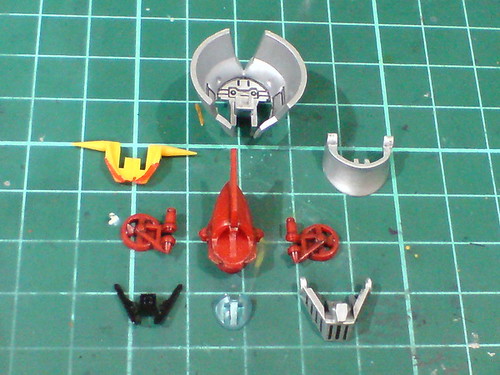
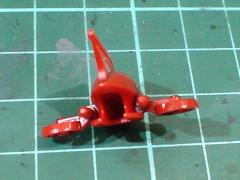
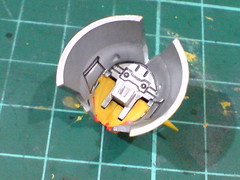
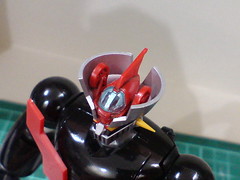
Parts of the head, including four for Hover Pilder.
The paint work on these parts were majority of the work for the entire kit.
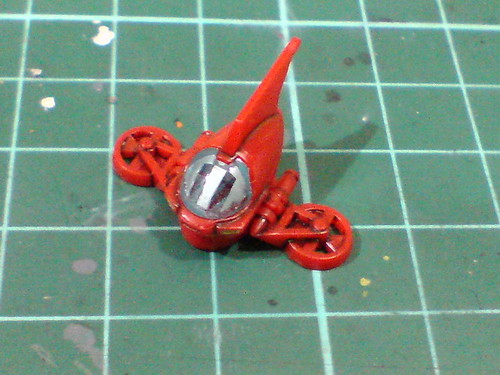
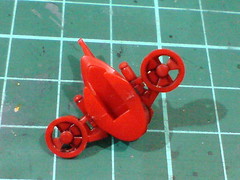
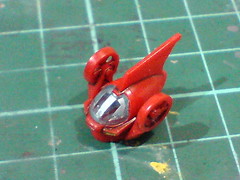
The completed Hover Pilder.
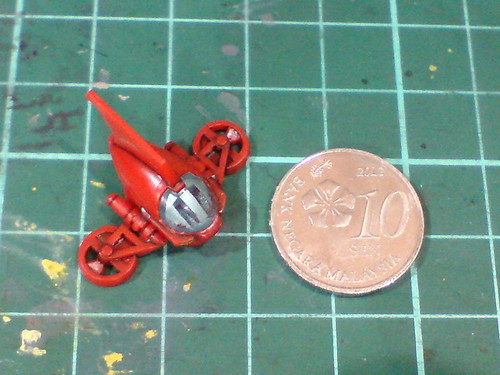
Despite its small size, as shown here in the comparison with a 10-cent coin, Hover Pilder is very detailed. ^^
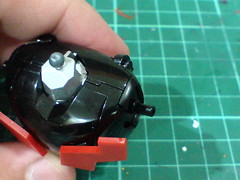
Just like the bottom side of the neck joint shown earlier on, I just realize that the front half of the head base, which is on the same yellow part as the eyes was painted back in Part 2. ^^;
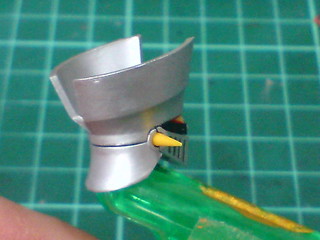
(Left) The targeted area is painted using Tamiya Enamel Paint X-11 Chrome Silver.
(Right) A bit of panel lining is added to the part to highlight its details when the paint has dried.
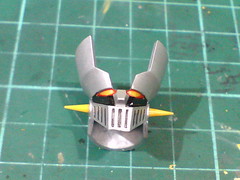
Reassembled the part to the helmet. The marker paint seems to match the helmet's color (hand painted using Gaia Metallic Color No. 9 Bright Silver) pretty well. ^^
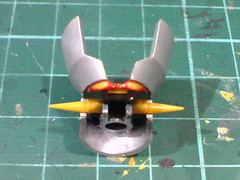
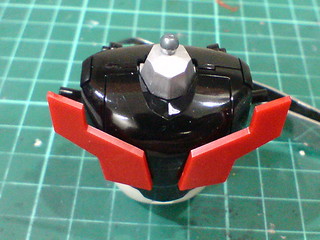
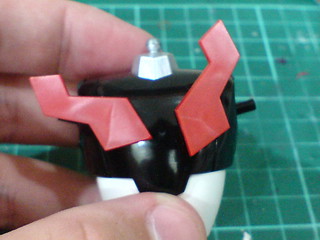
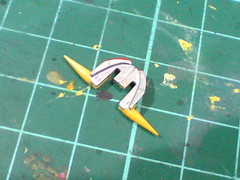
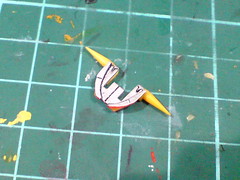
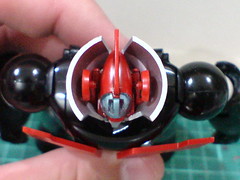
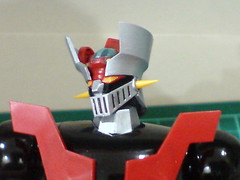
A separate black piece sits between the eyes and the mask.
Because they are separated quite far apart, and the fact that the edges around the eyes were painted red, it's hard to imagine the spikes being on the same part as the eyes. ^^
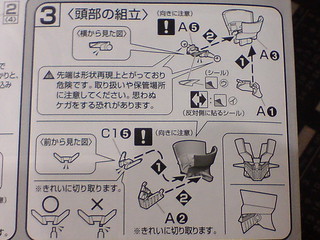
Plenty of textual information regarding the head's assembly in the instruction manual, even though I didn't find it to be overly special or difficult. ^^
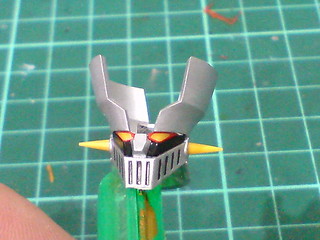
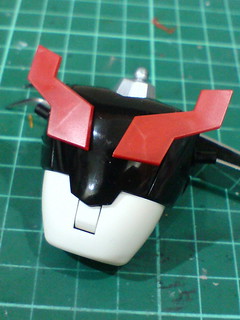
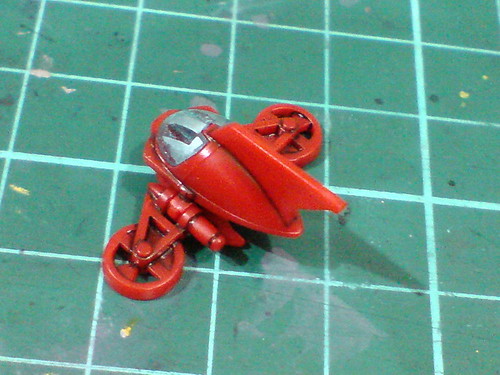
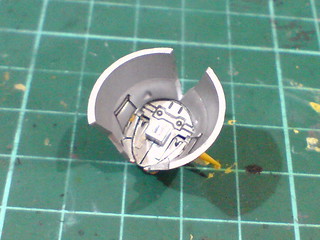
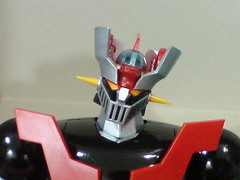
The head is completed.
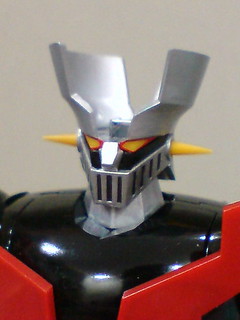

Assembled the head onto the neck joint of the model.
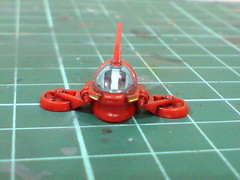
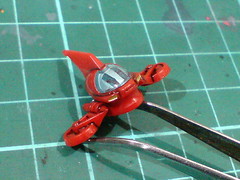
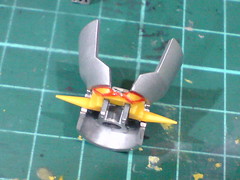
Hover Pilder's transformation: the wings are hinged upward for 90 degrees, and that's it. XD
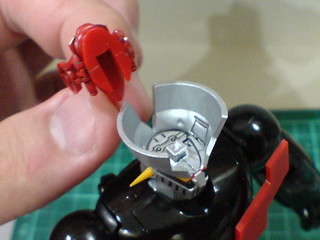
A square peg above the helmet "platform" connects to the slot beneath Hover Pilder.
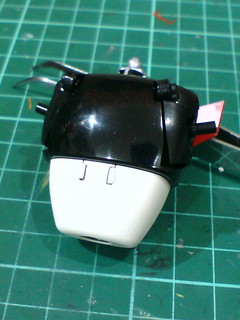
Tight fit for Hover Pilder inside the helmet. ^^
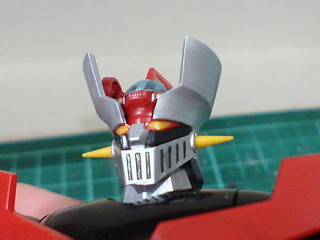
All done for the head. ^^
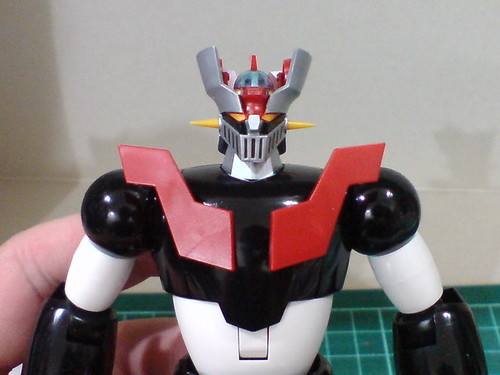
As mentioned earlier on, the chest plates are repositioned.
Simple ball-type joint movement for the neck, albeit quite tight. ^^;
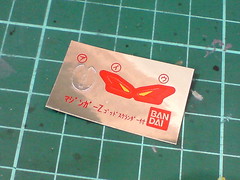
None of the pieces from the foil sticker sheet is used on the kit. ^^
More images of the completed Mazinger Z coming up in the next posting. ^^


No comments:
Post a Comment