Returning to the assembly of MG Sinanju Ver. Ka after a brief detour to review the gashapon figurine of Stella Loussier from MS Gundam Seed Heroines 5 in the previous two postings. ^^
It's time to armor up the big guy. ^^
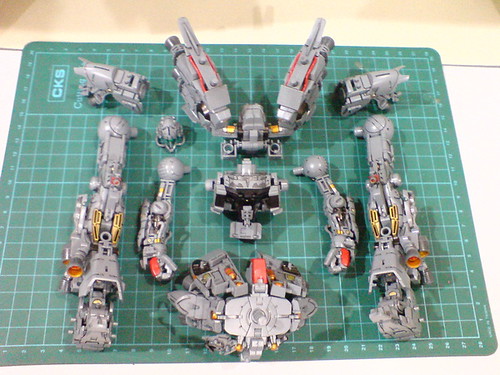
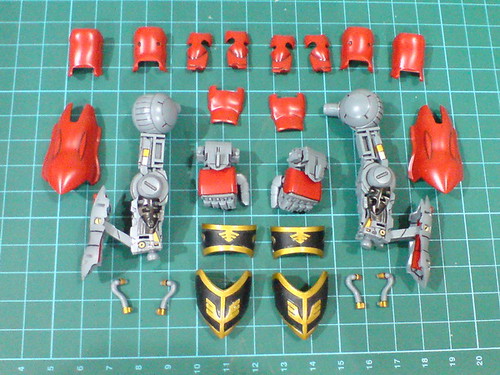
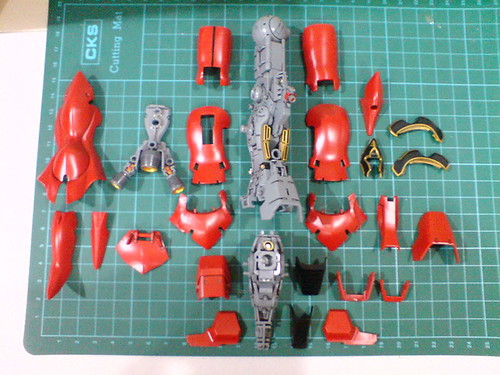
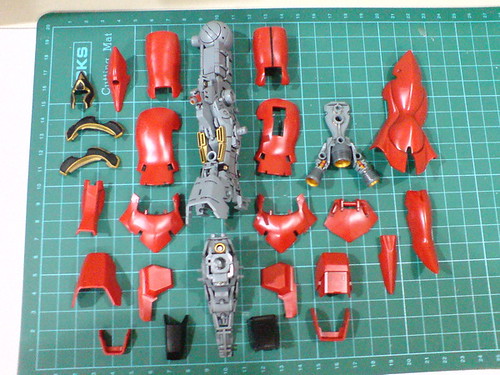
All the inner frame components are detached first.
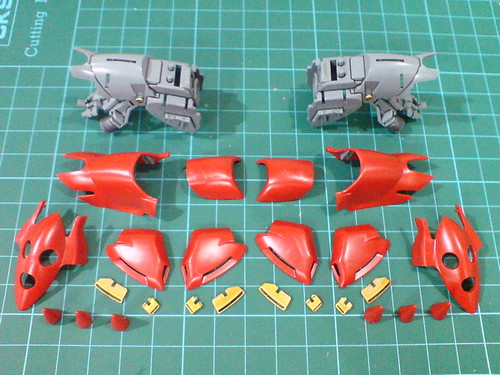
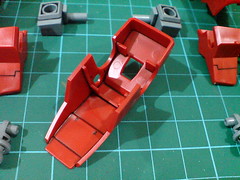
While their inner frames are made up of just a handful of parts, mainly of one-piece type, the same cannot be said about the armors parts of the shoulder armors.
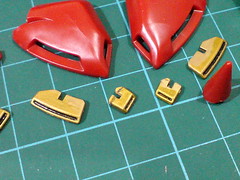
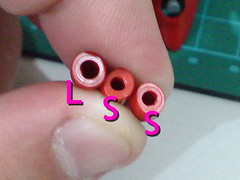
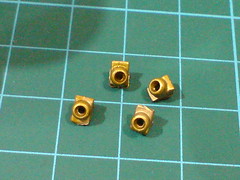
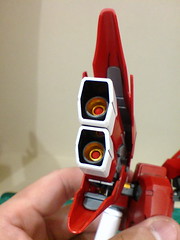
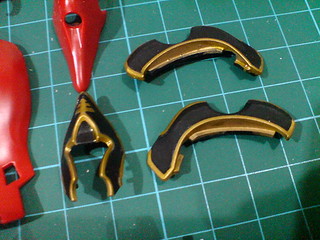
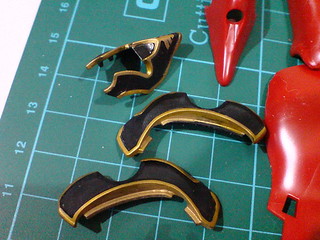
Painted golden vents (Parts 2, 3, 4, 5, and 6, then refined in Part 19).

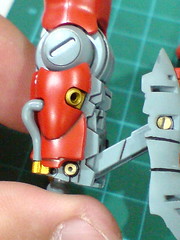
The connector tabs were painted gray in Part 17.
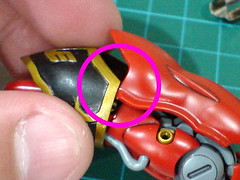
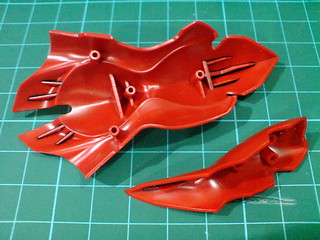
Very nice part separation for the shoulder armor that integrates the seam lines as the line details of the entire component. ^^
Painting all the connector tabs was a good decision - there's no red bit in between the inner frame when the armor is being viewed from beneath.

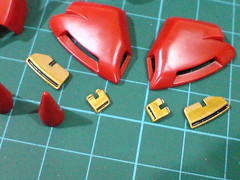
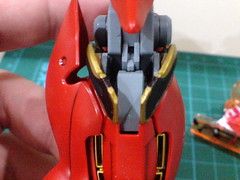
The appearance of the golden vents on the armors.

The pegs on the shoulder binders are designed with specific facing sides, and even size tolerance for the connector slots of the three spike parts.
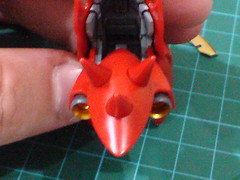
When completed, the shoulder spikes should look like they are protruding outward, away from each other on the binder.
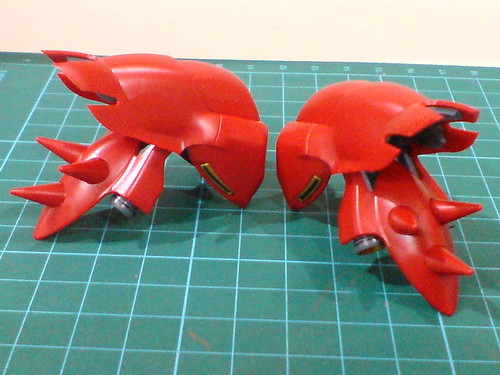

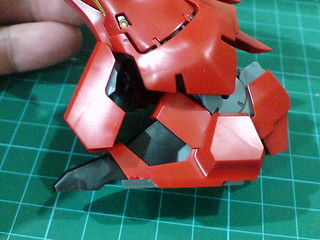
The shoulder armors are done. ^^
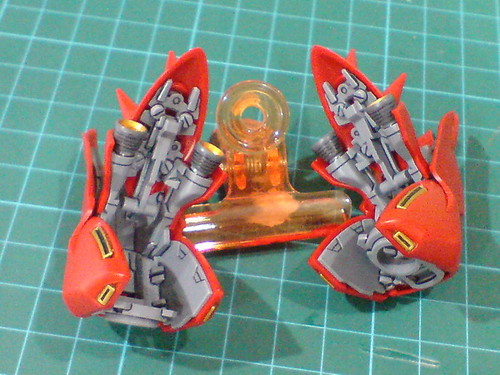
Plenty of nice molded details to be seen on the underside of the armors.
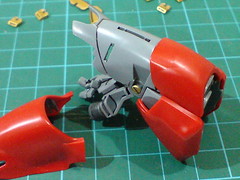
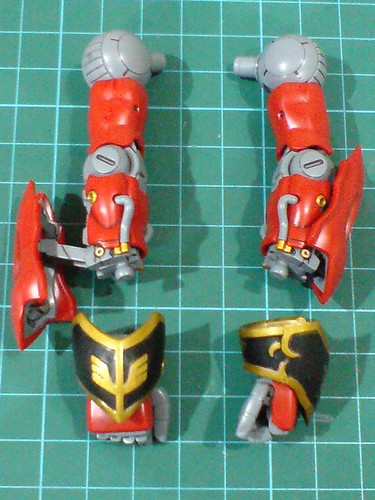
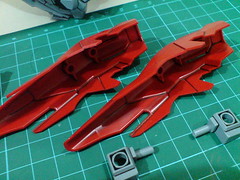
Armor parts for the arms.

(Left) Not shown in the image above are the four forearm vents that I had forgotten when taking the picture. ^^;
(Right) The wrist armors went through the same set of painting and detailing as the forearm and shoulder vents shown earlier on.

The tubes on either side of the forearm need to be detached before the armors can assembled onto the inner frame.

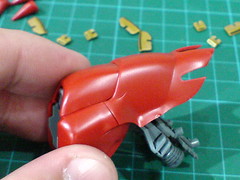
Before and after the forearm armor's attachment. Just the Gun Metal portion of the forearm (from Part 10) is covered up it seems. ^^
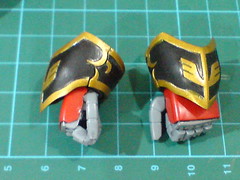
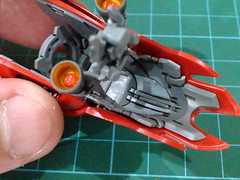
The wrists can be armored up as separated components. ^^
Separable components of the arms before the final assembly.
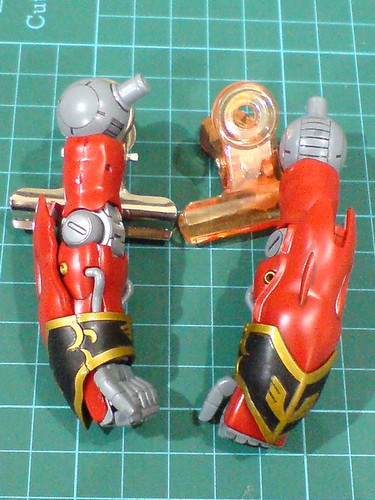

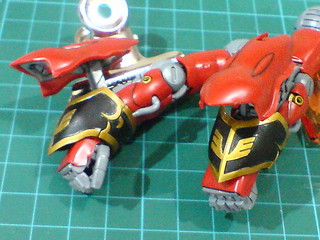
The arms are completed. ^^
The elbow bend is not affected by the armor parts. ^^
Much of the bicep and forearm hydraulic pipes can still be seen behind the elbow when it's bent. ^^

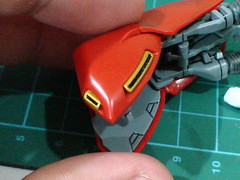
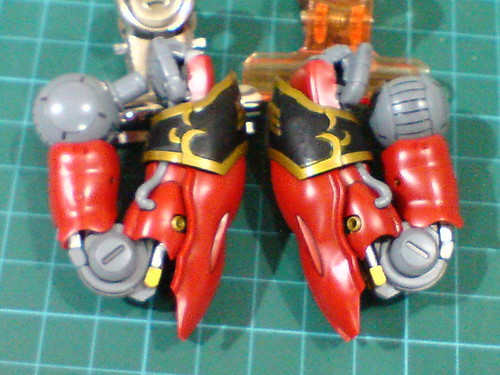
There's no visible gap between the forearm cover and the wrist armor to indicate that the former can be expanded to reveal its beam saber. ^^
While the ball-type joint connecting the wrist and the forearm does provide a bit of space for the cover to be loosened, and then expanded, the edges of the parts on either side would inevitably collide with one another. ^^;
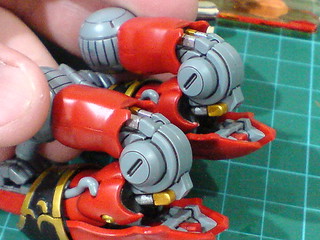
Thankfully, the wrist connection can be further loosened up to reduce the risk of having the golden stripes' paint being rubbed off. ^^
With the forearm covers expanded to deploy the beam tonfas. ^^
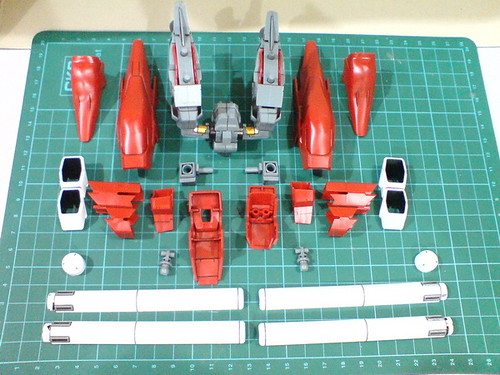
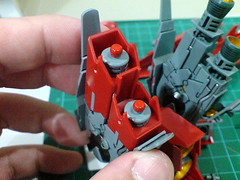
Armor parts for the backpack.
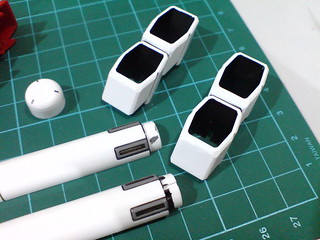
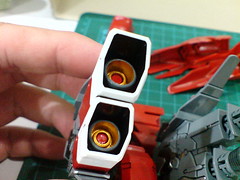
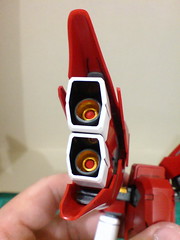
Painted and detailed exterior parts: gray vents on the propellant tanks , and black interior of the thrusters (Part 18).
Large armor parts with simple molded details on their underside.
From having just two colors (red, gray) before the thruster nozzles and covers are attached, to having five colors (red, gray, gold, black, white) after that. ^^
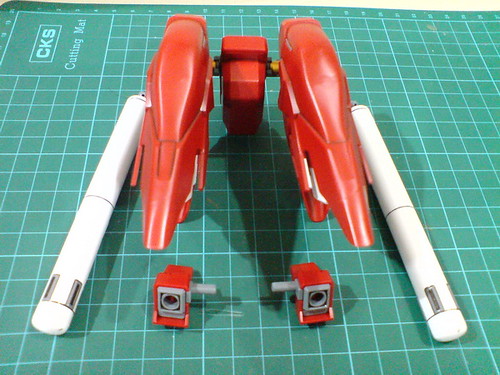
Separable components of the backpack before the final assembly.
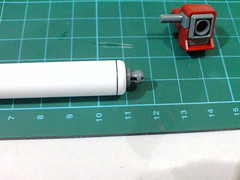
Each propellant tank is close to 12cm in length.

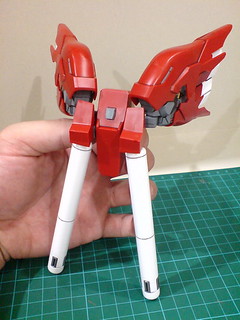
The backpack is completed. ^^
Upon close inspection, many of the inner frame's painted details can still be seen in between the armored components. ^^
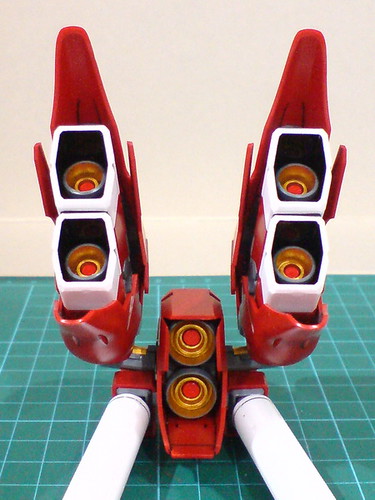
Very nice-looking set of six thrusters behind the backpack. ^^
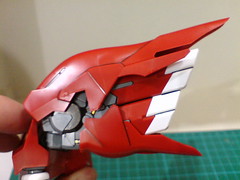
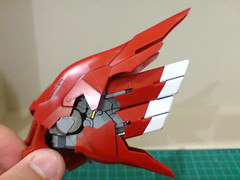
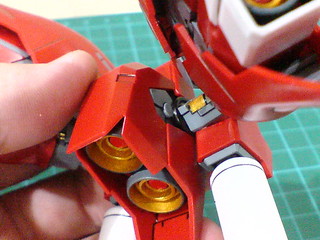
No change to the linked movement gimmick of the wing binders, but the large, protruding armors do make the expansion more clearly visible. ^^


The propellant tanks' position can be adjusted freely via their ball-type joints.
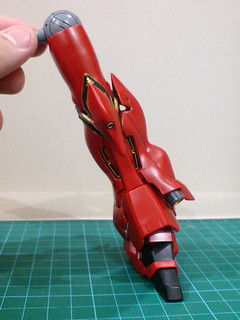
Armor parts for the right leg.
Three emblem parts for the knees.

Large armor parts with minimal molded details on top and beneath them. ^^;
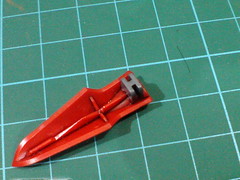
The part-connecting tab behind the calf armor was painted in Part 15.
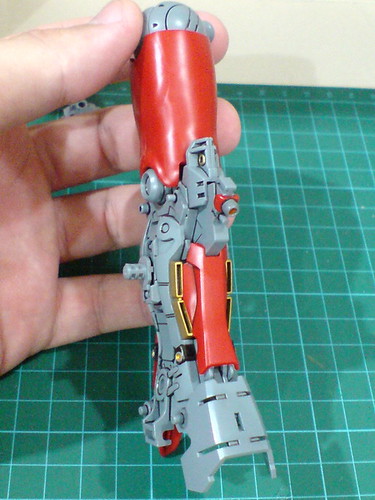

A semi-completed right leg, before all the other large armor parts are appended to it.

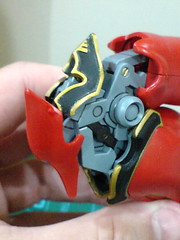
The three emblem parts are added to the knee.
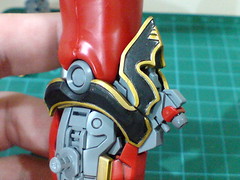

An ingenious part separation design for the knee armor - if you're worried about that very obvious gap between the emblem pieces as shown in the left image, don't be, because it'll eventually be covered over by the protruding spike on either side of the knee armor. ^^
The spikes look as if they are designed specifically for this cosmetic purpose, which I find rather amusing. ^^

The painted black area provides a nice contrast to the golden vent and red armors. ^^
The gap between the armor sections is intentionally designed to be so, which adds to the entire leg's presentation of details. ^^
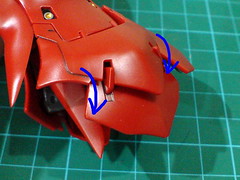
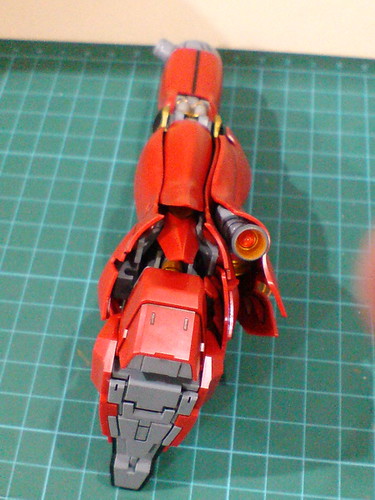
On the outward-facing side of the leg, the bottom armor panel is on hinges that allows it to be flipped downward.
With the space allocated to accommodate the foot being so tight, I'm not exactly sure how much the panel's articulation is going to be visible when the ankle is being bent.

The painted knee vent is certainly more noticeable now as compared to if it was left in its molded color. ^^
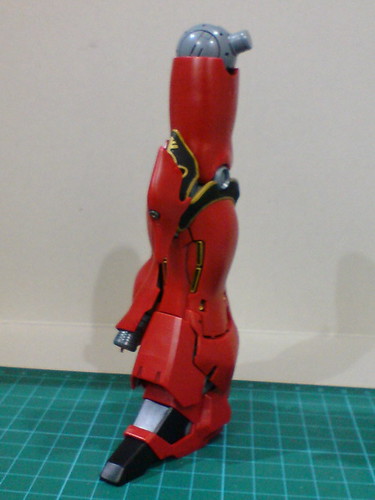

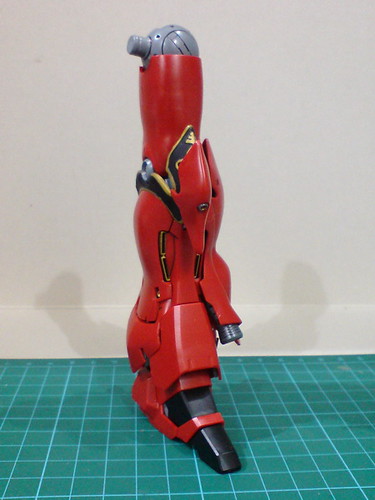
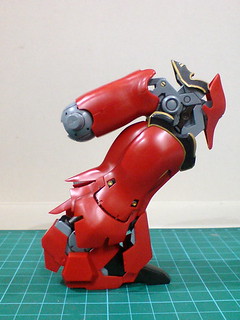
The right leg is done.


The leg's articulation capabilities are not affected by the armor parts it seems. ^^


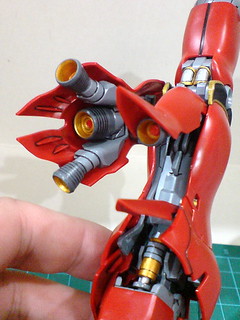
When the knee is bent, its elaborate molded details are not just beautifully exposed, but further enhanced by the shape, colors, and details of the knee armor and emblem parts as well. ^^
Last minute addition to the paint work: tiny gap between the two ends of the golden stripes on the edge of each emblem part beside the knee is painted black using normal marker.
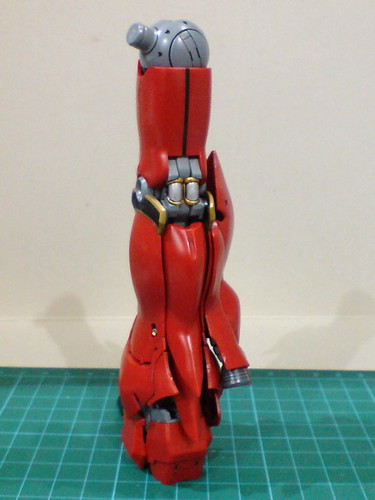
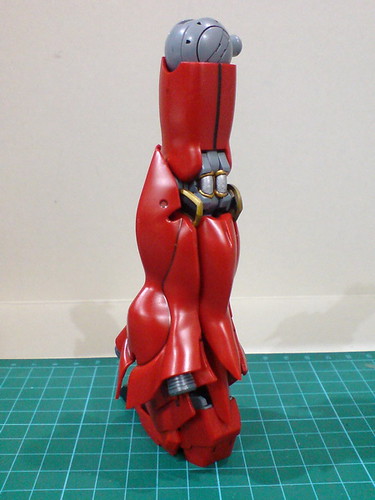
The ankle guard's range of upward lift has been greatly reduced by the shin armor, but it's still enough to accommodate the foot when it's being bent to the front.

Besides the calf thruster and side binder, a small pointy armor on the heel just joins the list of movable armor parts behind the right leg. ^^
Armor parts for the left leg.
The same set of black and gold emblem parts for the knees.
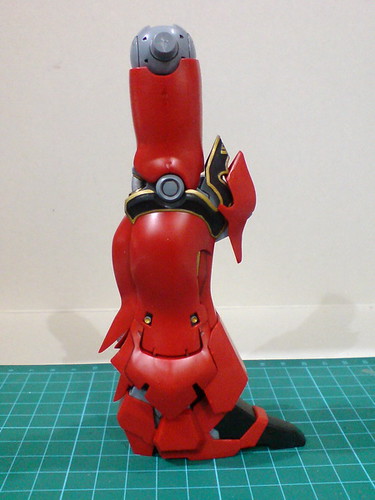
The left leg is done.

Identical articulation capabilities as the right leg.
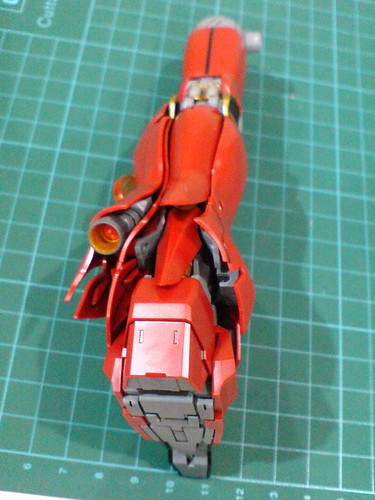
Expansion of the calf thruster, side binder, and heel armor.

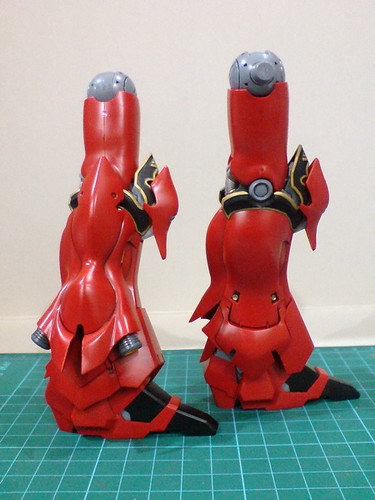

Both legs are now done. ^^
Only the head, body, and waist remain before the entire kit is complete, but the latter do have a high part count that makes its assembly slightly more complicated than all the other components. ^^


No comments:
Post a Comment