From one shokugan to another, I'm starting another review series on a very interesting shokugan set, after the previous posting on Machine Massigler from Woodelix Rider Machine set. ^^
It's interesting enough on its own, but considering its relationship with the blog content for this month, it's almost like a unique culmination of all the genres of items reviewed so far. ^^
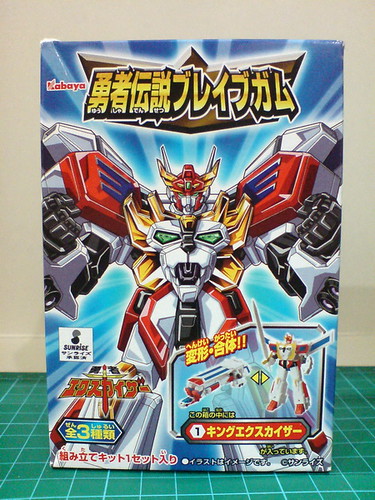
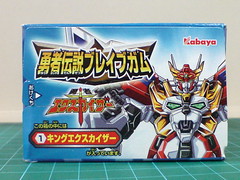
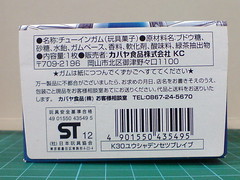
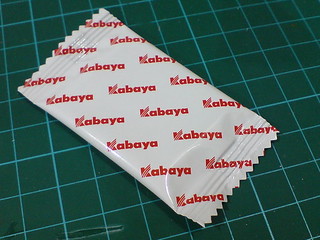
Kabaya Brave Legend Brave Gum (勇者伝説ブレイブガム)
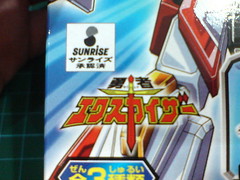
Production company: Kabaya
Release date: September 2012
Price: 300 Yen each (exclusive of tax). All three types, eight figures per set, 2,400 Yen (exclusive of tax).
Merchandise link
From Kabaya, this is the pilot set of Brave Legend Brave Gum (勇者伝説ブレイブガム) series. ^^ Vol. 2 released in October last year was the latest set from the series, so the company is either taking a really slow approach in releasing newer sets, or perhaps for whatever reason (cost, merchandising right, market response, and others), the series is no longer a priority on the release plan. ^^; For liking its concept, I have Vol. 2 as well, and would definitely hope to see more coming out from this series. ^^
The requirement for assembly, and transformation feature of each figure are the biggest attractions of this shokugan series. ^^ You can certainly treat each figure like a mini plamo, and the candy included is for you to chew on while you're assembling the kit. XD Based off mecha from the Brave series, the ability to transform, combine, and for some figures, to do so in multiple forms, pretty anime-accurately at that, is the main reason for me to start collecting the series. ^^ I'm always intrigued by all the designs from the Brave series, especially the creativity in their transformation design. This shokugan series offers the fun of that, via mini figures that I'll need to assemble myself. That's really double the fun in my opinion. ^^
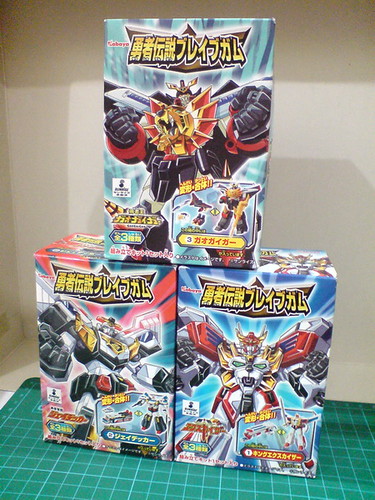
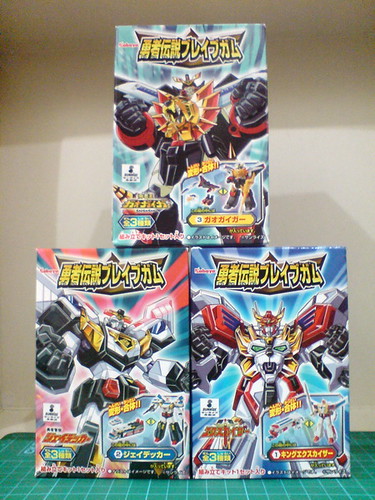
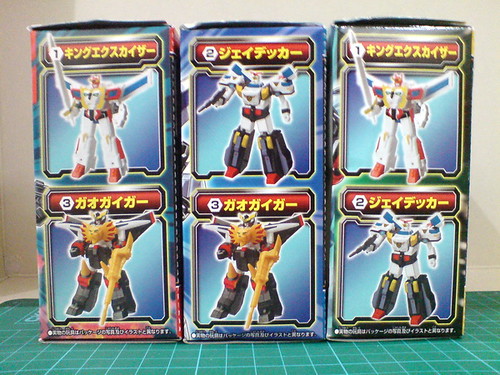
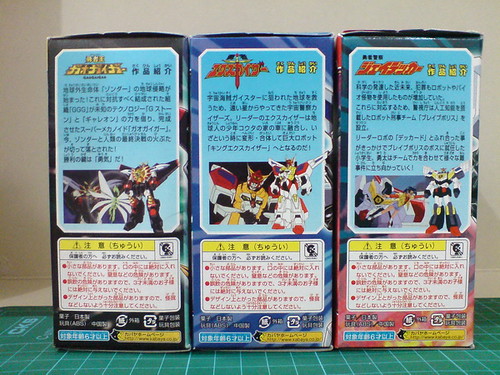
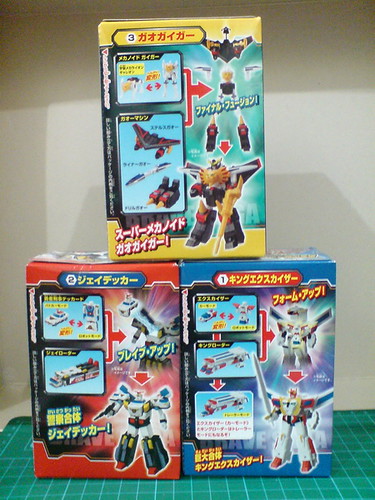
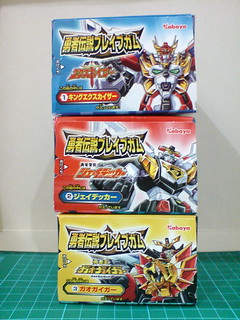
A look at all three boxes from this pilot set:
Front view
Right side view
Left side view
Rear view
Top, bottom views.
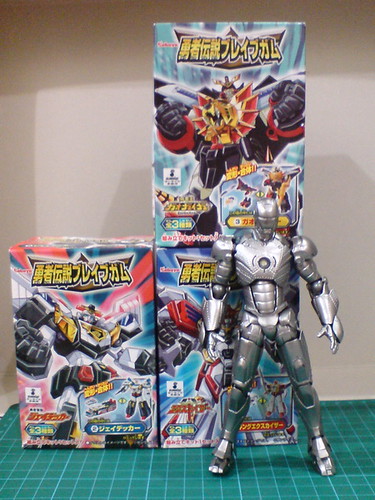
Size comparison between the boxes and the randomly chosen Sci-fi Revoltech Iron Man Mark II. ^^
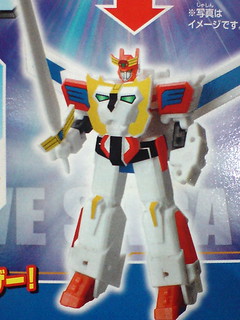
As you can see back in the first image of this posting, this pilot set features King Exkaiser from "Brave Exkaiser" (勇者エクスカイザー), J-Decker from "Brave Police J-Decker" (勇者警察ジェイデッカー), and GaoGaiGar from "The King of Braves GaoGaiGar" (勇者王ガオガイガー). The boxes' designs are unique to the different figures, so there's no random drawing needed in revealing what's the next figure is going to be, like what I did with the Woodelix Rider Machine set. ^^ The figures are also given numerical sequence, which I'll be following in this review series. ^^;
The first of the set is King Exkaiser. ^^
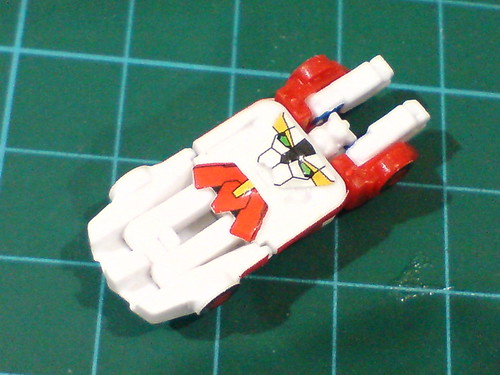
A closer look at King Exkaiser's box art.
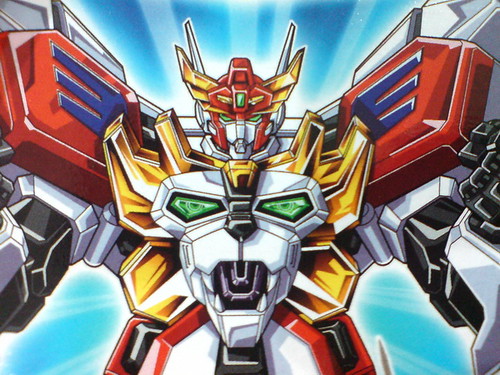
The box art is extremely detailed. ^^
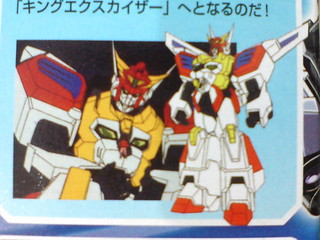
(Left) Exkaiser and King Loader in carrier mode, and the robot formed from the two vehicles, King Exkaiser, are shown near the bottom right corner in front of the box.
(Right) The logo of "Brave Exkaiser".
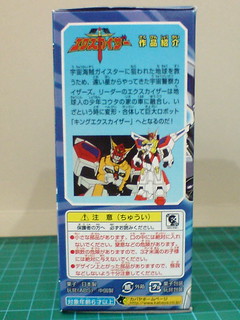

Introduction of the anime series on the left hand side of the box, ...
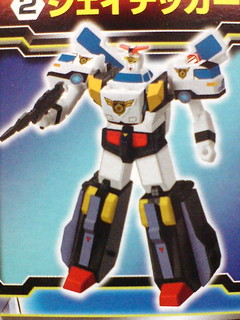
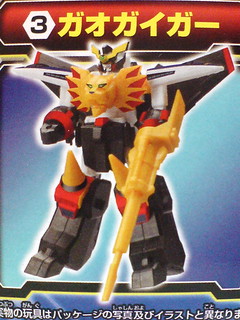
... while previews for the other two figures, J-Decker and GaoGaiGar can be seen on the right side.
Top, and bottom faces of the box.
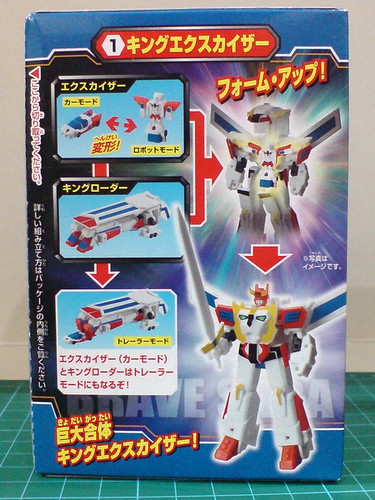

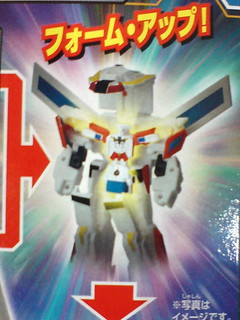
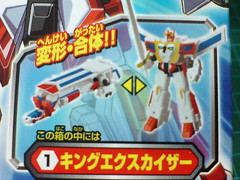
Introduction of the various forms, transformation, and combination of the figure can be seen on the back of the box.
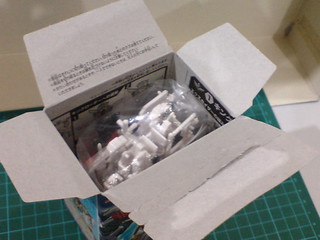
Box open.
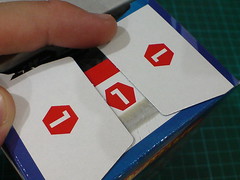
For some reason, Kabaya is putting in a lot of effort to remind you of the figure number designated for King Exkaiser. XD
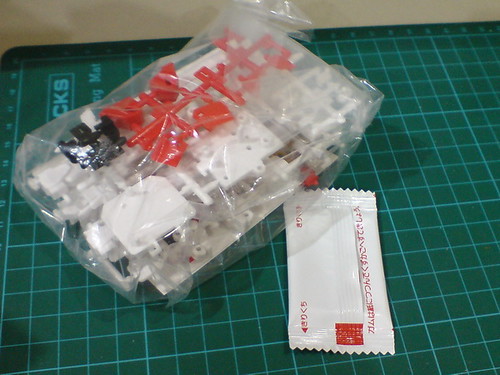
Content.
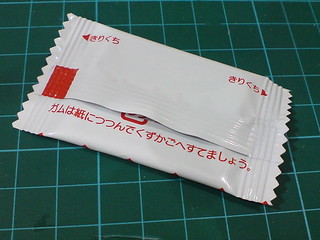
A foil pack that contains the candy.
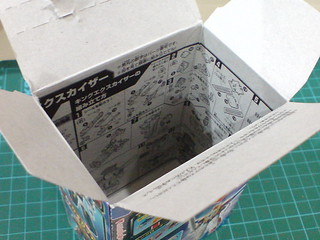
The instruction on King Exkaiser's assembly and transformation can be seen printed on the inner side of the box.
No knife is needed to open up the boxes since all of them have easy-to-tear edges.
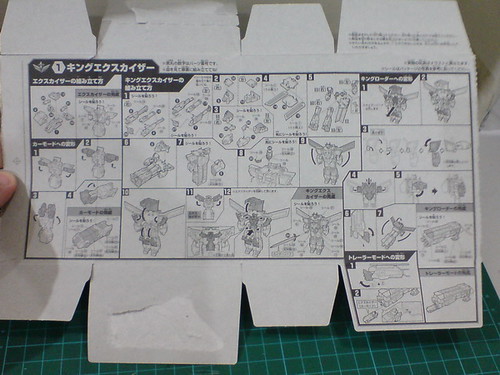
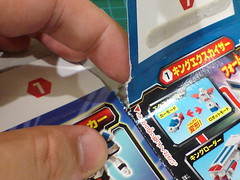
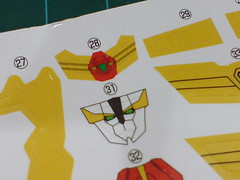
The pictorial instruction extends to all four sides of the box. ^^
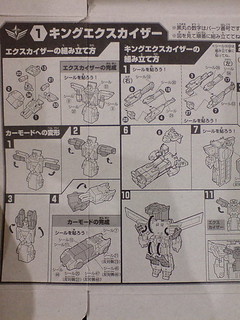
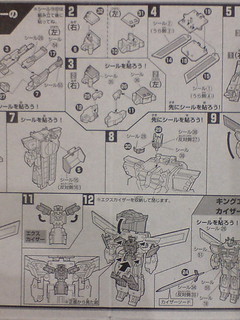
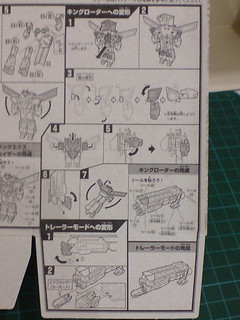
The instruction is simple, but very comprehensive.
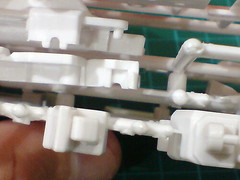
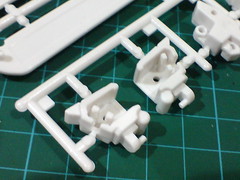
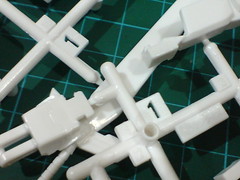
An interesting feature of the runners: there are pegs and corresponding slots between the runners that hold them in place. The connection is most helpful in preventing the parts from colliding with one another while the boxes are being transported. ^^

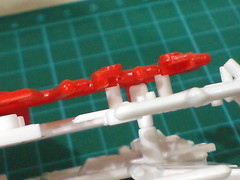
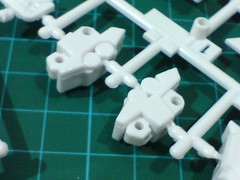
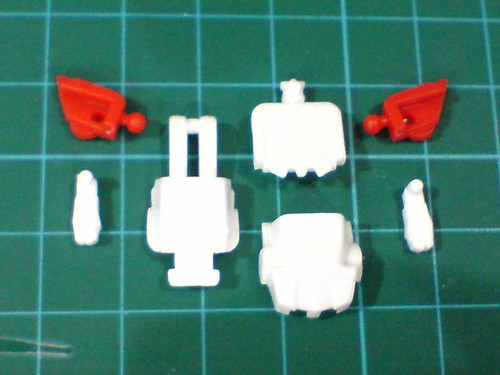
Six runners in total for King Exkaiser.
Only the parts are distinctly labelled (with numbers), and not the runners - all of them have "1", the figure number for King Exkaiser as their labels.
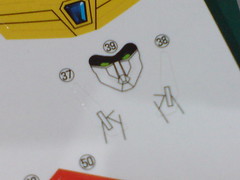
\
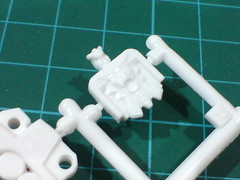
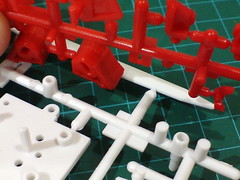
(Left) One-piece design for King Exkaiser's lion head chest piece.
(Right) Exkaiser's head is to be on the same part as its chest.
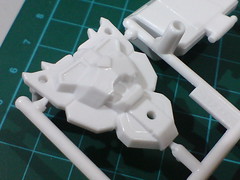
(Left) The head and horn of King Exkaiser.
(Right) One-piece parts for King Exkaiser's arms.

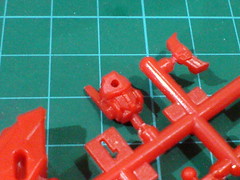
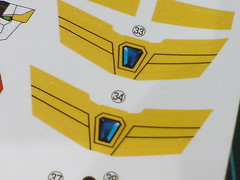
Plenty of hinge joints, and slots designated for hinges can be seen on the parts
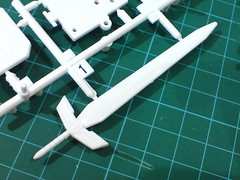
A large part for Kaiser Sword.
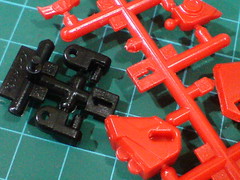
The same label on all the runners as mentioned earlier on.
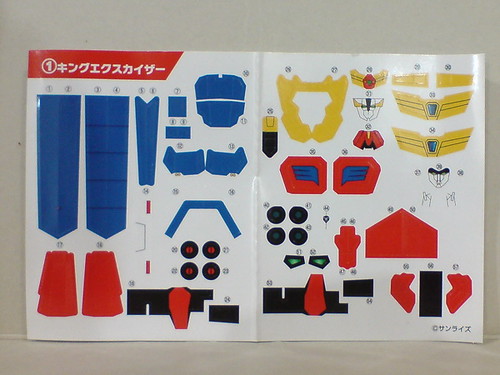
A large sheet of paper stickers to realize all the details on the model kit. ^^
Nicely printed details for the Exkaiser's chest, and King Exkaiser's face. ^^
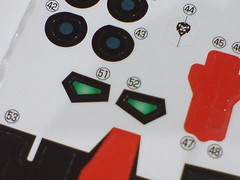
Stickers for the eyes are designed with "simulated" clear and bevel effects. ^^
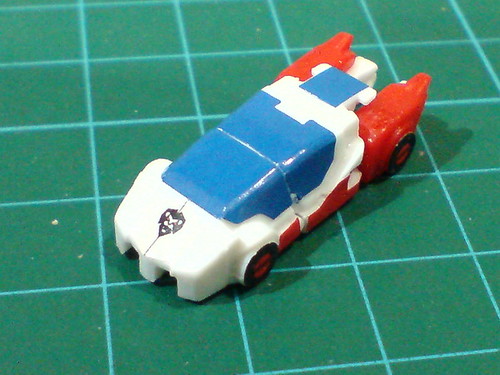
Assembling the mini police car, Exkaiser first. ^^
Just seven parts to from Exkaiser.
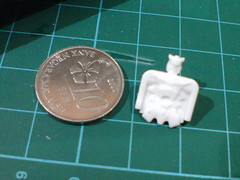

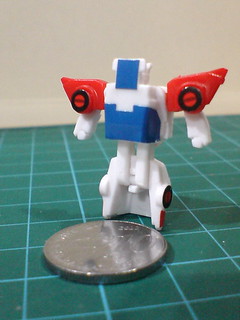
Size comparison between the chest piece and a 10-cent coin. ^^
Given their super-tiny sizes, a sharpened toothpick is a much needed tool to transfer the pieces from the sticker sheet onto the part. ^^
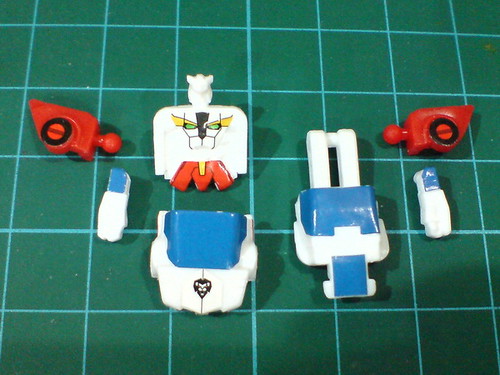
Each of the seven parts have varying number of stickers applied to them. ^^
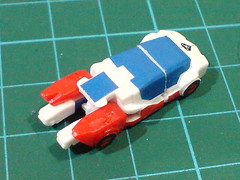
Done for Exkaiser. ^^

A few more stickers can only be applied to Exkaiser in vehicle mode.
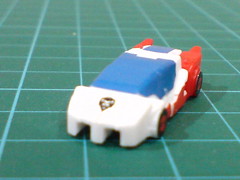
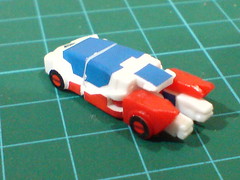
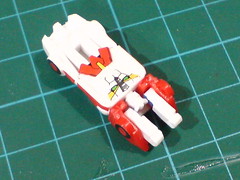
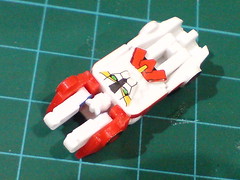
A look at Exkaiser in vehicle mode:
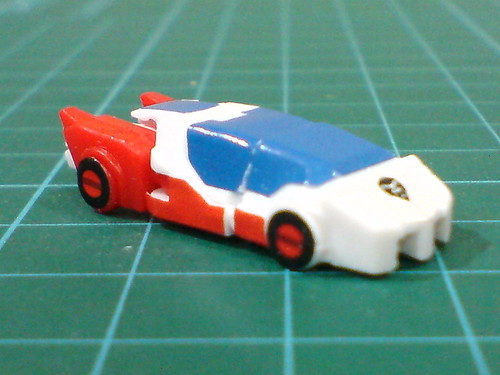
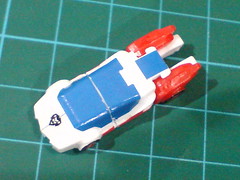

Bottom view:
Just a couple of simple steps needed to transform Exkaiser to its robot mode:
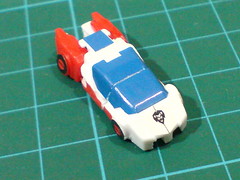
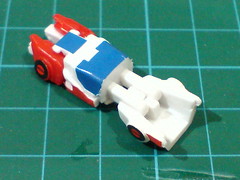
The car is split in half, with the front section then flipped to the front for 180 degrees.
Each half of the rear end is rotated downward on their respective side.
Each arm is rotated backward at the shoulder armor until the wheel is facing backward.
Each arm is then adjusted downward.
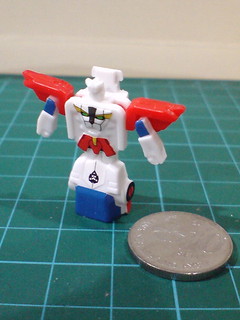
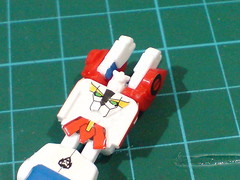
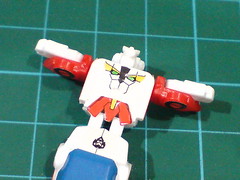
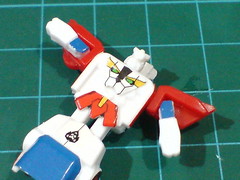
More images of Exkaiser in robot mode:
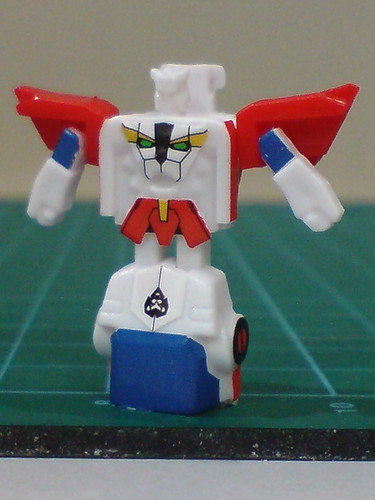
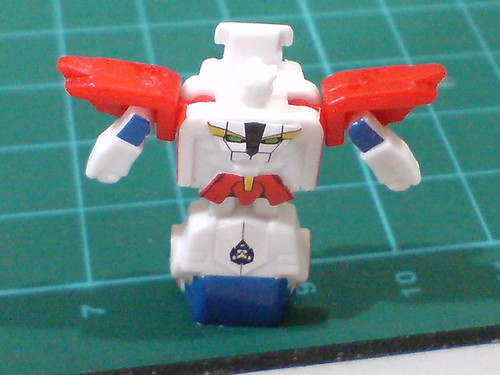
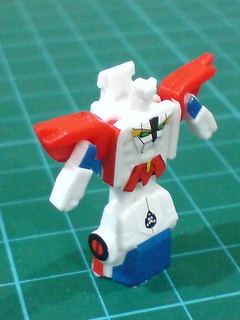
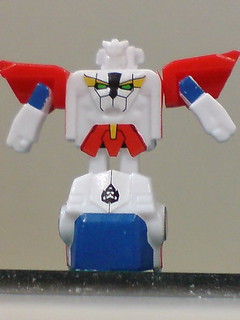
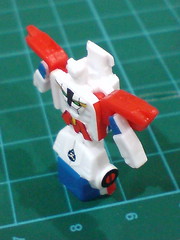
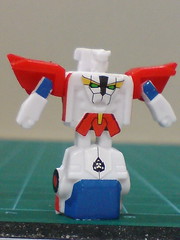
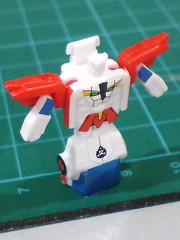

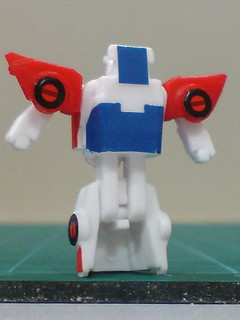
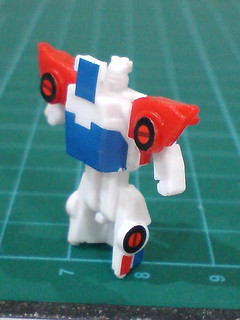
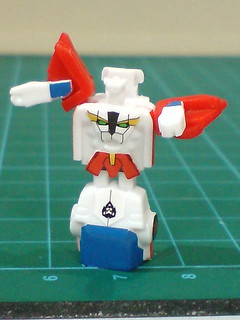

Tiny ball joint for the shoulders, and hinge joint for the arms are the only two articulation points for Exkaiser. The legs as a combined block can also be bent at the knee, but that's really meant to be part of the transformation only.
There's no sticker included for the face. The part is too small for details to be given to it via molding, or sticker. ^^;
Here's a clip from the "Brave Exkaiser" (勇者エクスカイザー) showing how Exkaiser is supposed to transform, from vehicle to robot mode.
Video clip is from Youtube. Follow this link to the website if you can't see anything.
Bending the front half of the car forward to form the legs is the only thing this shokugan model manages to get right it seems. XD
King Loader's assembly will be up next. ^^


No comments:
Post a Comment