A look at Super Robot Chogokin GaoGaiGar's accessories and option parts after the introduction in the previous posting. ^^
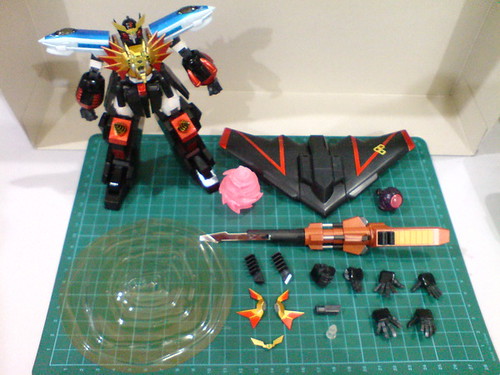

Weapons, accessories, and option parts for Super Robot Chogokin GaoGaiGar.
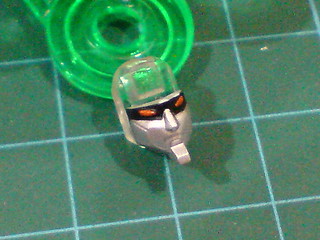
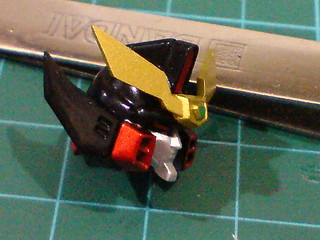
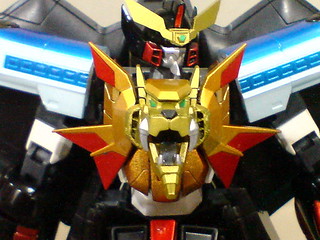
An option GaiGar face part to swap with the figure's default face plate-equipped type.
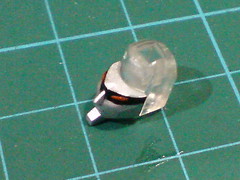
The face and eye details are painted on a single clear part, and it's really well done. ^^


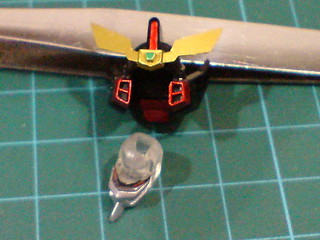
GaoGaiGar's head, detached from its neck joint.
Very typical ball-type joint design for the neck joint.
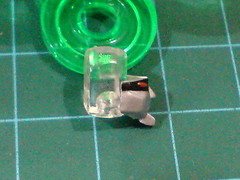
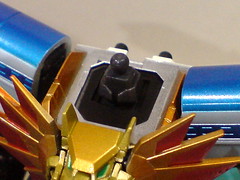
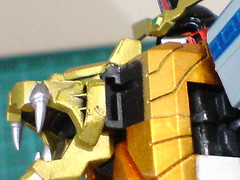
The original face part is pulled out from beneath the helmet.
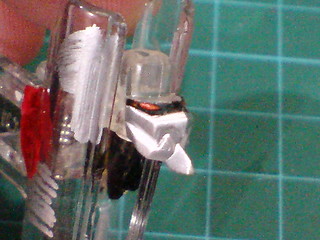
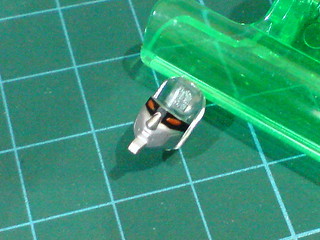
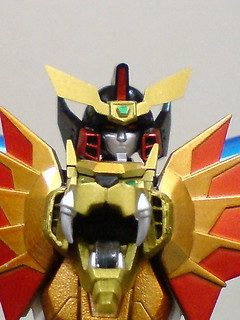
Like the option part, the mask-equipped face is also made of a clear plastic, with all of its details realized through paint work. ^^
Still, its fierce look is very obvious. ^^
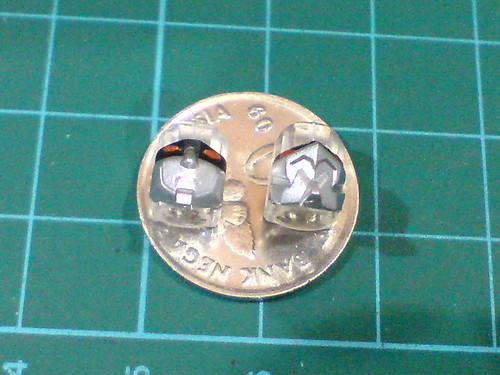
Size comparison of the two face parts with a 10-cent coin.
Their small size makes the paint work quality all the more impressive. ^^
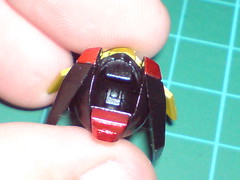
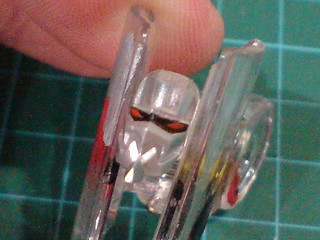
A polygonal peg meant to connect the helmet to the face part can be somewhat seen inside the helmet.
Being of the same size as the default part, the option face part fits inside the helmet very accurrately. ^^
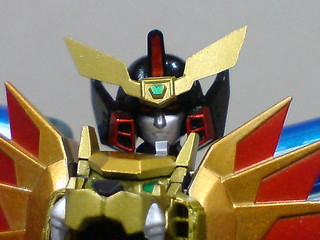
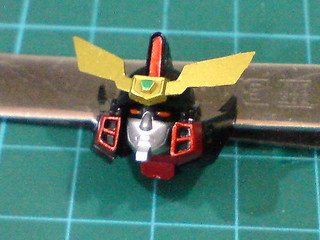
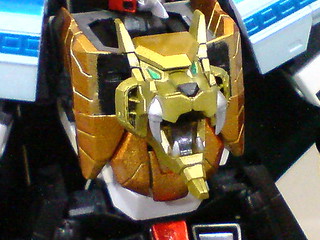
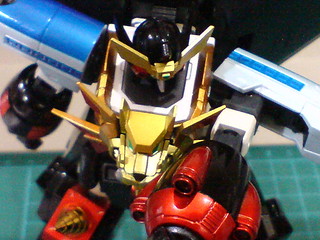
Reattached the "new" head onto the neck joint.
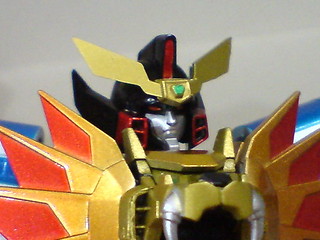
A maskless GaoGaiGar is perfect to show off the look of the super robot before its last Final Fusion step. ^^
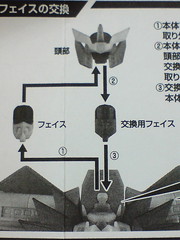
According to the instruction sheet, the sequence to swap between the face parts is: (1) detach the entire head from the neck joint, followed by its face part, (2) attach the helmet onto the option face part, (3) attach the modified head onto the neck joint.
From playing with the figure, I found the process to be a lot easier if step (3) is performed before (2). ^^
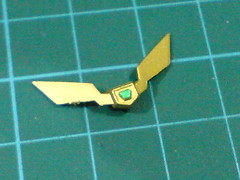
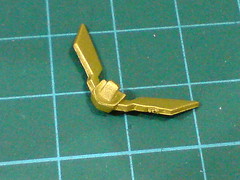
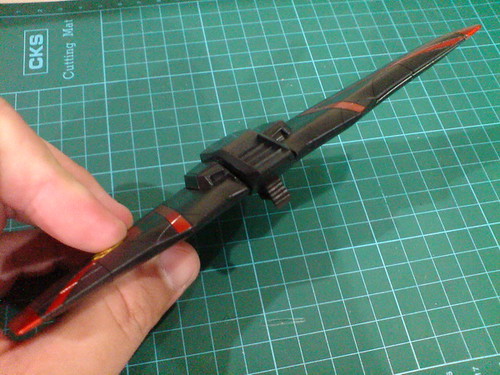
An option V-fin part.
Made of soft plastic, this V-fin part is included as an option for those who are worried about breaking the default hard plastic type when playing with the figure. ^^
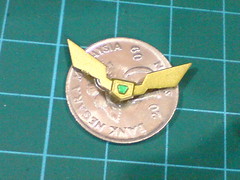
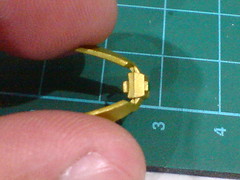
Size comparison of the option V-fin with a 10-cent coin.
The accurate paint work of the tiny G-Stone in the middle of the part is lovely. ^^
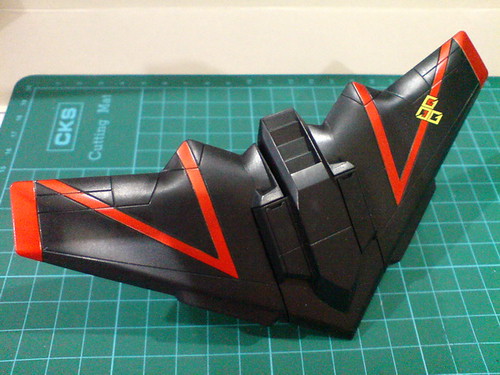

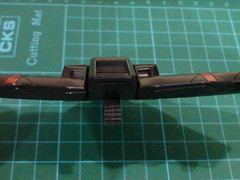
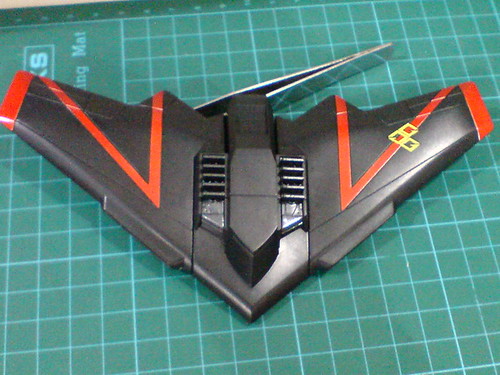
The backpack (Stealth Gao) is included in the package as an individual component.
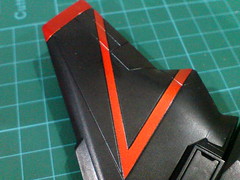
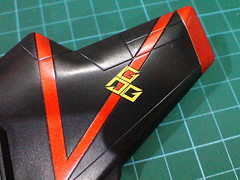
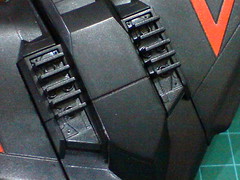
Closeups on the top details.
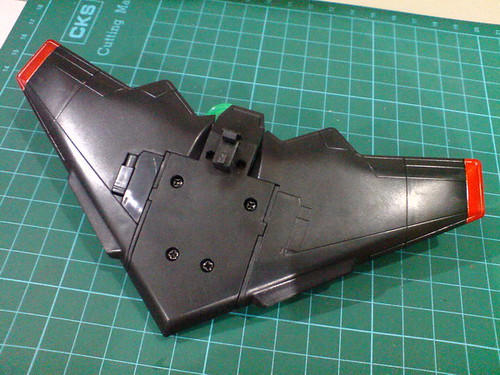
Bottom view.
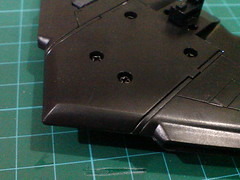
Closeups on the bottom details.
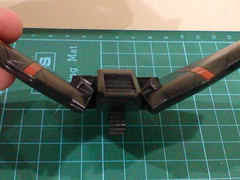
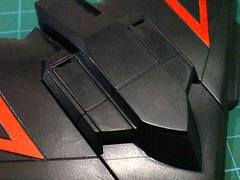
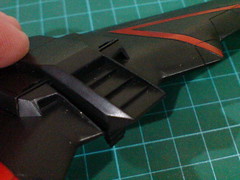
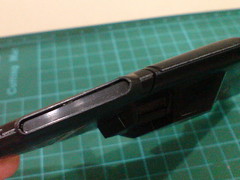
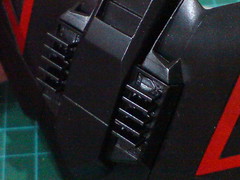
Each wing can be bent upward (backward when fixed to the figure) for about 30 degrees on either side of the backpack.
A small section of the hinge joint that allows the wing to bend can be seen between the parts. ^^

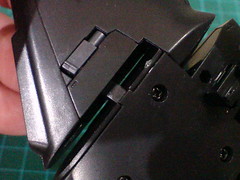
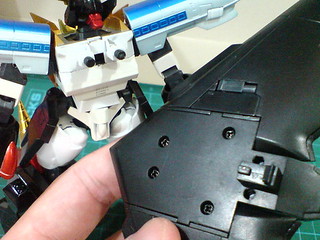
A straight peg can be flipped downward on the right hand side of the backpack (as seen from behind, or top side of Stealth Gao).
The straight peg would not be of any use if you do not have Key of Victory Set 1. ^^;
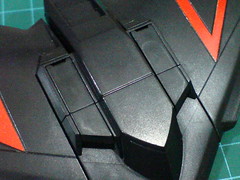
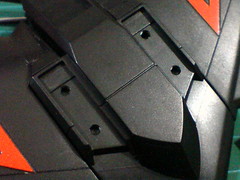
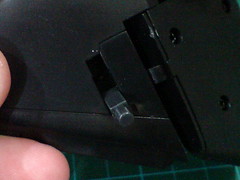
Two panels on the backpack can be removed, revealing a pair of polygonal slots.
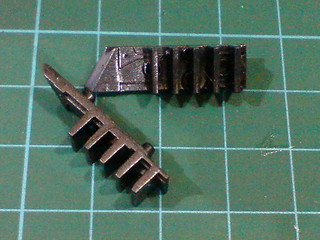
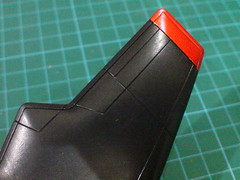
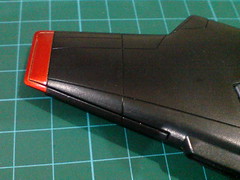
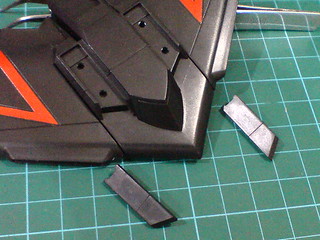
A pair of vents as option replacement parts for the flat panels shown above.
They are more useful in complimenting GaoGaiGar's signature finishing move, Hell and Heaven.

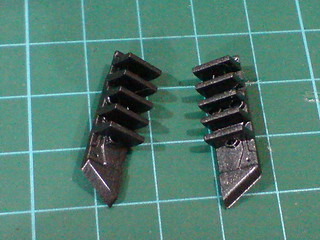
Some minor, but clearly sculpted vent details between the flaps.
Comparison with the default flat panels.
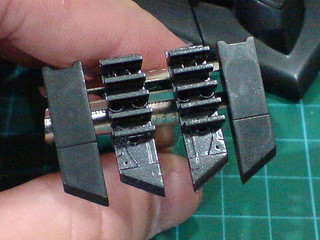
The vent panels are attached to the backpack.
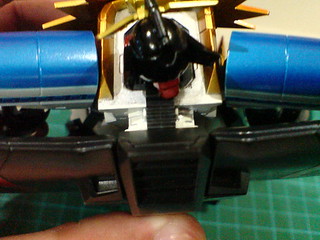
A pair of pegs, and two tabs - one of them even has a clip help to connect the backpack to the back of GaoGaiGar very securely. ^^
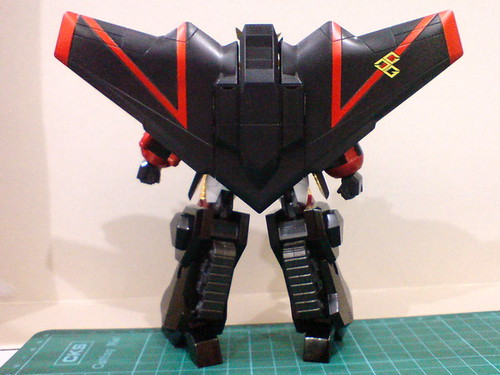
The rear view of the completed figure.

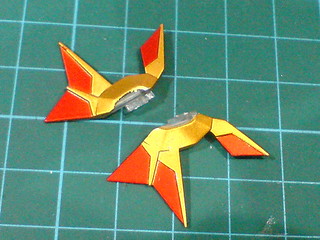
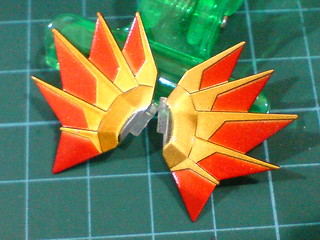
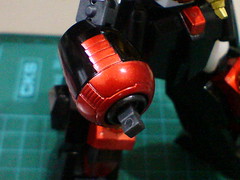
A pair of option chest manes.
From the look of the joint segment, it seems that the mane parts are made of clear plastic then painted, just like the two face parts shown earlier on. ^^
A look at the default, complete manes on GaoGaiGar's chest. ^^
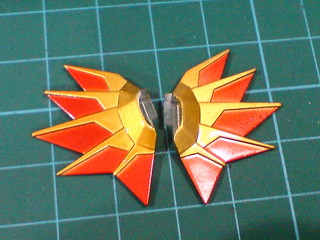

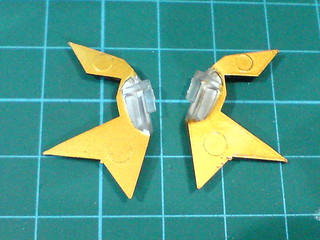
The default mane parts.

Comparison between the two sets of manes.
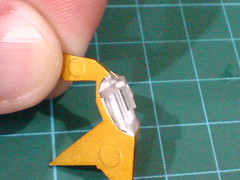
The polygonal slot on either side of the chest that is meant to hold the mane.
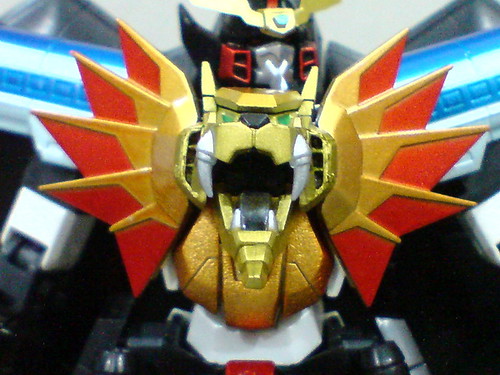
The incomplete chest of GaoGaiGar is actually the complete chest of GaiGar. ^^
With the option mane parts attached to the chest.
The gap on either option mane part is designed to allow the arm to bend through it and positioned to the front.
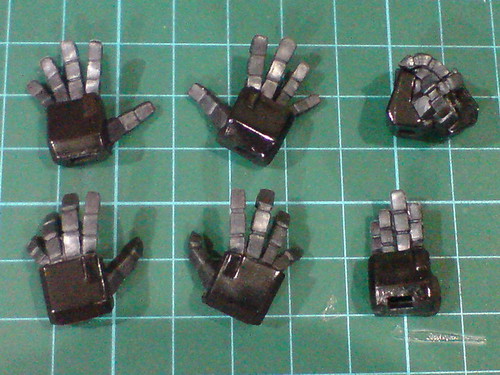
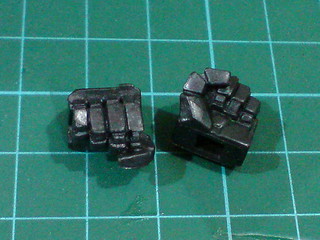
Twoi pairs and two special types, a total of six option hand units are included for the figure.
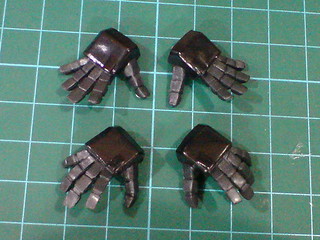
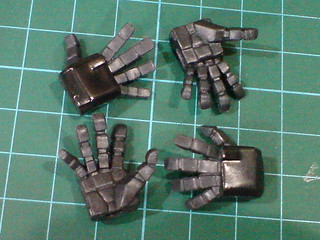
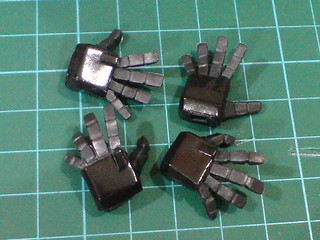
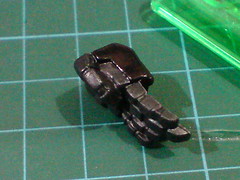
Two types of spread palms.
The sculpt work showing the details of the palm area, and segments between the fingers are very well done on the four spread palms. ^^
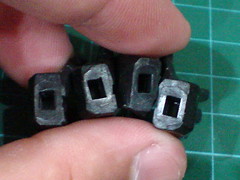
Square peg slots to connect the hand units to the wrist connectors.
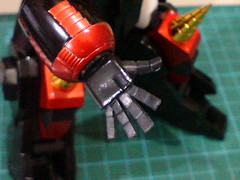
Any of the option hand units can be swapped onto the figure's wrist joint easily.
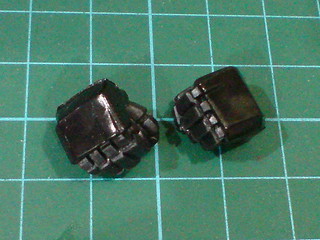
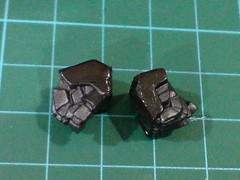

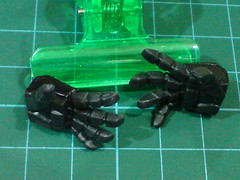
The default pair of closed fists.
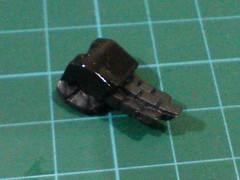
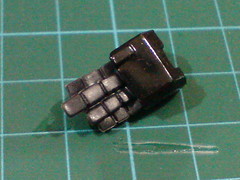
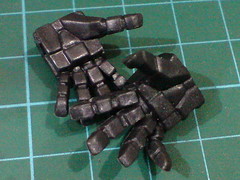
One of the two special option hand units: a left "karate-chop" hand. XD
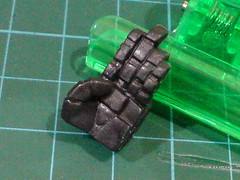

Even though it's possible to pose GaoGaiGar in some kind of martial art pose with this special hand unit (XD), it's actually meant for the Protect Shade defensive move, which is why its square slot is designed to be in position much different as compared to that on the three previously introduced sets of hand units. ^^
Allof GaoGaiGar's weapons have been left out of this posting, just so that they can be the focus in the next part of this review series. ^^


No comments:
Post a Comment