Resuming the review on Galvatron from Takara Tomy's Transformers Specialist Decepticons three figure boxed set with a look at its robot mode transformation, after focusing on its tank mode in Part 1. ^^
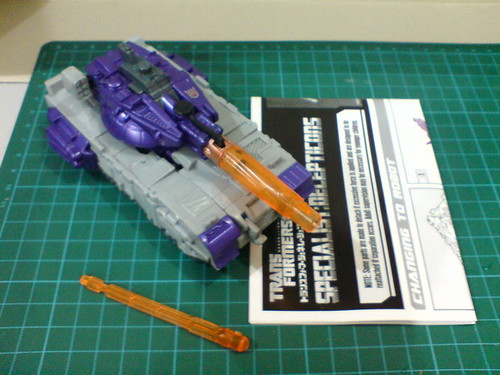
As a self-contained figure, nothing needs to be detached before the transformation, although I did remove the missile to avoid firing it off accidentally during the process. ^^
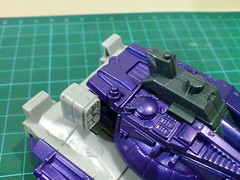
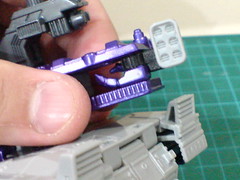
The right shoulder's transformation comes first. A hooked tab that connects the back end of the turret to the main component needs to be detached from the latter first.
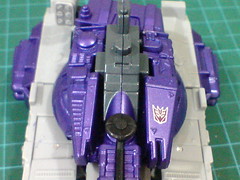
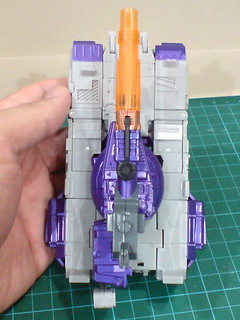
The left and right halves of the turret are pulled slightly to their respective opposite sides to release their grip on the main gun in tank mode.

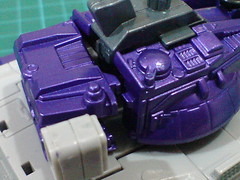
The main gun is lifted until it sits completely above the turret.
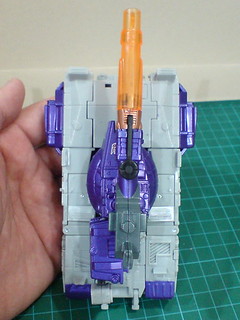
The two turret halves are pushed inward to close the gap beneath the main gun.
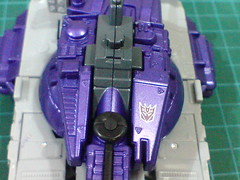
This is actually the default state of the turret for the tank mode as shown on the first page of the instruction sheet.

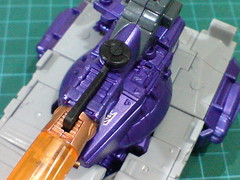
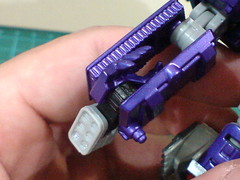
The right elbow joint needs to be slid outward to the missile launcher side to give enough clearance for the rear section (the right forearm) to be straightened.
Bypassing a couple of steps on releasing the tabs that hold everything in place as shown in the previous few images, the instruction sheet really oversimplified the main gun's transformation. ^^;
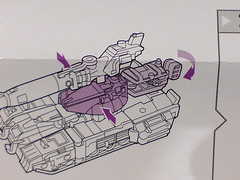
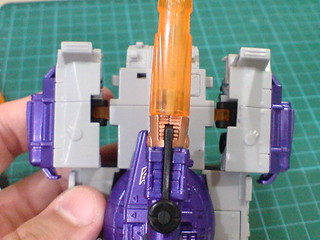
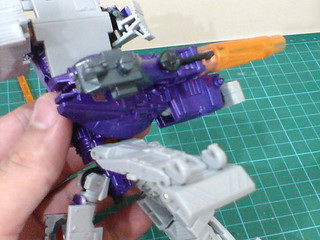
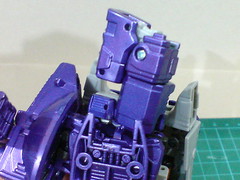
The entire turret needs to be rotated around for 180 degrees next.
The forearm needs to be lifted for a slight degree during the rotation mentioned above, at least to get past the rear intake to avoid any collision.
The turret has been rotated around, even though the image indicates it's the main body that has been turned instead. ^^
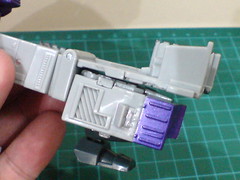
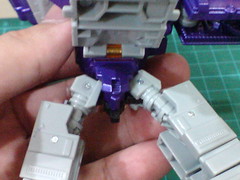
Both rear armored skirt and track blocks are separated from the main body, and pulled outward to their respective opposite sides.
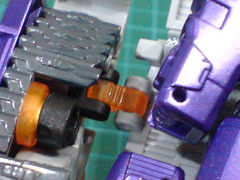
The clear orange double hinge joint that enables the transformation step above.
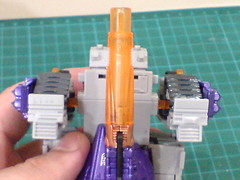
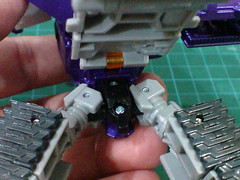
Both blocks are rotated for 90 degrees until the track section is exposed on the top side.

The outer panel of the middle armored skirt is folded outward.
The entire armored skirt and track block is then pulled outward.
The pair of tabs and slots that keep the armored skirt and track block connected to the main body in tank mode.

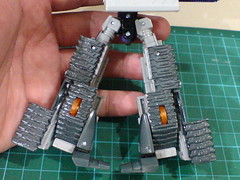
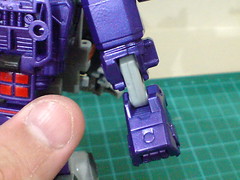
The separated armored skirt and track block is straightened at what would become Galvatron's hip and knee joints.
The front most block (the lower leg) is slid downward first, the gap created behind that part then allows the outer panel to be folded flat against it.

The shin is rotated around for 180 degrees, and the foot is flipped downward.

The same transformation process is repeated for the other leg.

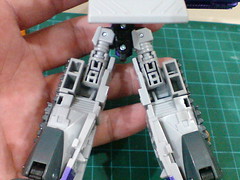
The legs are folded downward at their hips.
From top view, the cannon is rotated to the right side (which will become Galvatron's right hand side). The entire glacis plate is bent upward.
The lower body is swung around at waist level. The right image shows the rear view of Galvatron's waist.
The "plate" on the hip joint should be facing outward to form Galvatron's side skirt armor. As you can see, one of the hip joints was not adjusted properly due to it been rotated in the wrong way earlier on. ^^; It will be corrected in the end. ^^
At thigh level, the knee section is rotated around for 90 degrees until the track segment sits on the outer left/right side of either leg. The shin and foot of each leg should be facing backward (the top side that you're looking at at this transformation stage) after the step shown above.
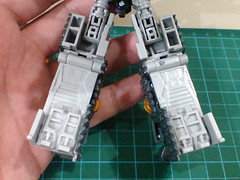
The lower legs are rotated around for 180 degrees until they are on the front side of Galvatron's body.

Done for the legs' transformation.
As mentioned earlier on, the right hip will be readjusted later.
The lower front plate is folded beneath the glacis plate, which forms the large rear skirt armor.
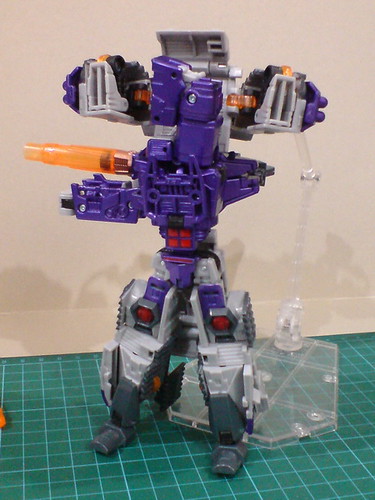
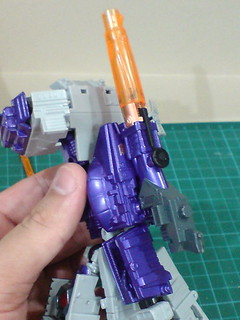
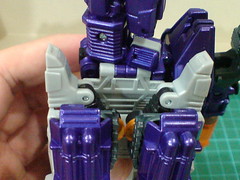
Supported by Soul Stage Act 5 Action Support Type for Mechanics Clear Ver, Galvatron is still not quite ready to stand up straight yet due to its incomplete upper body components.

While you can transform the right arm with the cannon rotated to the right side of the figure, as shown in one the earlier steps, I turned it around so that the impressive shoulder joint connection sequence can be shown in full view. ^^
In other words, this step showing the cannon's rotation is not necessary to the entire transformation. ^^

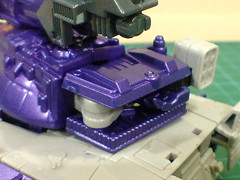
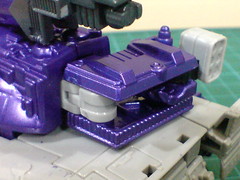
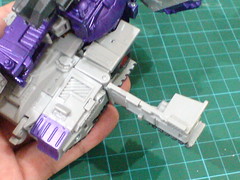
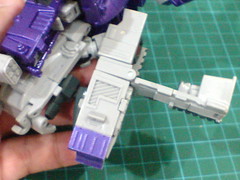
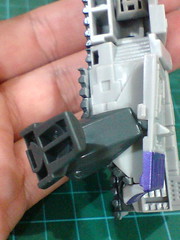
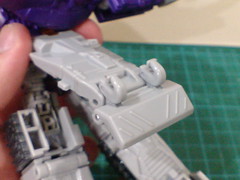
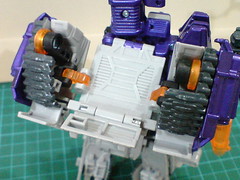
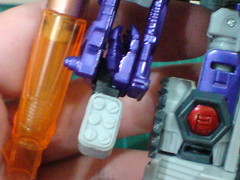
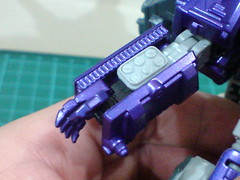
In essence, the right shoulder joint is a sliding double hinge. The right shoulder is slid from the top side of the tank to the right side of the figure within the designated rectangular slot.
The rectangular slot has a smaller track inside it to hold on to the hinge part of the shoulder joint. With that, the entire joint is securely tabbed inside its designated slot at the end of this transformation step.
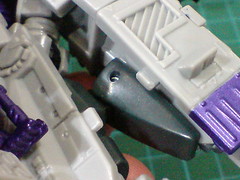
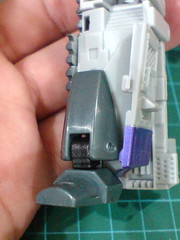
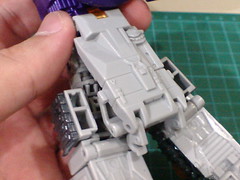
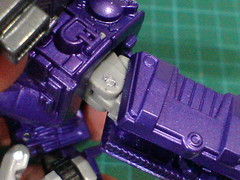
The entire arm is rotated downward.
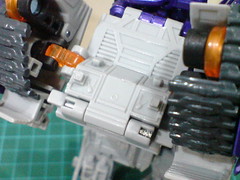
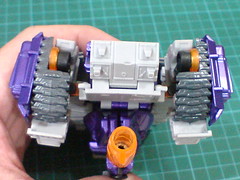
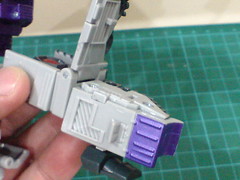
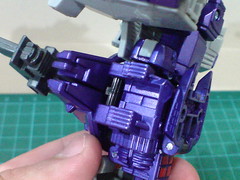
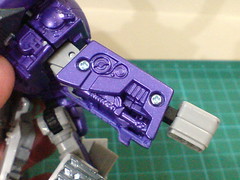
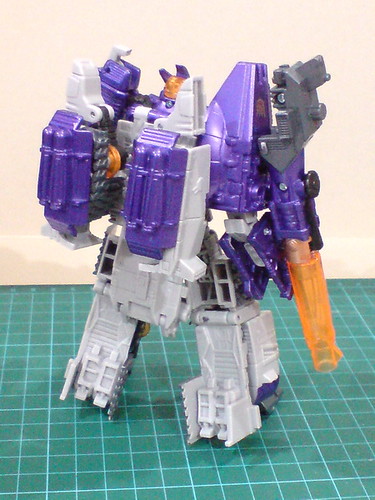
Before the rear armored skirt and track blocks are bent inward, the rear tank plate has to be folded flat against the back first.
Using their double hinges, the backpack blocks are flipped inward.
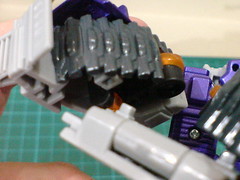
A tab on the back plate loosely secure each backpack block in place.
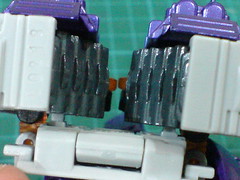
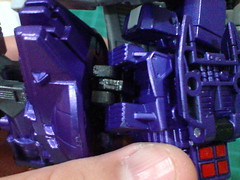
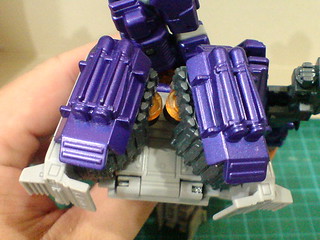
Besides the loose tab mentioned above, the constant collision between the wheels in between the backpack blocks is not helpful to securing the components in place.
It doesn't take much force to knock the blocks off their supposed position, so the need to readjust them very so often can be quite a hassle. ^^;
This is how the semi-transformed backpack should look like, if everything locks in place properly. ^^;

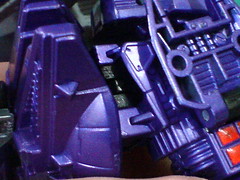
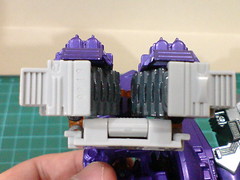
The top vent on either block is flipped upward.

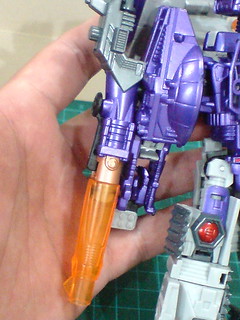
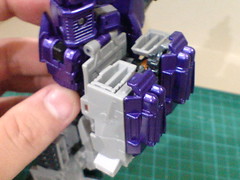
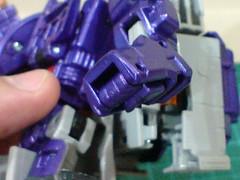
To complete the right arm's transformation, the missile pod is flipped downward and straighten first.
The entire arm is rotated for 180 degrees at its biceps level
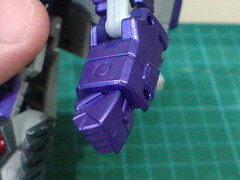
Using its swivel joint, the missile pod is flipped into the forearm cavity, revealing the right palm in the process.

The left arm's transformation is fairly straightforward: the entire arm is bent downward from the side the body, after which the arm is rotated until the elbow joint is facing forward.
The left close fist is flipped outward from beneath the forearm.


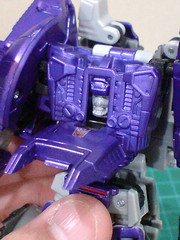
A small cap is flipped inward to cover up the top section of the left shoulder. A little hook on top the cap can be lifted, although its specific purpose is unclear to me. ^^
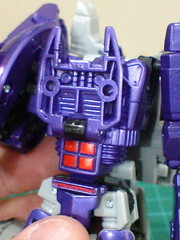
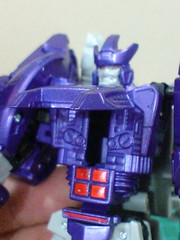

The chest panel's transformation is a very cool feature of the figure as well. By sliding the chest panel upward, Galvatron's head is revealed. ^^
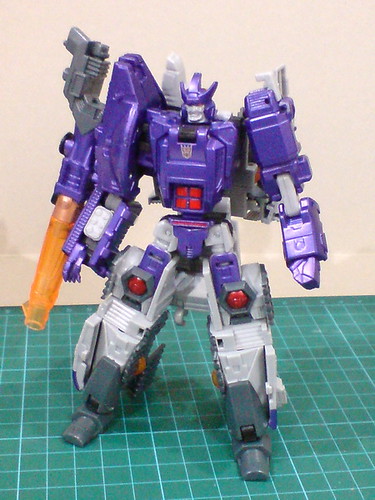
All done for Galvatron's transformation. ^^
More images of Galvatron in robot mode coming up in the next posting. ^^


No comments:
Post a Comment